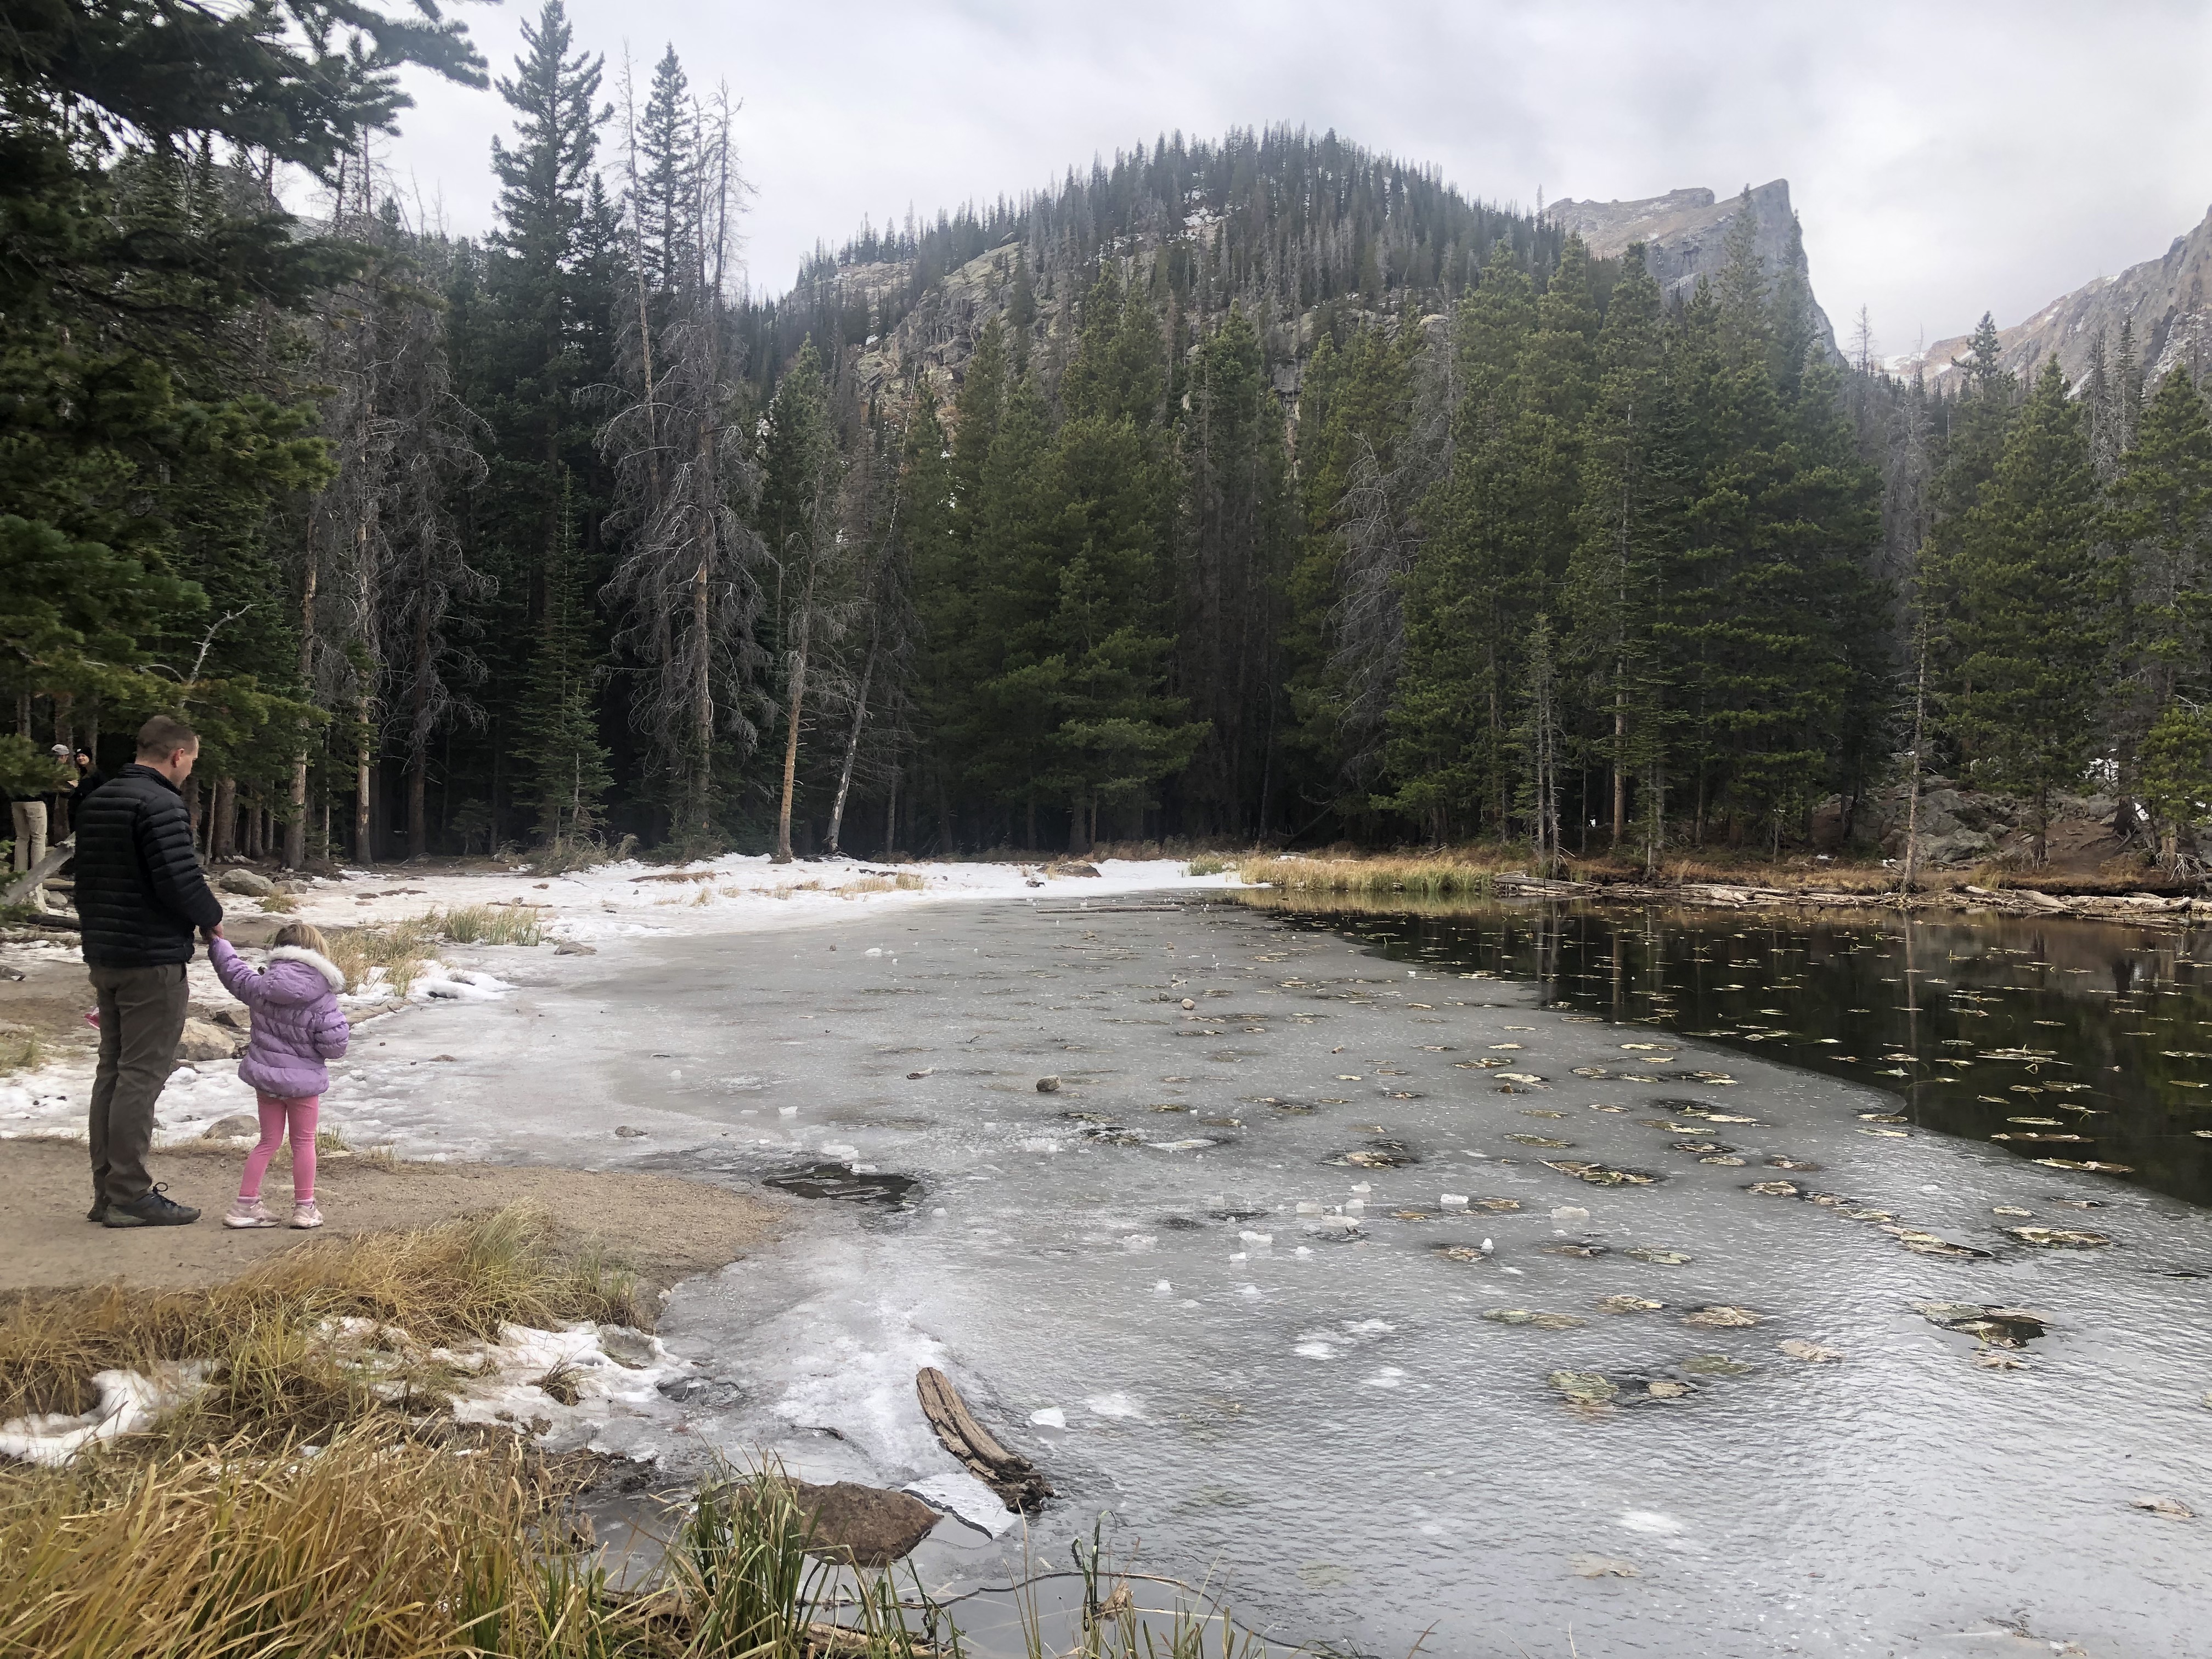
The hike to Dream Lake begins at the Bear Lake trail head in Rocky Mountain National Park. The total hike is 1.1 miles each way starting at 9,450 ft in elevation and gaining 450ft. You will cross by Nymph Lake halfway into the hike. In late October, we could see lily pads at Nymph Lake as well as a layer of ice beginning to frost the mountain lake. The pairing made a unique and beautiful combination.
Nymph Lake
We continued up towards Dream Lake.
dream lake rocky mountain national park
The hike to Dream Lake is one of the most popular hikes in the park. Even though there were quite a few people on the trail, we felt lucky that we could experience it off-peak. October is late in the season for this hike.
We were thankful to the fellow hikers who took a family photo for us with Hallett Peak in the background.
Dream Lake
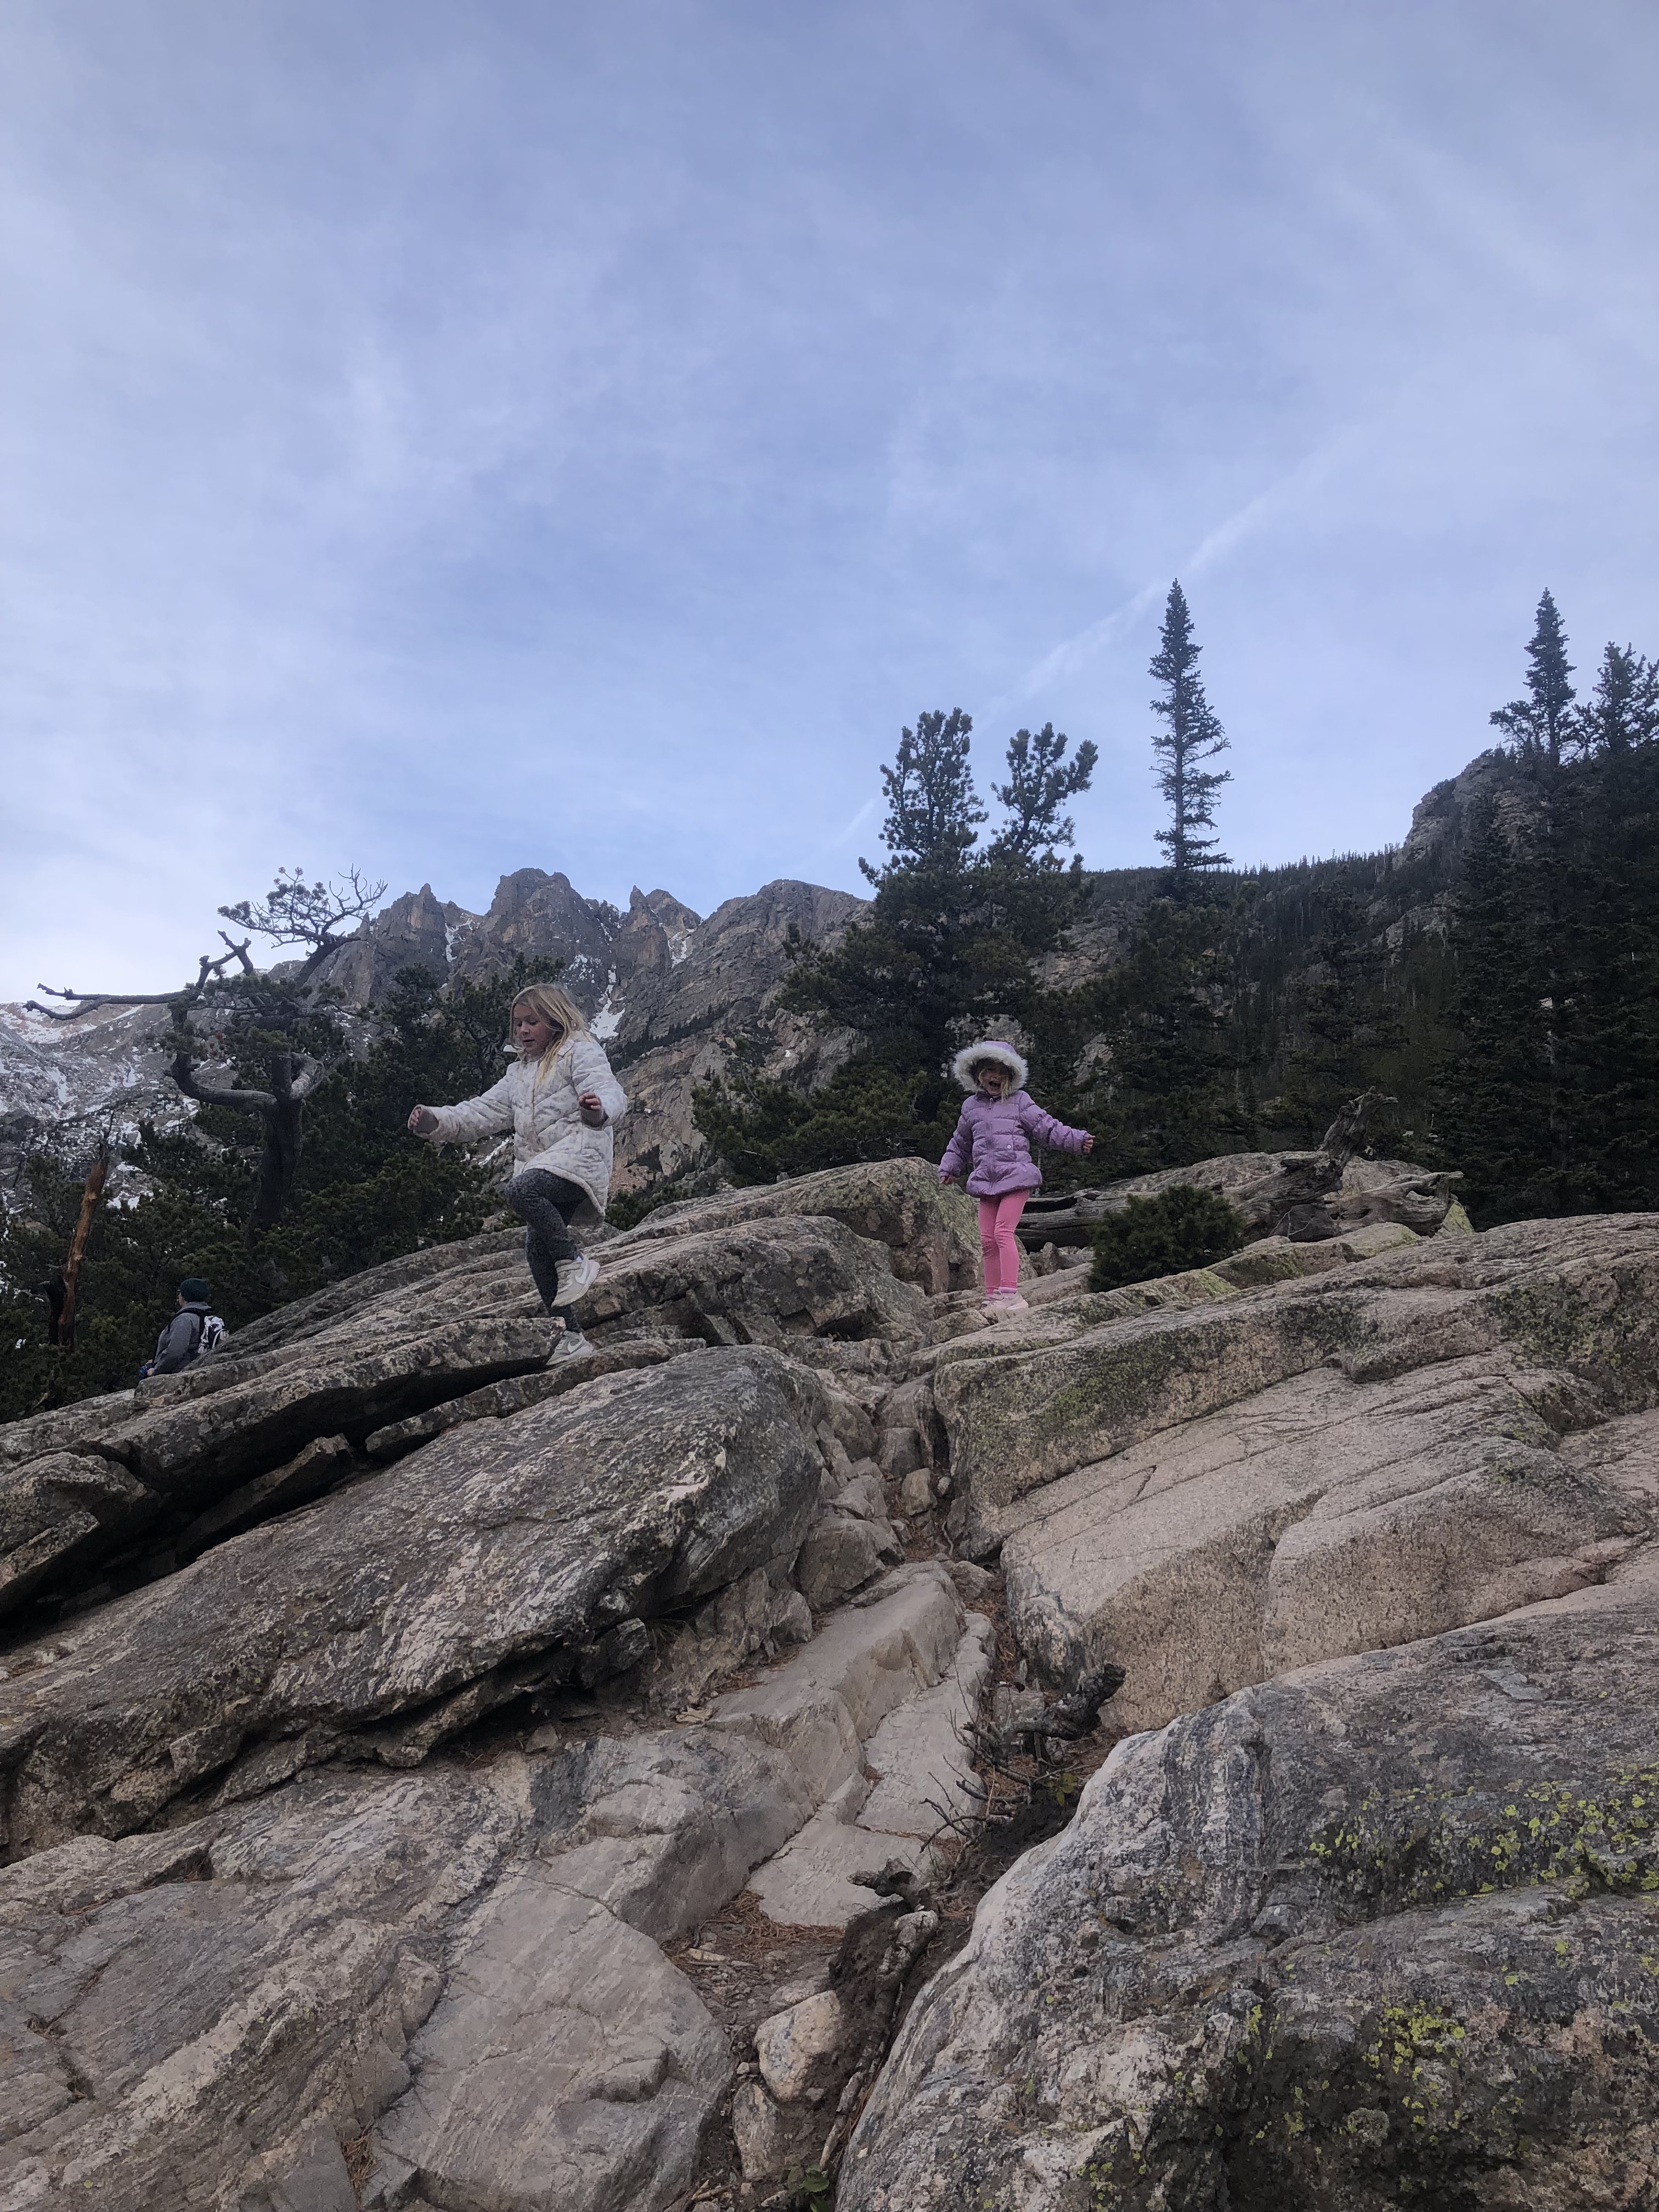
As we headed back down the trail, I overheard a group of young, fit-looking hikers marvel at how much better our girls were hiking in the high elevation compared to them. I smiled to myself because it was true. Our 4-year-old and 6-year-old made the hike look easy with their abundant energy.
In one of our favorite hiking guides by Erik Stensland, this hike is rated easy unless ‘you are not acclimatized’ – in which case it can be challenging, and it is a good idea to take it slow.
The truth is our girls were motivated by snow, and specifically throwing snowballs (otherwise known as ice pellets) at their parents.
You can see in their smiles that this hike was a lot of fun, but the Mom/teacher in me was excited to sneak in a little education as well. For example, because this hike is so popular, you can see areas along the trail that have been impacted by erosion. We looked at exposed tree roots and talked about how the dirt is needed to keep the trees from falling over. We also talked about snow melt and asked why the waterfall which we had passed in the spring was now a trickle of water in comparison. How do the changing seasons impact the landscape and the animals?
If you have little science and nature lovers in your life, I think a gift from the Rocky Mountain Conservancy would be a meaningful present this holiday season. Purchases support ‘the research and educational missions of Rocky Mountain National Park.’
‘Unpredictable weather alternates between warm and cold, wet and dry.’ – National Park Service
The summer is flying by. I want to stop and remember the sweet moments, so today I’m going back to write about our first adventure of the summer. We are always excited to take our annual Memorial Day trip to Estes Park, Colorado, but this year felt extra special because we had the opportunity to share our favorite spots with some of our best friends.
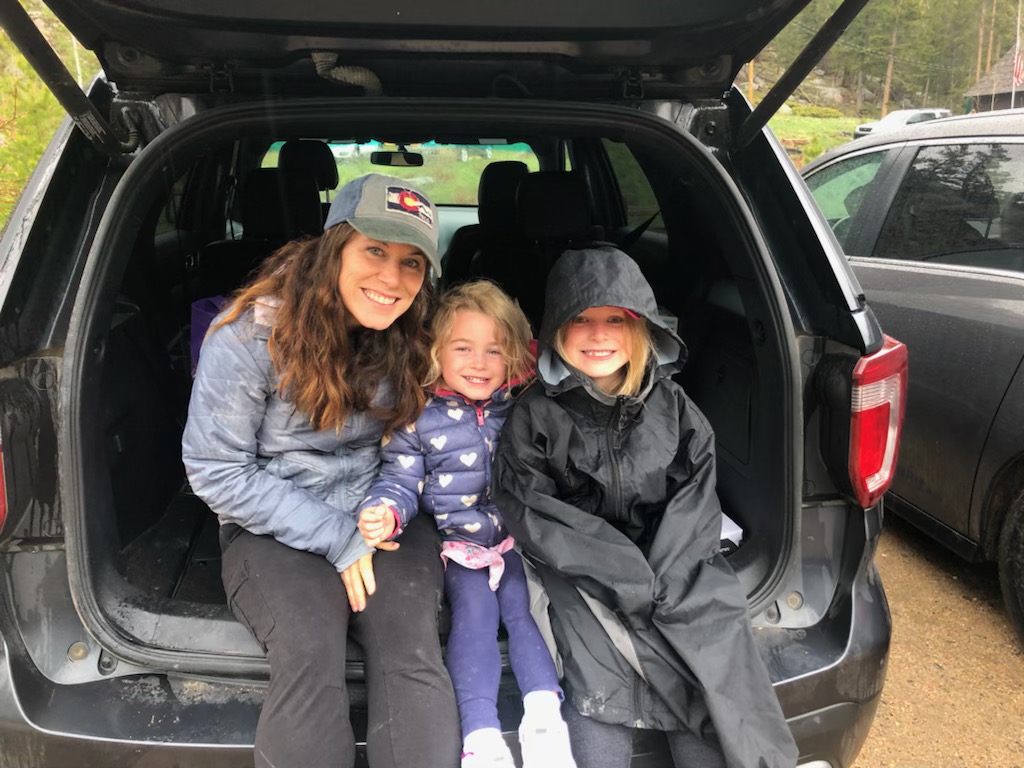
This was our friends’ first visit to Colorado, so they were excited to explore. Unfortunately, for the first couple days of our trip, the weather was overcast, cold, and rainy. Despite the gloomy skies, I was impressed with everyone’s positive attitudes and willingness to get out and hike.
Welcome to Colorado!
Weather in rocky mountain national park
Preparing for the trip, my friend asked me what to pack. It’s a tougher question than you might think because the weather in Rocky Mountain National Park seems to always be changing. I suggested packing warm coats in case it snows, water-proof items in case it rains, and shorts for when it is sunny. Good thing they have a minivan to fit it all in, right? We typically wear comfortable layers because we’ve experienced all of these weather conditions in one day – especially when we drive up the mountain to higher elevation.
The perfect evidence of this can be seen live on Rocky Mountain National Park’s webcams. As I write, the mid-day temperature listed on the Continental Divide webcam says 71.6 F while the Alpine Visitor Center webcam reads 48.2 F.
The National Park has resources on their website that give up-to-date information for weather in Rocky Mountain National Park. This includes current road conditions , current trail conditions, and Rocky Mountain National Park weather trends by season.
Best Hikes Rocky Mountain National Park: Early Season Hikes
We consider early season hikes ones that are lower in elevation because snow is common on trails in late spring and early summer in popular destinations like Bear Lake. Check out our post about Lower Elevation Hikes for ideas.
On this trip, we chose Lily Lake/ Lily Ridge for its views of Longs Peak and Twin Sisters Peaks and accessible path that’s easy for kids. The hike around Lily Lake remains one of our favorite short hikes in the park. Adding on Lily Ridge makes the hike a little more challenging, but I think the views are worth it.
Hike up Lily Ridge
Next, we hiked in the Wild Basin up to Calypso Cascades. With so much rain and snow melt, we had to be careful in the Wild Basin as we hiked near waterfalls and rushing streams. The kids all did a great job staying on the path. Near Calypso Cascades, there were even a few spots of snow on the trail. The kids thought it was the coolest part.
This hike was a little more challenging for our crew. It is 1.8 miles each way and gains 780 feet of elevation. We didn’t hear any grumbles though, perhaps the key to complain-free hiking is inviting a best buddy along.
rain, rain, go away!Copeland Falls in Wild Basin
Beyond hiking, we enjoyed staying dry inside by visiting some of our favorite Estes Park restaurants including Latitude 105.
sharing a lemonade at Latitude 101
I was thankful the dads offered to hang out with the kids for a few hours so my friend and I could get some much-needed girl-chat at Snowy Peaks Winery.
Overall, I hope that our friends had a good first trip to Colorado (despite the colder weather). We loved sharing Estes Park and Rocky Mountain National Park with them!
A Trip Report from Eric’s hike on CCY Route in July 2020
**Note–this trail is currently (5/2021) closed due to the impact of the wildfires last fall. For up-to-date information about availability please checkhere
Chapin, Chiquita and Ypsilon summits
Last month, I got to take an early morning hike on a route that I’d been looking forward to for a long time: the “CCY Route” in Rocky Mountain National Park. The “CCY” stands for Chapin, Chiquita and Ypsilon, three prominent summits in the Mummy range in the north-central section of the park. Easy access to this hike is only available for a few months out of the year due to the trailhead location, which is several miles up Old Fall River Road. Alltrails.com lists the route as 8.9 miles round-trip, with 3,244 feet of total elevation gain. However, it’s important to note that this hike is above the tree-line for the majority of the journey, and much of the terrain is considered to be Class II rock hopping.
CCY Trailhead and Where to Park for CCY Route
An early start here is important for two reasons. First, as always, any time spent above the tree line in the summer in RMNP is best done earlier in the day before afternoon thunderstorms pop up. But second, this trailhead has very limited parking available along the side of Fall River Road, only enough for maybe 12-15 vehicles. I arrived at 5:25am and was the third car there, so had plenty of space. But as I was making the switchbacks in the dark, I was thinking what my backup hike might be, and Mount Ida crossed my mind—this is another summit on my list that also requires a journey up either Fall River Road or Trail Ridge Road from Estes Park, and it does have substantially more parking at the Continental Divide/Poudre Lake trailhead. But anyway, on to the adventure…
I had a headlamp in my pack, but there was just enough light to proceed without it as I started my hike. Just a few minutes in, you reach a clearly marked junction that directs you to the right for the CCY summits, rather than continuing on the main trail to Chapin Pass.
From here the path becomes far steeper, ascending several rock “steps” to break through the trees to the edge of the tundra. At around the .6-mile mark, another trail split appears, and the sign guides to the right for “all summits.”
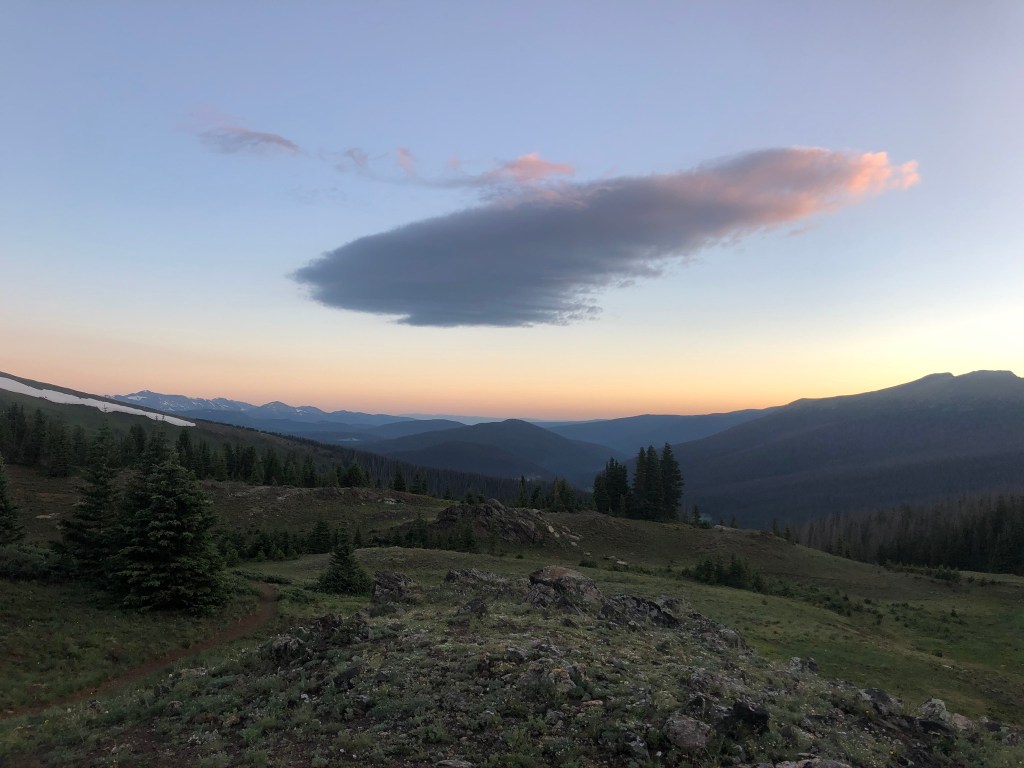
I’d read that actually either way would work here but decided to follow the sign and continue on the path to Mount Chapin. At this point, the sun was starting to rise, but was hidden from my view, being on the western slopes of these three mountains. Still though, the views looking back were beautiful!
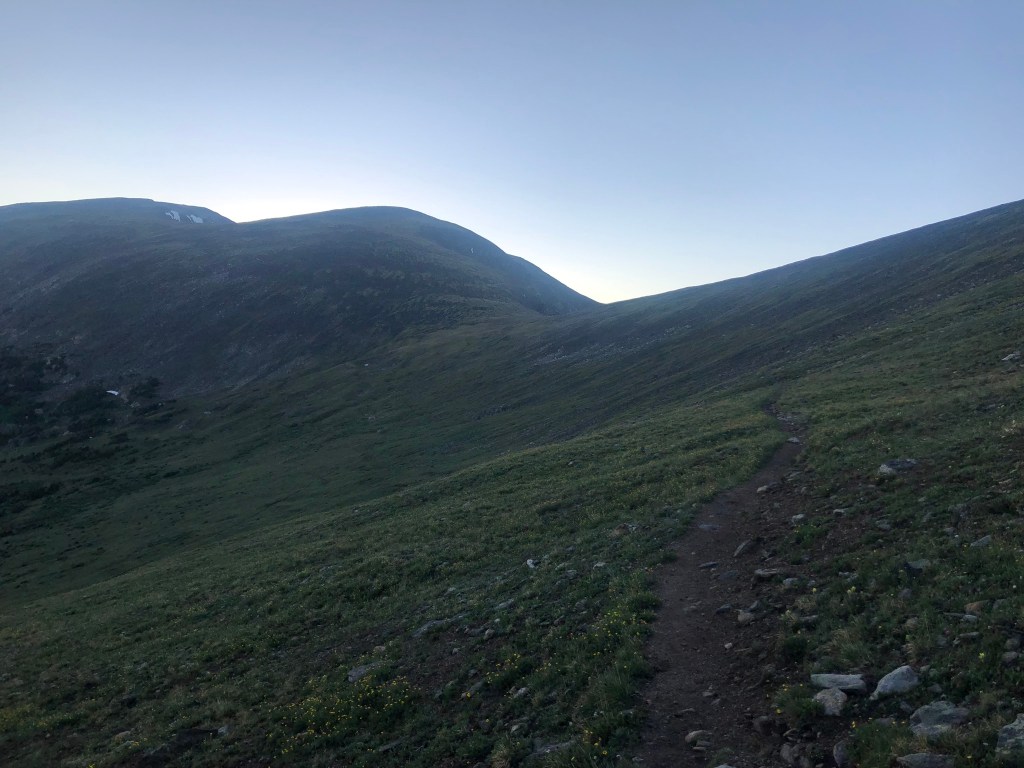
The route to Mount Chapin is easy to follow from here, despite a few small “rock crossings” along the way.
Just past the 1.5 mile mark, a side trial heads straight up to the summit of Mount Chapin, gaining approximately 400 feet of elevation in less than half a mile. The trail is faint in places, so I found myself just trying to stay on the rocks (avoiding stepping on the wildflowers!) and just generally heading up. The views at the top were great!
Looking towards Long’s Peak in the distanceFound the sun!
I didn’t stay long on Chapin’s summit, because the wind was absolutely howling, and I knew that I had two more to go, with plenty of “up and down” along the way. After retracing my way back down to the main trail, I started up the slope of Mount Chiquita.
The combination of wind, terrain, and even the bright sun ahead (hard to look up and track the route) made this section of the hike somewhat of a grind, as the route gains over 1,000 feet of elevation over the course of a mile to reach the summit at 13,069 feet. There are a few wind shelters built of rocks around the summit, which can provide a needed reprieve. It was hard to capture great photos shooting right into the sun, but the views were again great, as you could also see several of the lower-elevation lakes below.
From the summit of Chiquita, the trail is faintly marked, so I just followed what I felt was the most efficient route down to the saddle between Chiquita an Ypsilon, losing around 300 feet of elevation. The third and final summit was a bit deceptive. The terrain isn’t too tricky, and you can try to follow the occasional cairns that are placed along the way, but the true summit is hidden from view for a good portion of the ascent, which gains 700+ feet along the way.
Some visible snow near the summit of Ypsilon.
I don’t think I carved the best path up the mountain, but eventually made my way to the top at 13,514 feet, where I joined 3 other hikers that had been ahead of me all morning. We all had a nice visit, taking in the views, and enjoying miraculously still conditions given how windy it had been just an hour or so earlier. I took a quick video of the sights:
On the way back down, rather than re-summiting Chiquita, I followed a faint path around the edge of the mountain, heading directly towards the saddle between Chiquita and Chapin. The wildflowers were particularly spectacular on this portion of the hike.
When I made it back to the saddle, I decided to follow the “other” option back towards the trailhead, which dipped slightly lower along the mountain. It was nice to see this section of trail rather than re-tracing my steps, but I also got to see some elk grazing in the valley below.
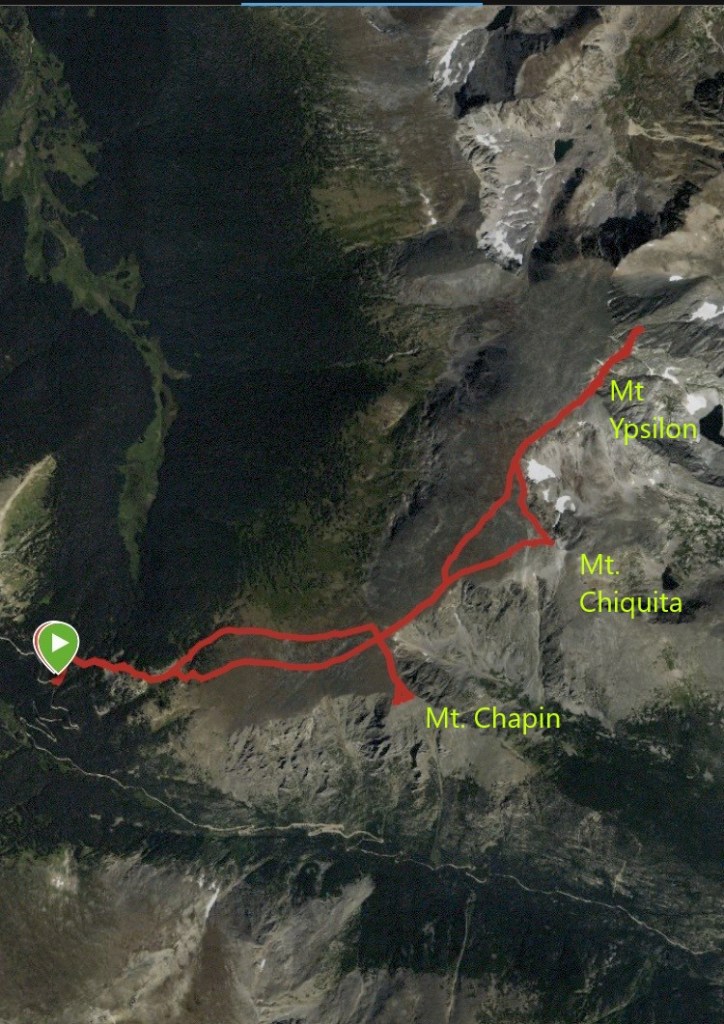
I made it back to the trailhead with a total time of four hours and 36 minutes, according to my Garmin watch that tracked my adventure. Below is a map of my route, showing the two splits I described (“to all summits” early on, to the right, and then the “Chiquita cutoff” on the way back).
I was trying to make relatively good time, as Kelly had let me slip away for this one by myself, and was back at our cabin with the girls waiting on me to go grab lunch. It was a great adventure, and a nice challenge. The class two terrain made me wish I would have brought my trekking poles for the decent(s), but other than that, I finished in great spirits and was thrilled to have had the chance to pick up three more RMNP summits all in one day. I’d definitely like to revisit this one again in the future!
Don’t you love a great backup plan? Our original plan for the day was to hike to Dream Lake, but when we arrived at the Bear Lake parking lot at 7:45 am it was already full. We started driving back down the mountain and found that Glacier Gorge parking was also full and so was Bierdstand Lake. We pulled into the Hollowell Park area hoping we could find a spot. We were relieved to find several parking spaces available.
On a previous trip, we hiked to the Mill Creek Basin and turned around to return the way we came. On this occation, we hiked a loop around Mill Creek Basin and then connected back up with the trail to return to the Hollowell Park trailhead.
Photo of National Park Service map taken at trailhead. I highlighted over to show our route.Longs Peak views
Hike to Mill Creek Basin
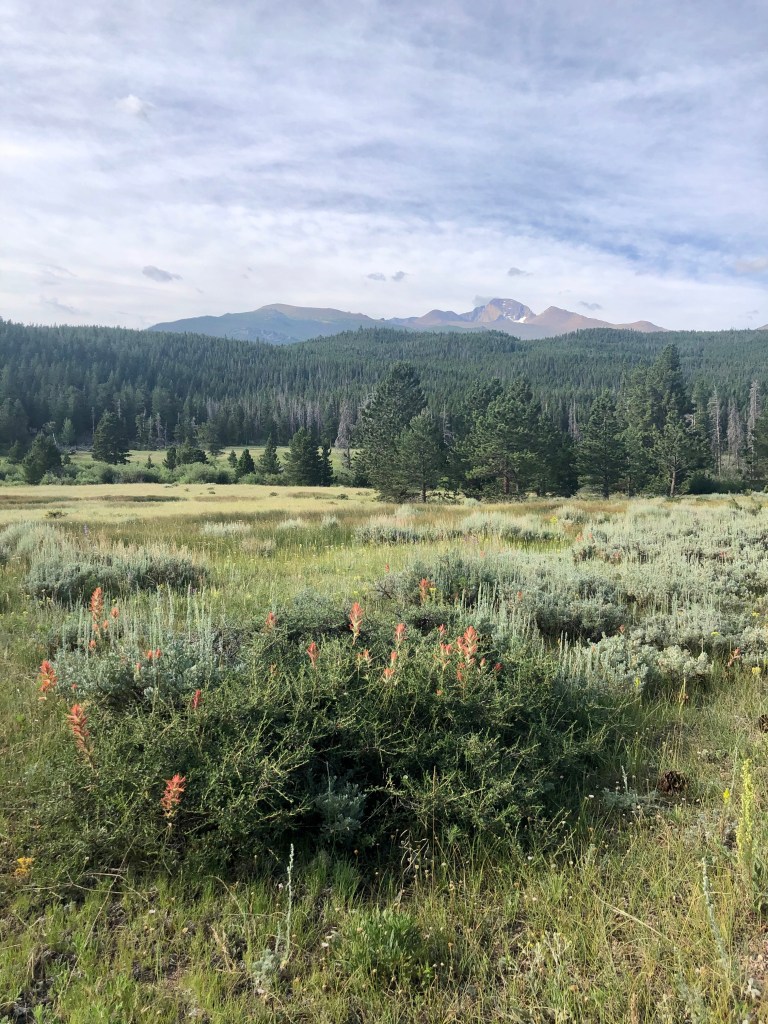
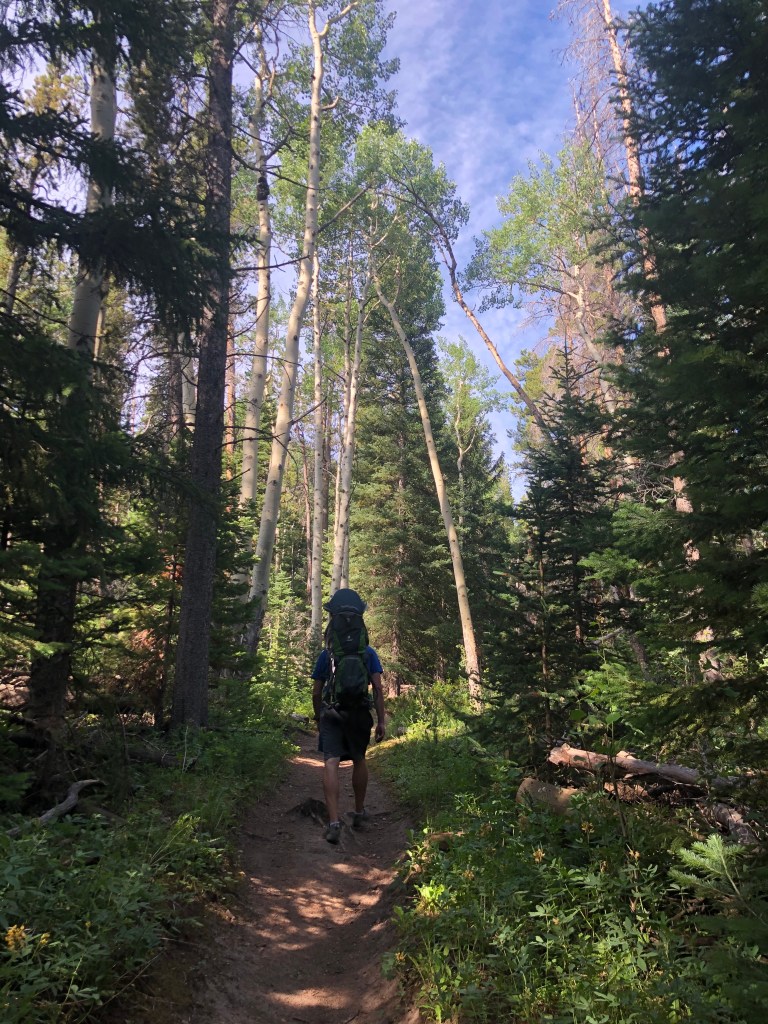
The first section of the trail takes you through an open valley with views of Longs Peak. This could be a hot section of the trail during summer afternoons, but soon the path wraps around into a wooded area and follows along side Mill Creek.
We enjoyed the solitude this hike offered. Over the course of four miles, we passed less than a dozen fellow hikers.
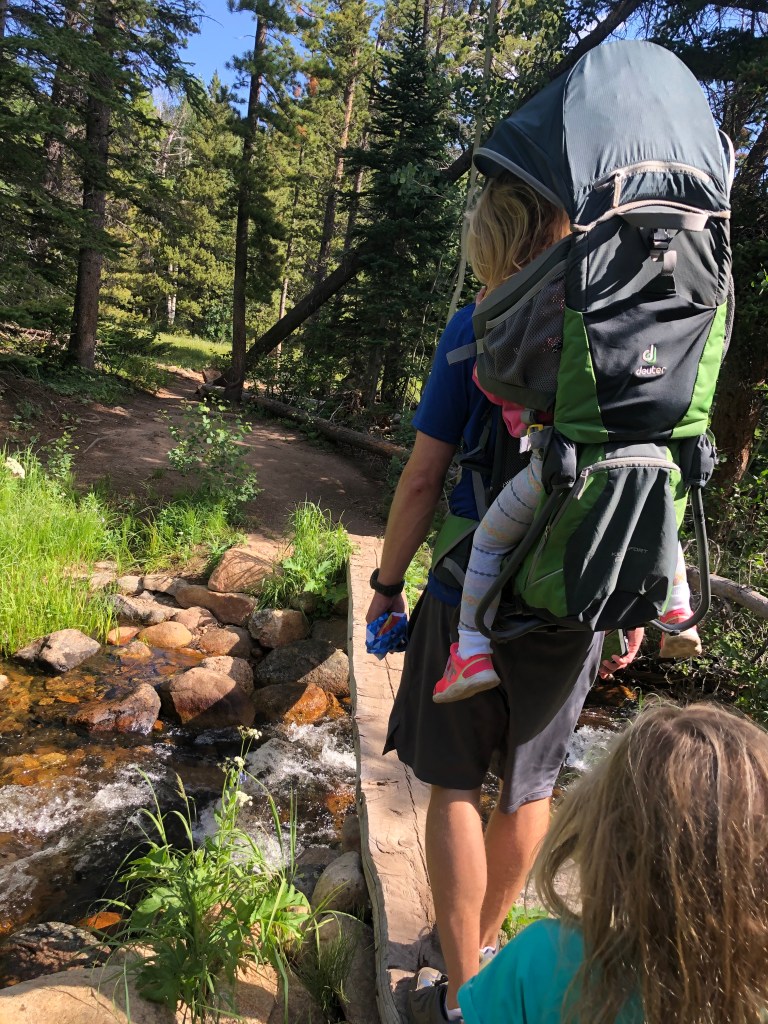
Besides some minor complaints during a couple of the uphill sections on the trail, our 5-year-old walked the trail on her own with a great attitude. Our 3-year-old rode in her kid carrier.
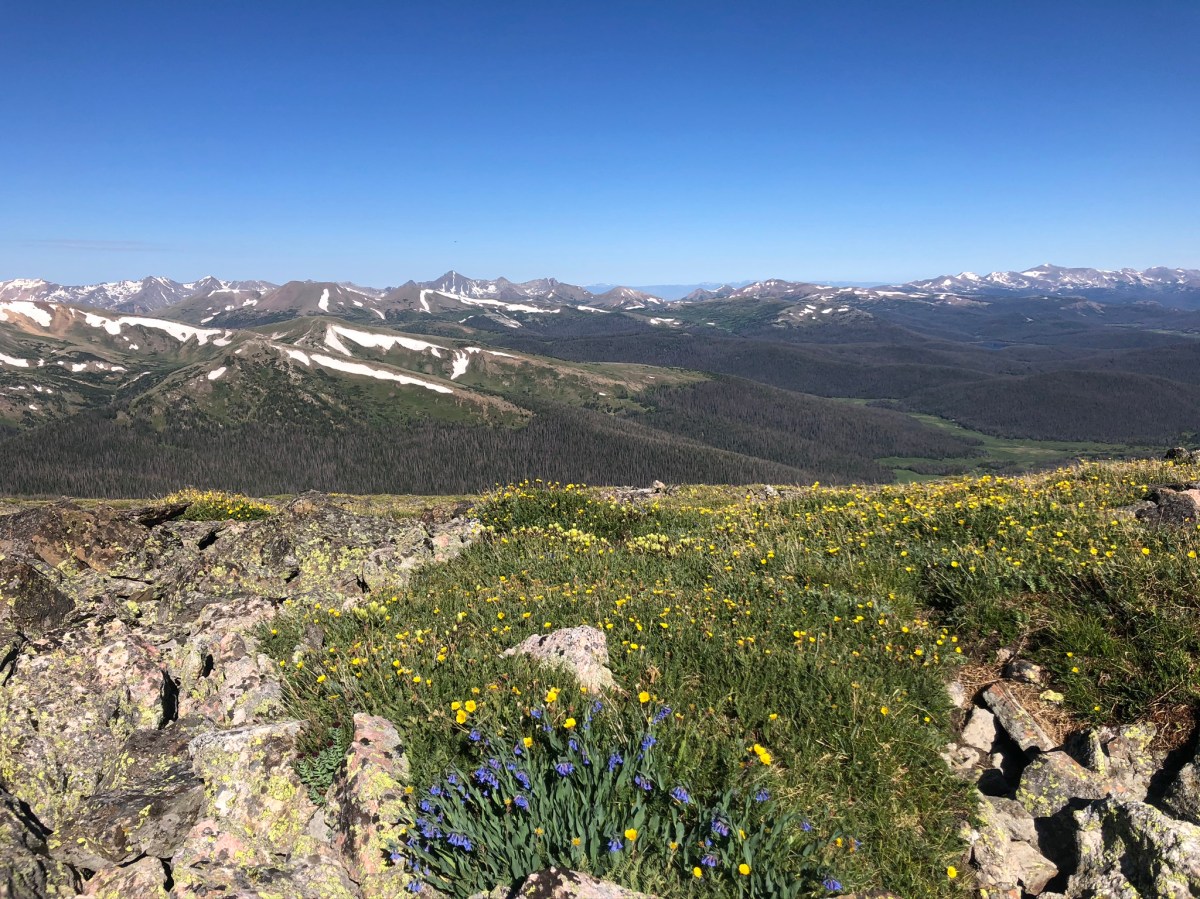
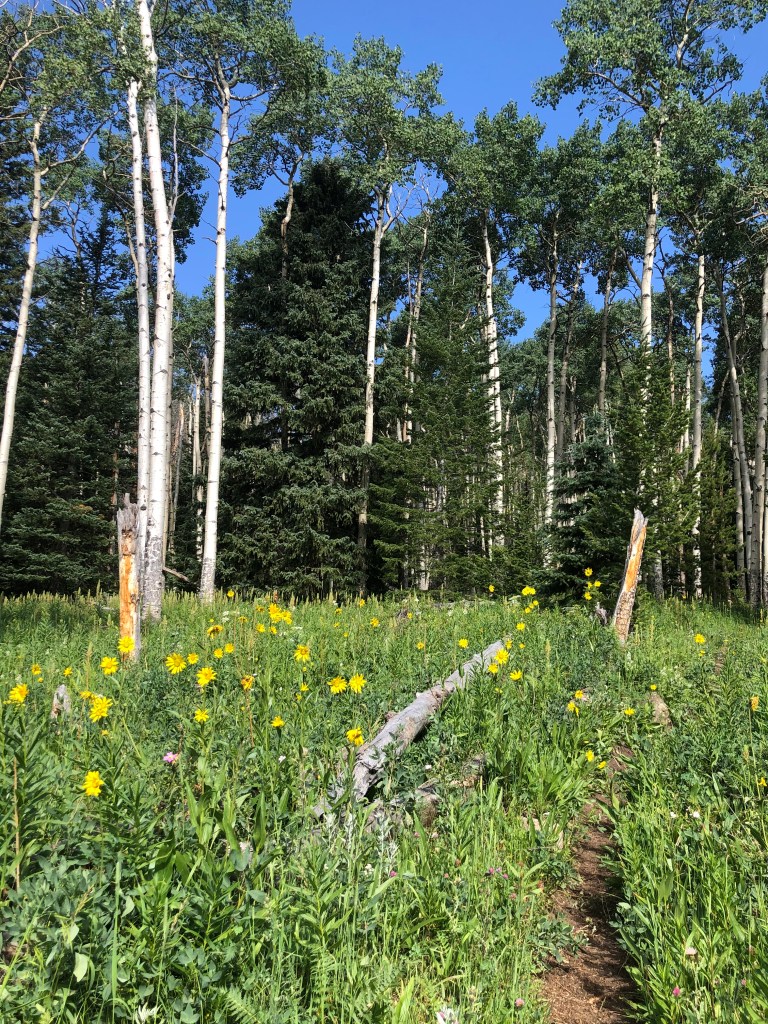
A variety of wildflowers bloomed near Mill Creek and in the open fields.
Wilderness Camping at Mill Creek Basin
Half way through the hike (or 2 miles from the trailhead) we crossed into the Mill Creek Basin. There are two wilderness camping spots available in the Mill Creek Basin. The National Park Service offers a map of all the wilderness campsites in the Bear Lake area including Mill Creek Basin. Additional information about permits and regulations can be found on the national park service’s website.
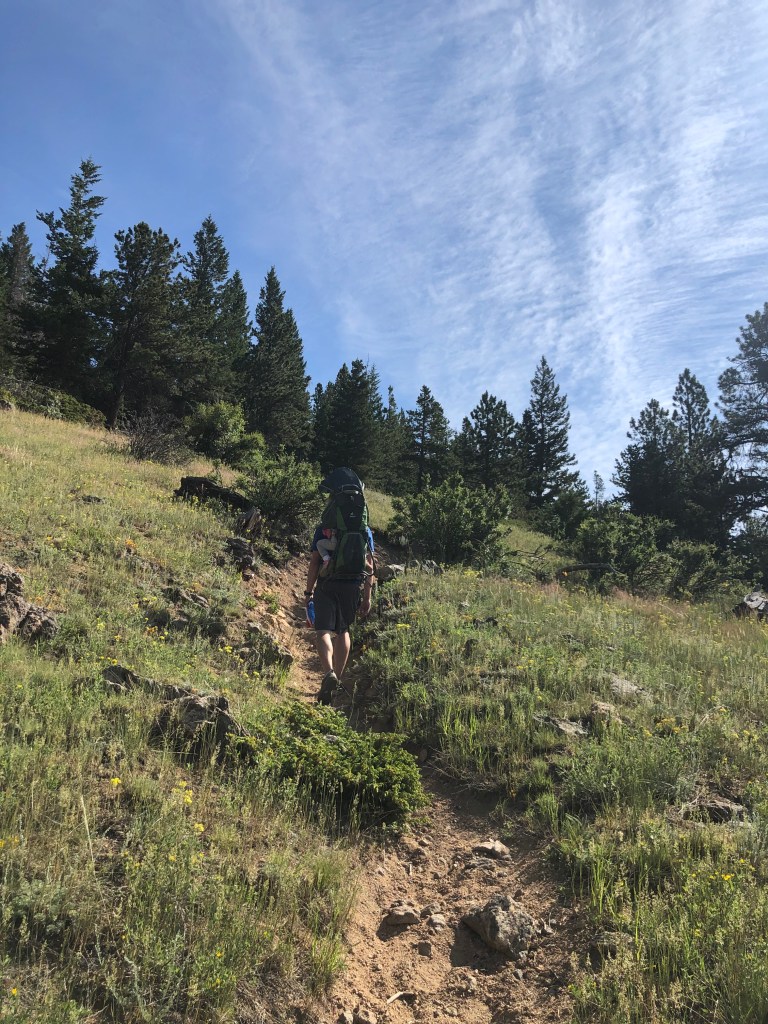
Mill Creeek BasinUphill section with narrow trailMountain viewsThis section of the trail was steep going downhill (if following the direction we came).
If you are looking for a backup plan hike, a hike that’s less crowded, or a hike with gorgeous wildflowers, I highly recommend giving this loop around Mill Creek Basin a shot. Let me know if you do and what you think!
Want a bigger challenge? This trail connects to several popular destinations in the park including Cub Lake, Bear Lake, and Bierstadt Lake.
Trekking poles – I wish we would have brought trekking poles for the steep downhill section of this trail through the elm trees. I typically don’t have knee issues, but sometimes hiking downhill is hard on my joints and I think the poles help absorb the extra pressure. Trekking poles also come in handy if there are any snowy patches along the trail.