Family Hike to Black Lake in Rocky Mountain National Park

Today there is an afternoon thunderstorm rolling through and I’m attempting to catch up on laundry, but in between loads, I wanted to share about a recent hike our family took to Black Lake in Rocky Mountain National Park in Colorado.

Navigating the Popular Bear Lake Road

The most direct route to Black Lake starts at the Glacier Gorge Trailhead. There is a small parking lot that filled up before we arrived, so we headed further up to Bear Lake and lucked out by finding a spot. These fill up quickly! Another option is parking at the Park and Ride lot and taking the free shuttle. The shuttles start at 6:30 each morning and go through 7:30 pm between May 22nd and October 18th. You can find out more information about the shuttle buses on the park’s website.

Because this hike is located in the most popular area of the park, we had to get a timed-entry + Bear Lake Road reservation through recreation.gov.

Black Lake vs. Sky Pond

There are so many hikes to choose from in the Bear Lake area. We chose Black Lake because we recently hiked up Mount Ida which is a challenging summit hike with sweeping views. The hike to Mount Ida is mostly above tree-line. For our next hike, we craved a contrast. The hike to Black Lake is a moderately difficult hike with a round trip distance of 9.4 miles+ according to our essential guide by Erik Stensland. It features lush forests = more shade, beautiful alpine lakes, wildflowers, and several waterfalls.

Another awesome hike that delivers similar features is Sky Pond. I felt that Black Lake was a safer, slightly easier option to do with our kids. With Sky Pond you are basically climbing on steep, wet rocks and with Black Lake it is much easier to avoid wet rocks (in my experience).

I’ve hiked both hikes with my husband and wrote about our experience in previous posts:

Highlight Hike: Sky Pond in Rocky Mountain National Park

Black Lake Hike in Rocky Mountain National Park

Bear Lake Trail Head
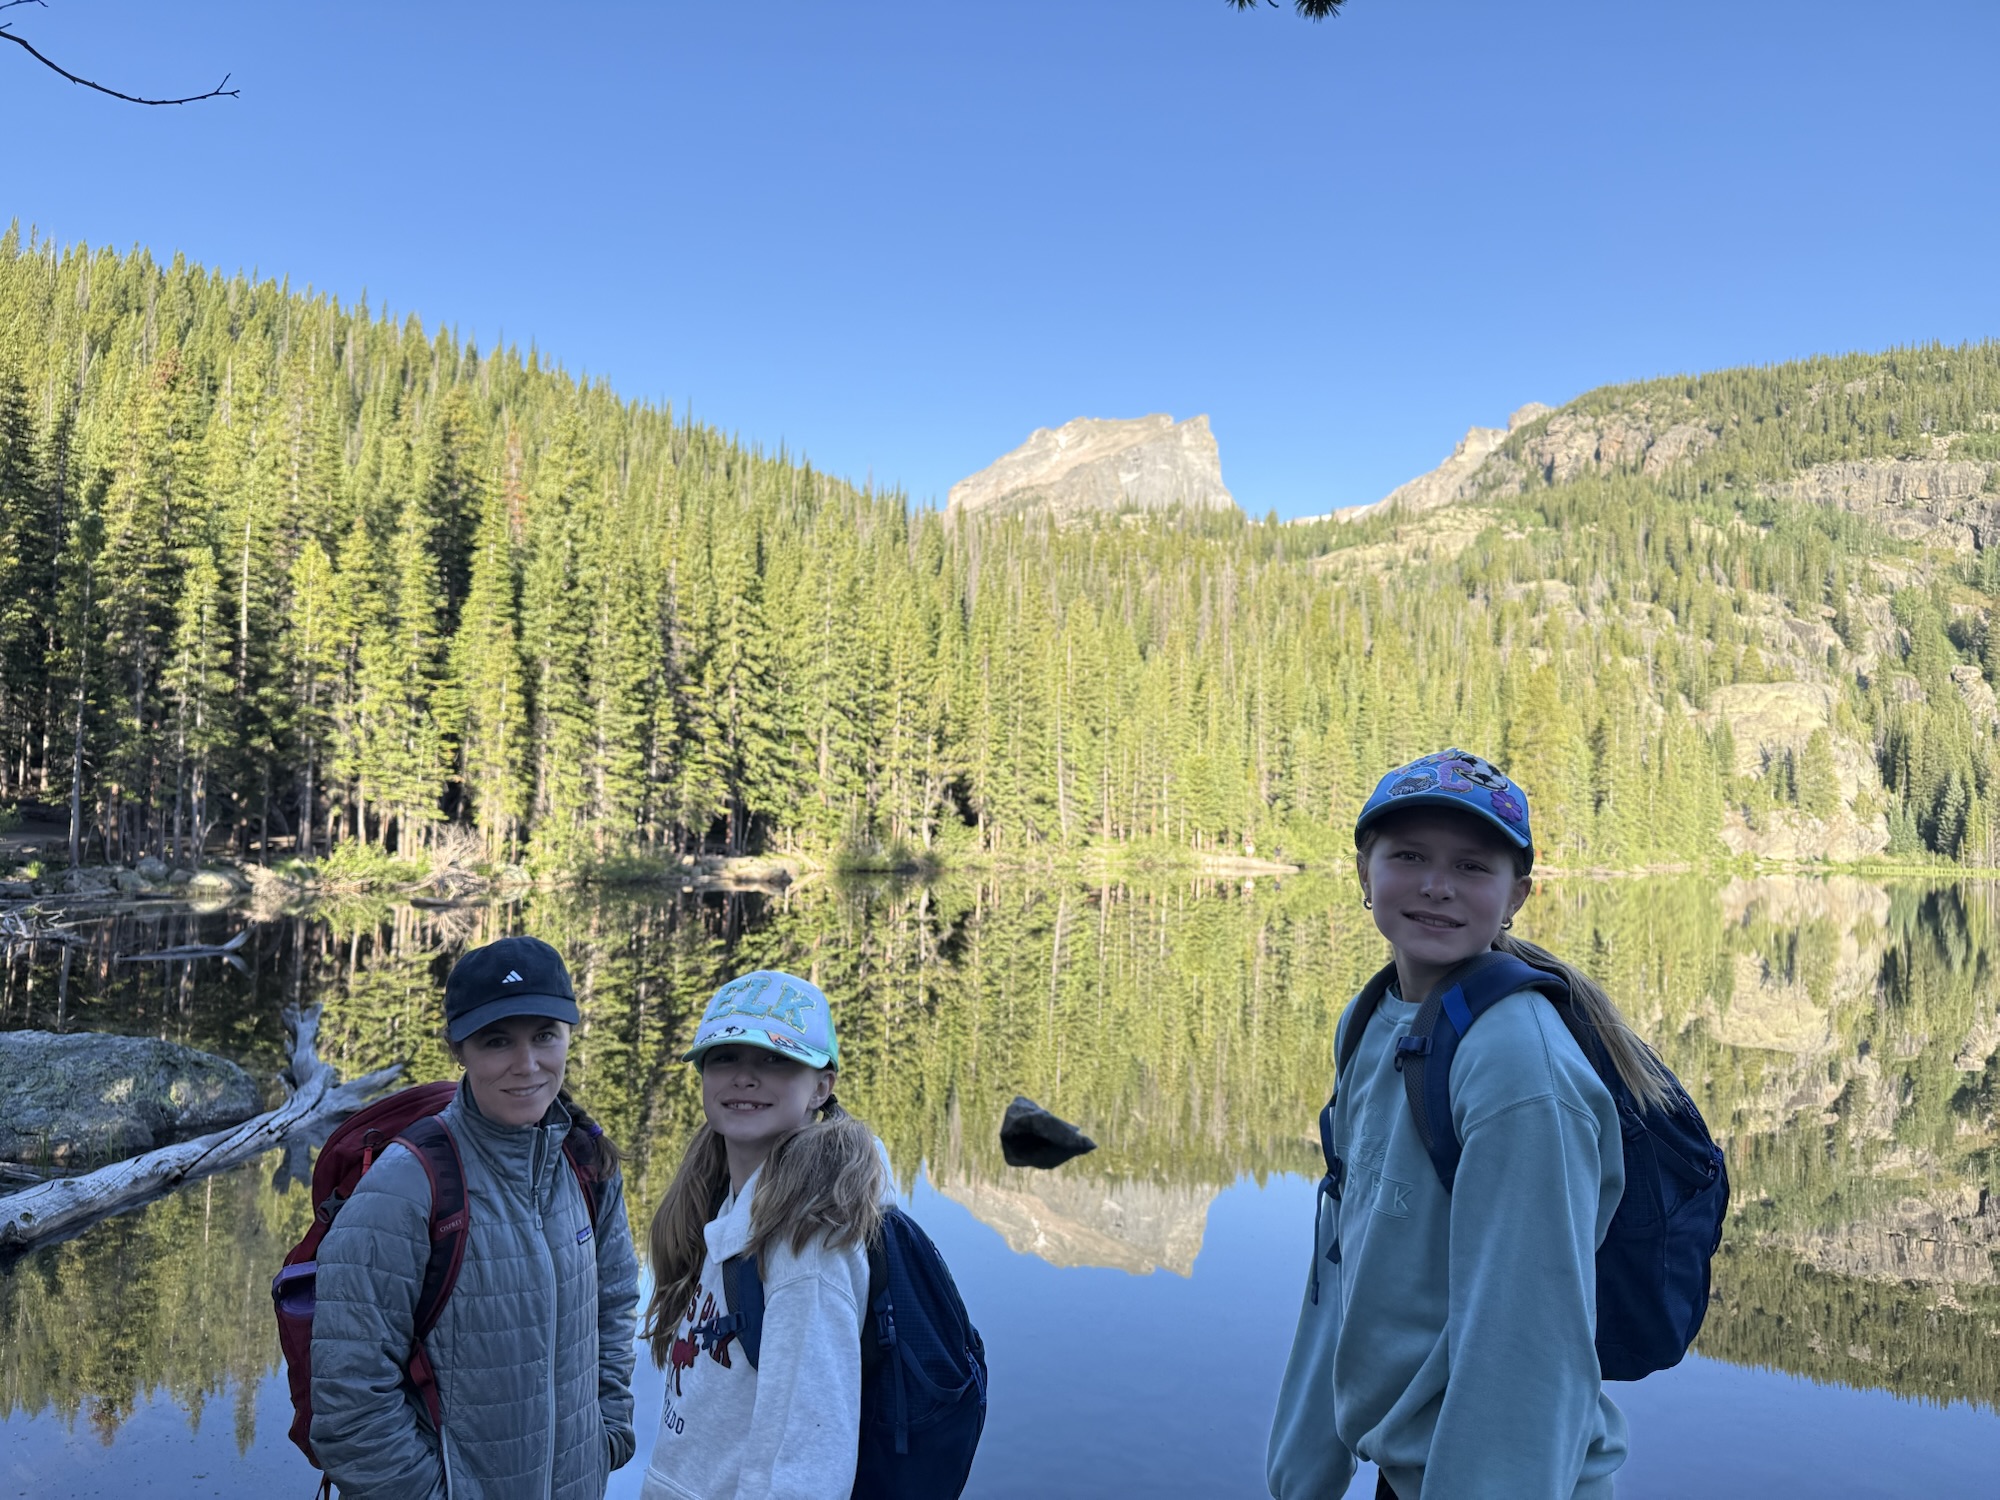
Bear Lake
Bear Lake

Bear Lake wasn’t technically on our route, but we couldn’t miss an opportunity to take in the view of the alpine lake with Hallett Peak in the background.

Alberta Falls

We retraced our steps and officially started our hike to Black Lake by following signage towards Alberta Falls arriving at 7:31AM with no other visitors in sight.
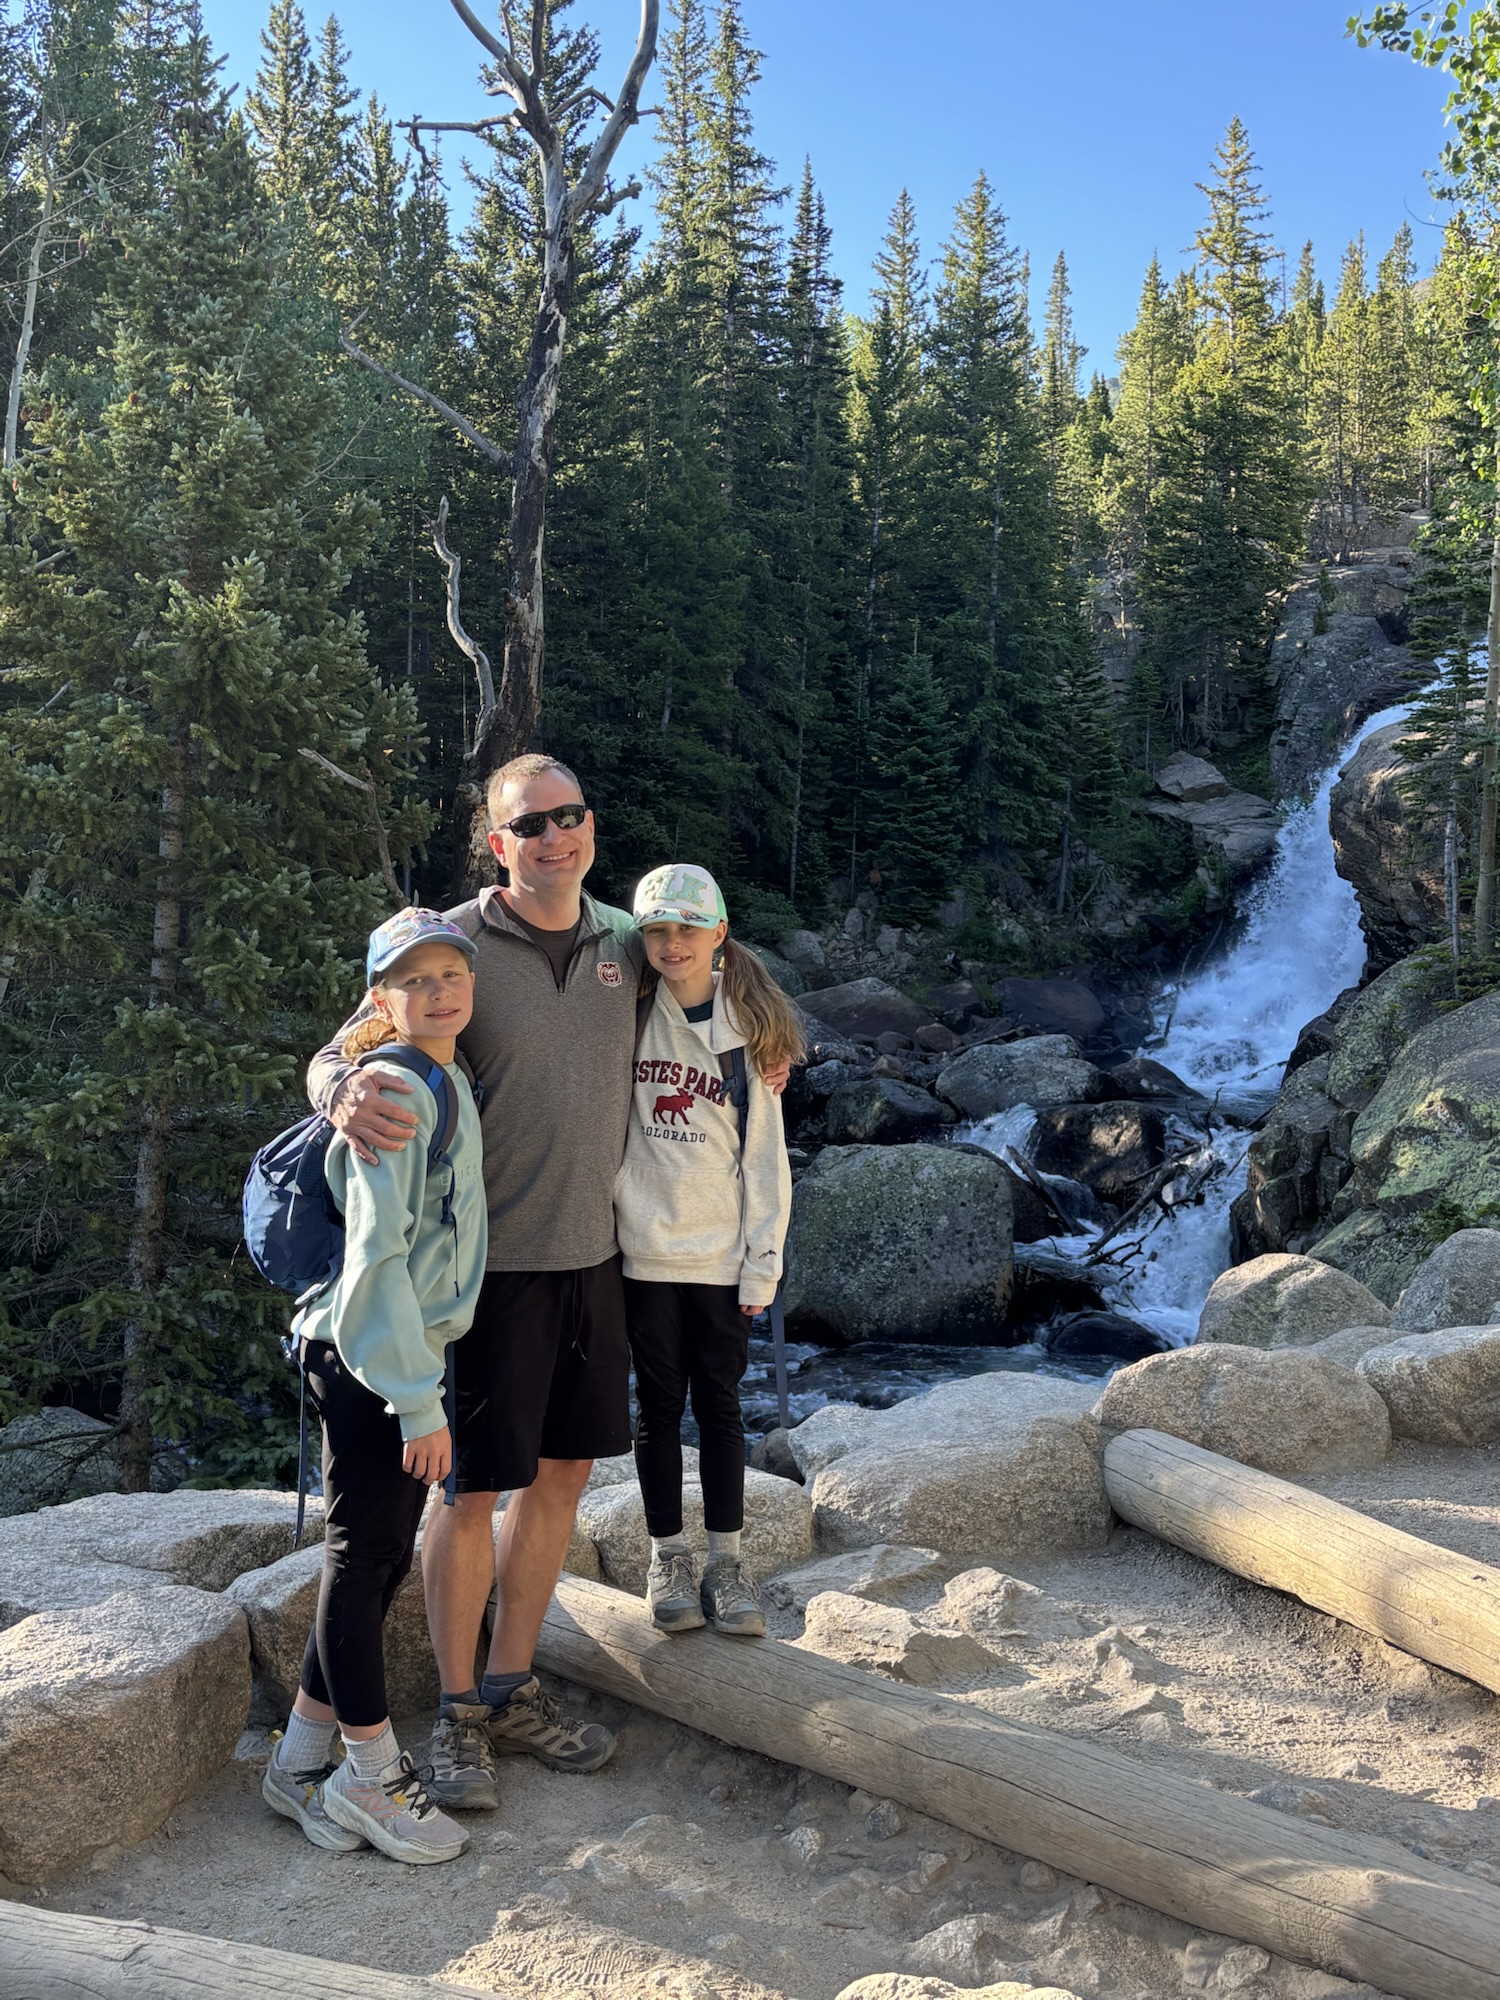
Alberta Falls
Alberta Falls

Mills Lake

The next destination on our hike was Mills Lake which has been a family-favorite for years! On this trip, we enjoyed spotting many trout in the clear waters of the mountain lake.

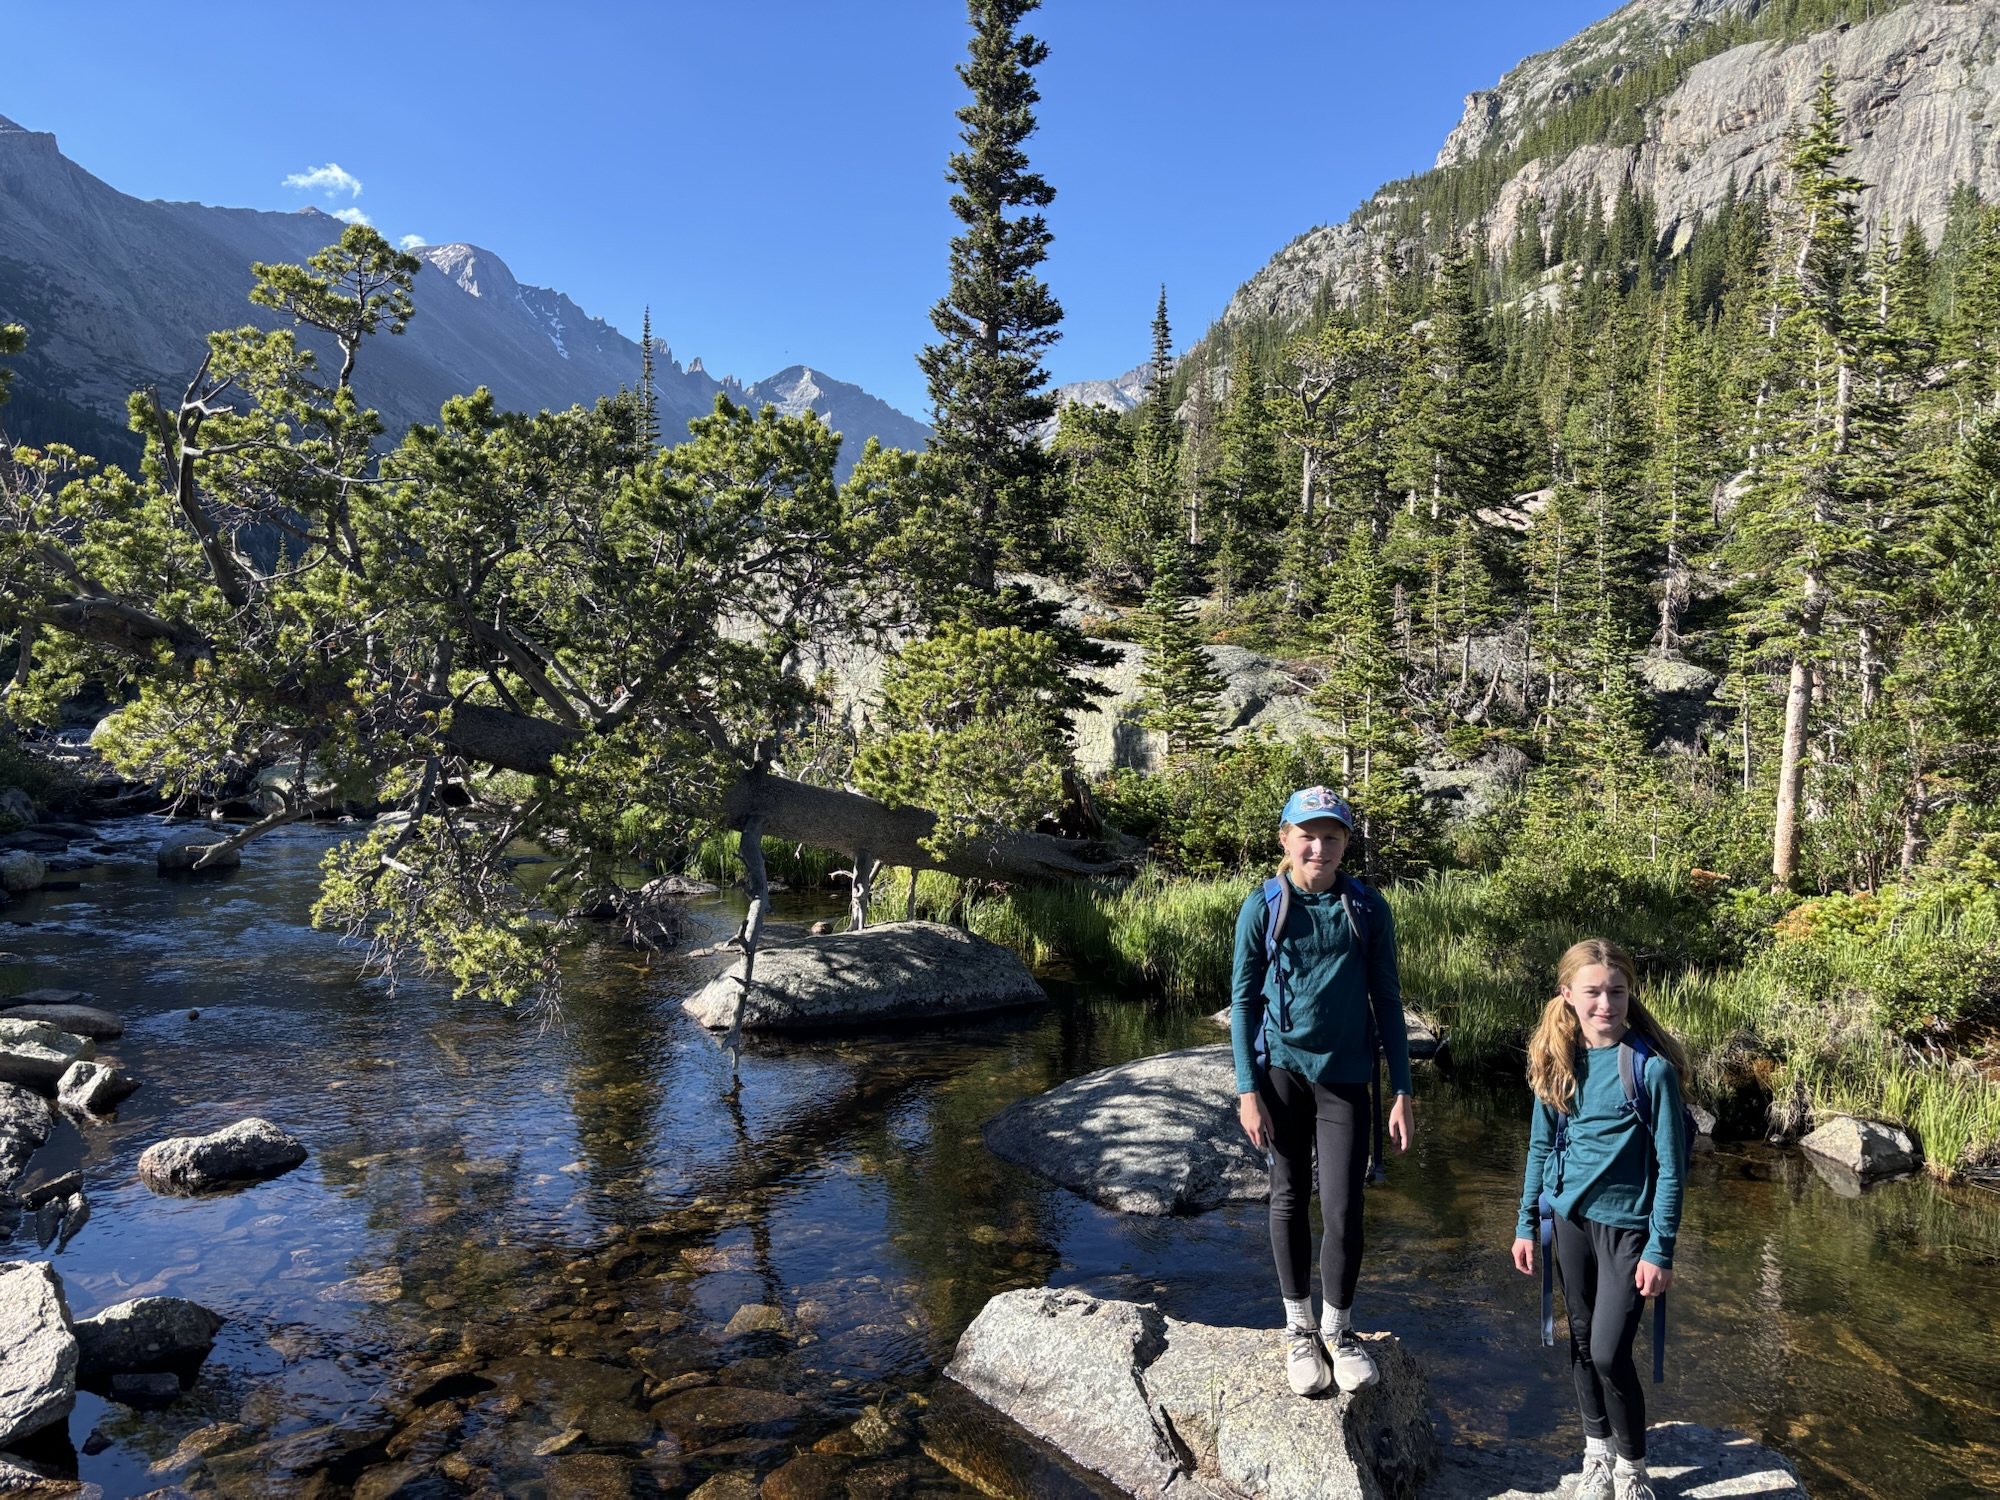
Mills Lake
Mills Lake
Mills Lake

Be Aware of Aggressive Elk

Here we met a helpful local women who told us about an aggressive female elk she recently encountered in the meadow near Black Lake. ‘Elk calves are born from late May into June,’ according to the National Park Service, ‘Cows are extremely protective of their calves so use caution around elk at this time of year.’

I love the advice from a local expert who says, if you feel like you are giving the elk enough space – double or triple it. (Estes Park Police warn of aggressive cow elk after attack, 9News)

Safety in Numbers: When we are hiking in nature, we are always are on the look out for wild animals. We tell our girls that we have to remain close to each other when hiking. For a variety of safety reasons, kids shouldn’t be running ahead on trails.

Jewel Lake

After eating snacks and taking in the views from Mills Lake, we continued along the trail until we reached Jewel Lake which can be easy to miss because it seems to flow right into Mills. The views from this peaceful spot were incredible.
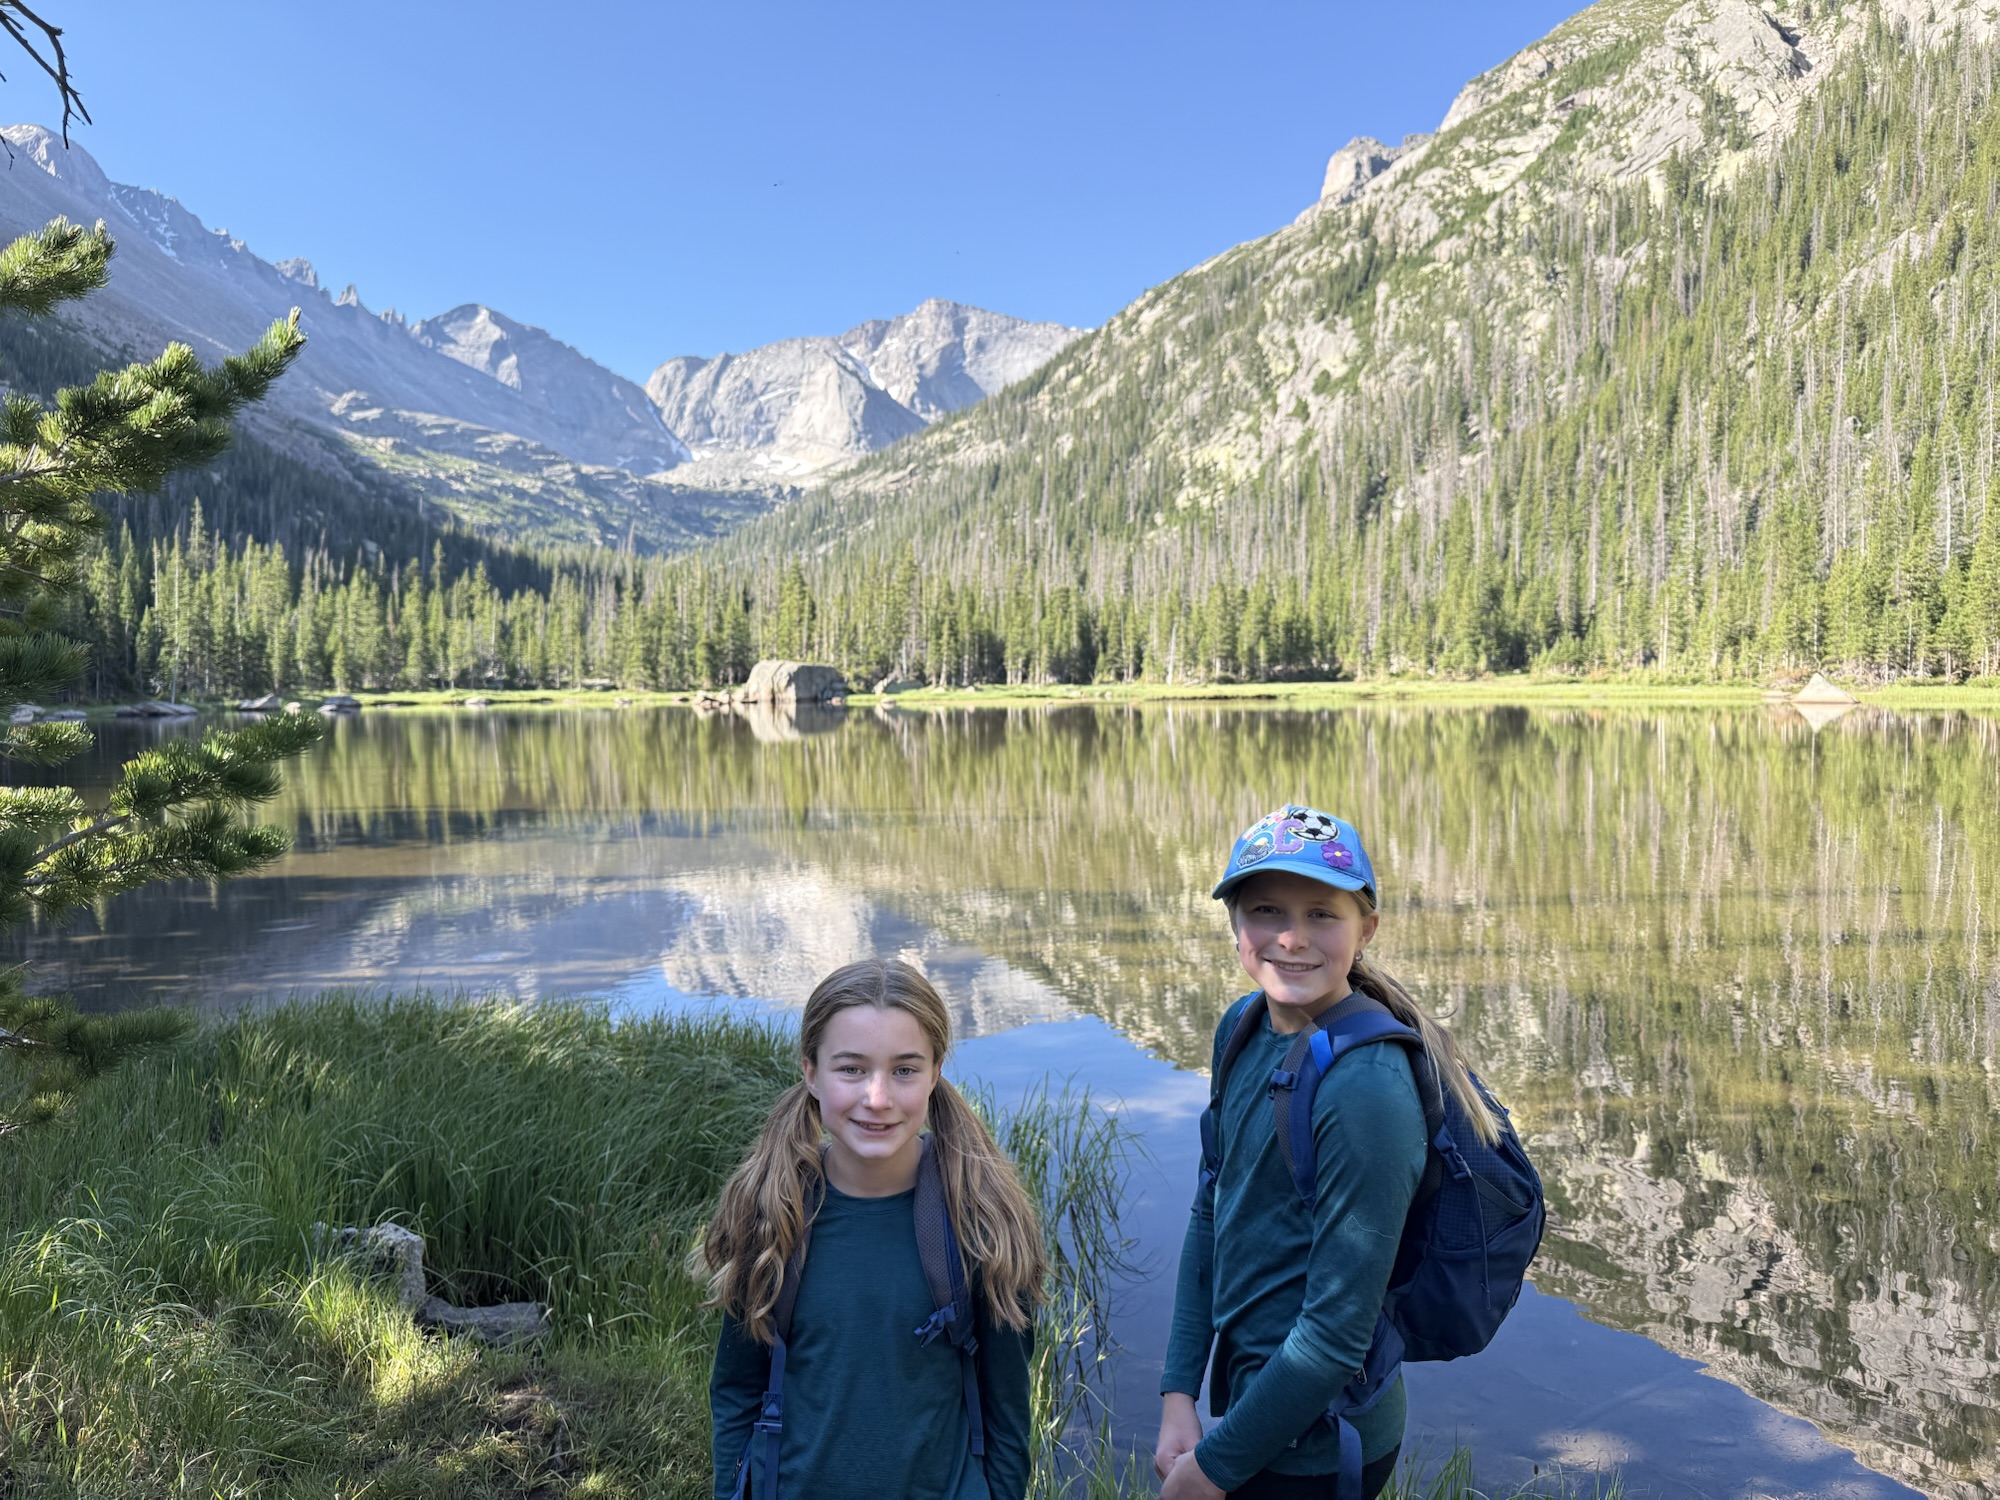
Jewel Lake
Jewel Lake

Wildflowers including columbine dotted the meadow as we continued on the hike. We passed over several wooden walkways. The trail becomes noticeably more rugged after Mills Lake. I tripped over a root on my way back down the trail, but thankfully I caught myself.
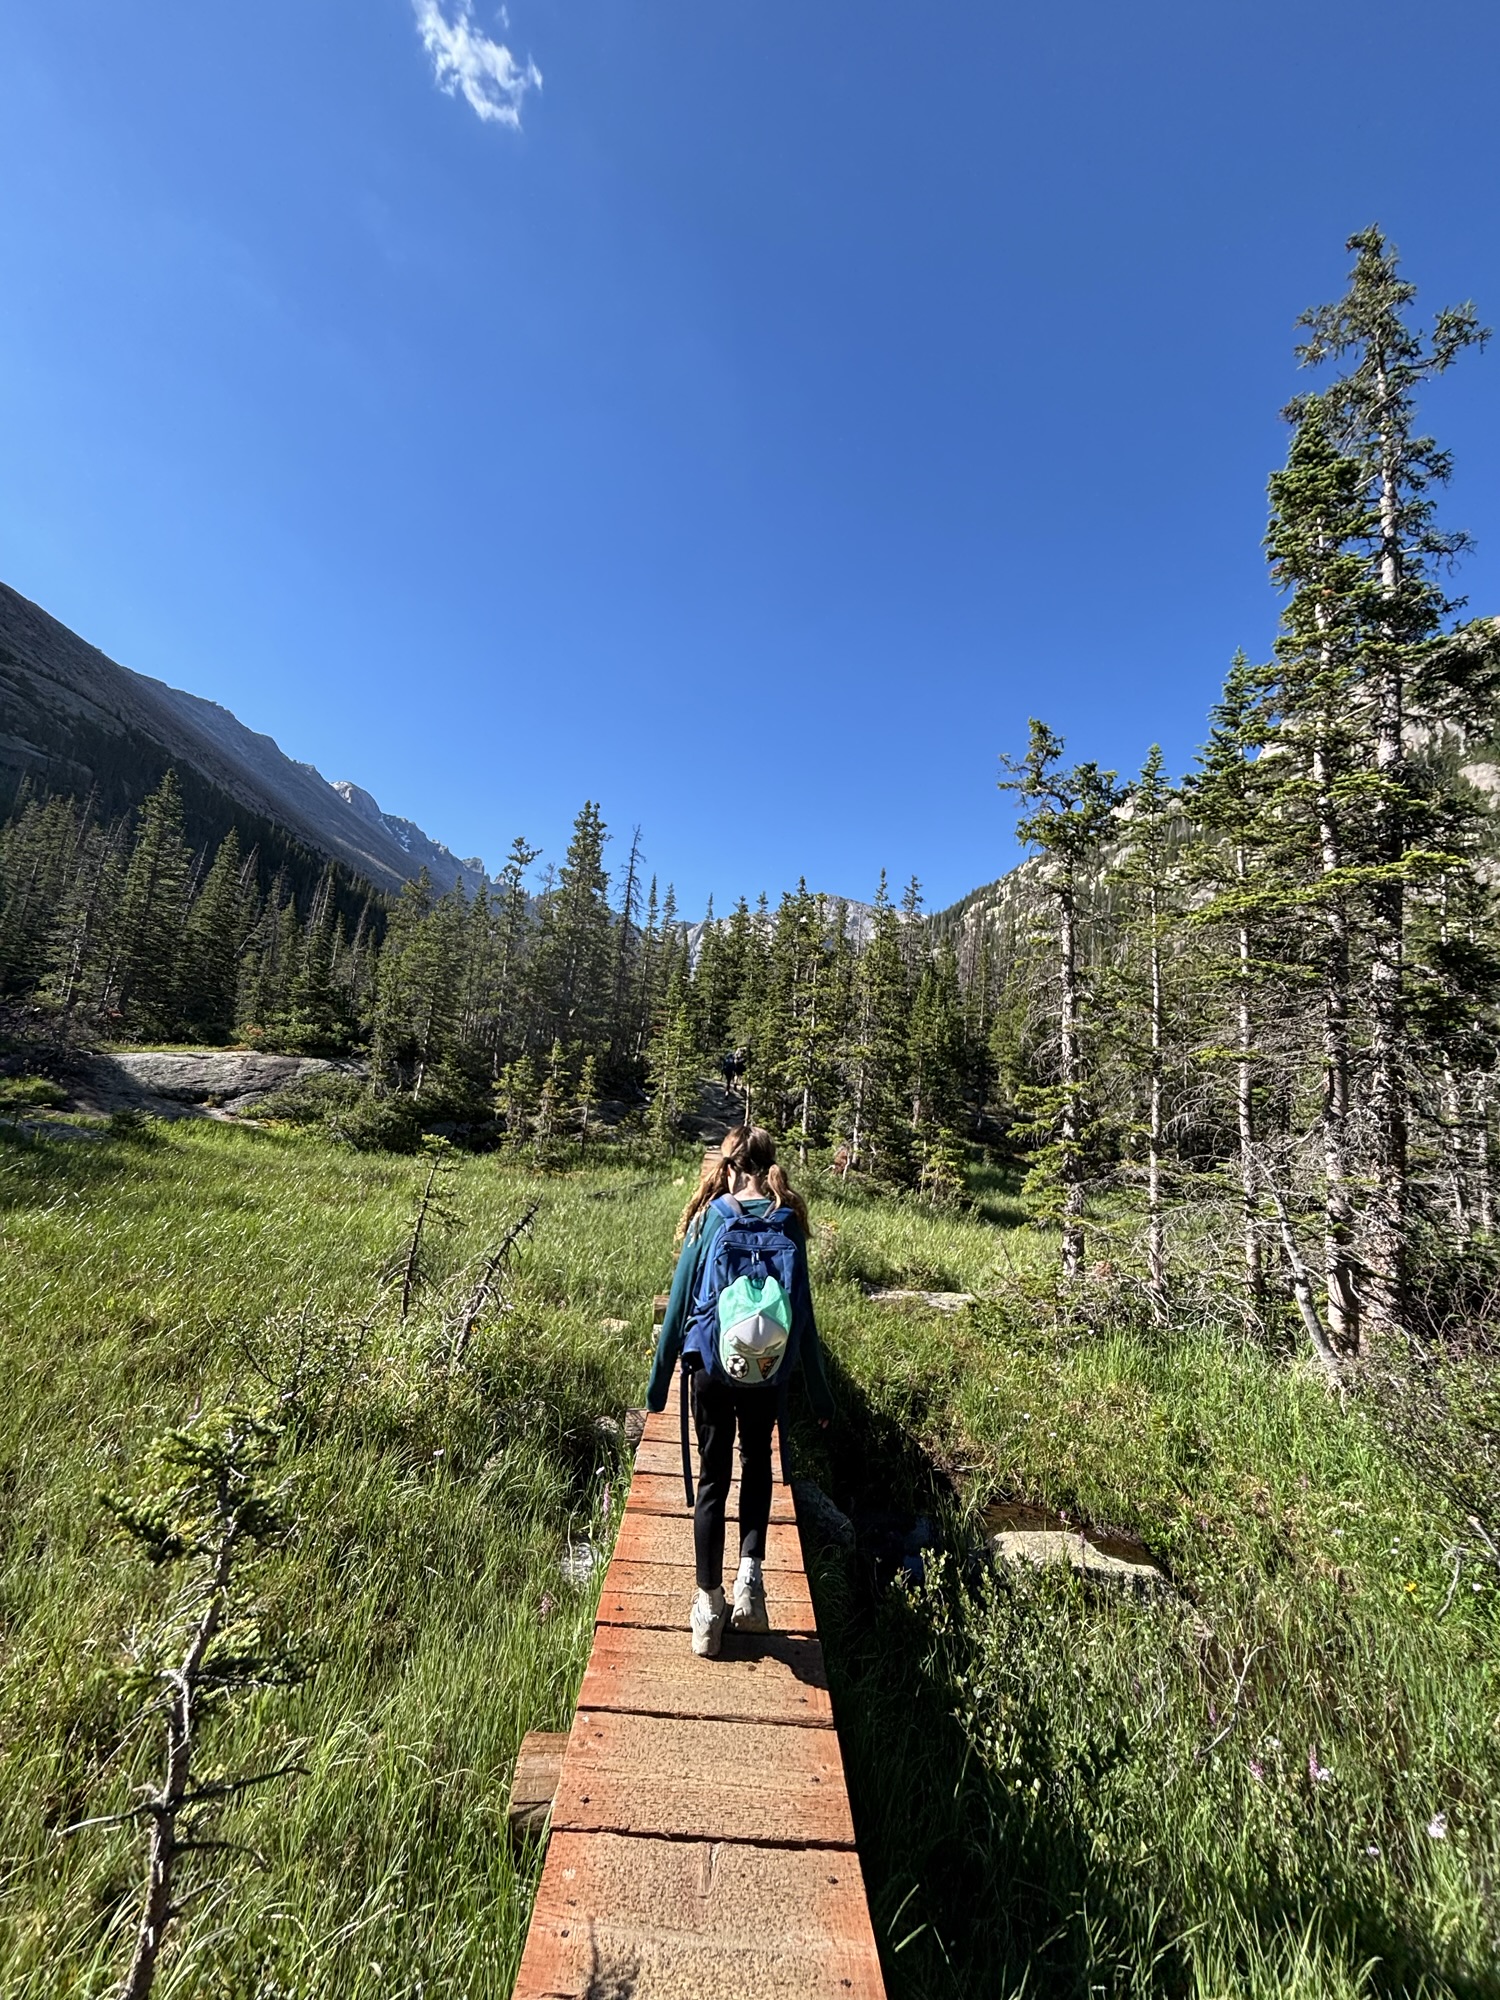
Hike up to Black Lake

Waterfalls

We walked alongside waterfalls as we approached Black Lake. For me, this is a highlight of this hike.
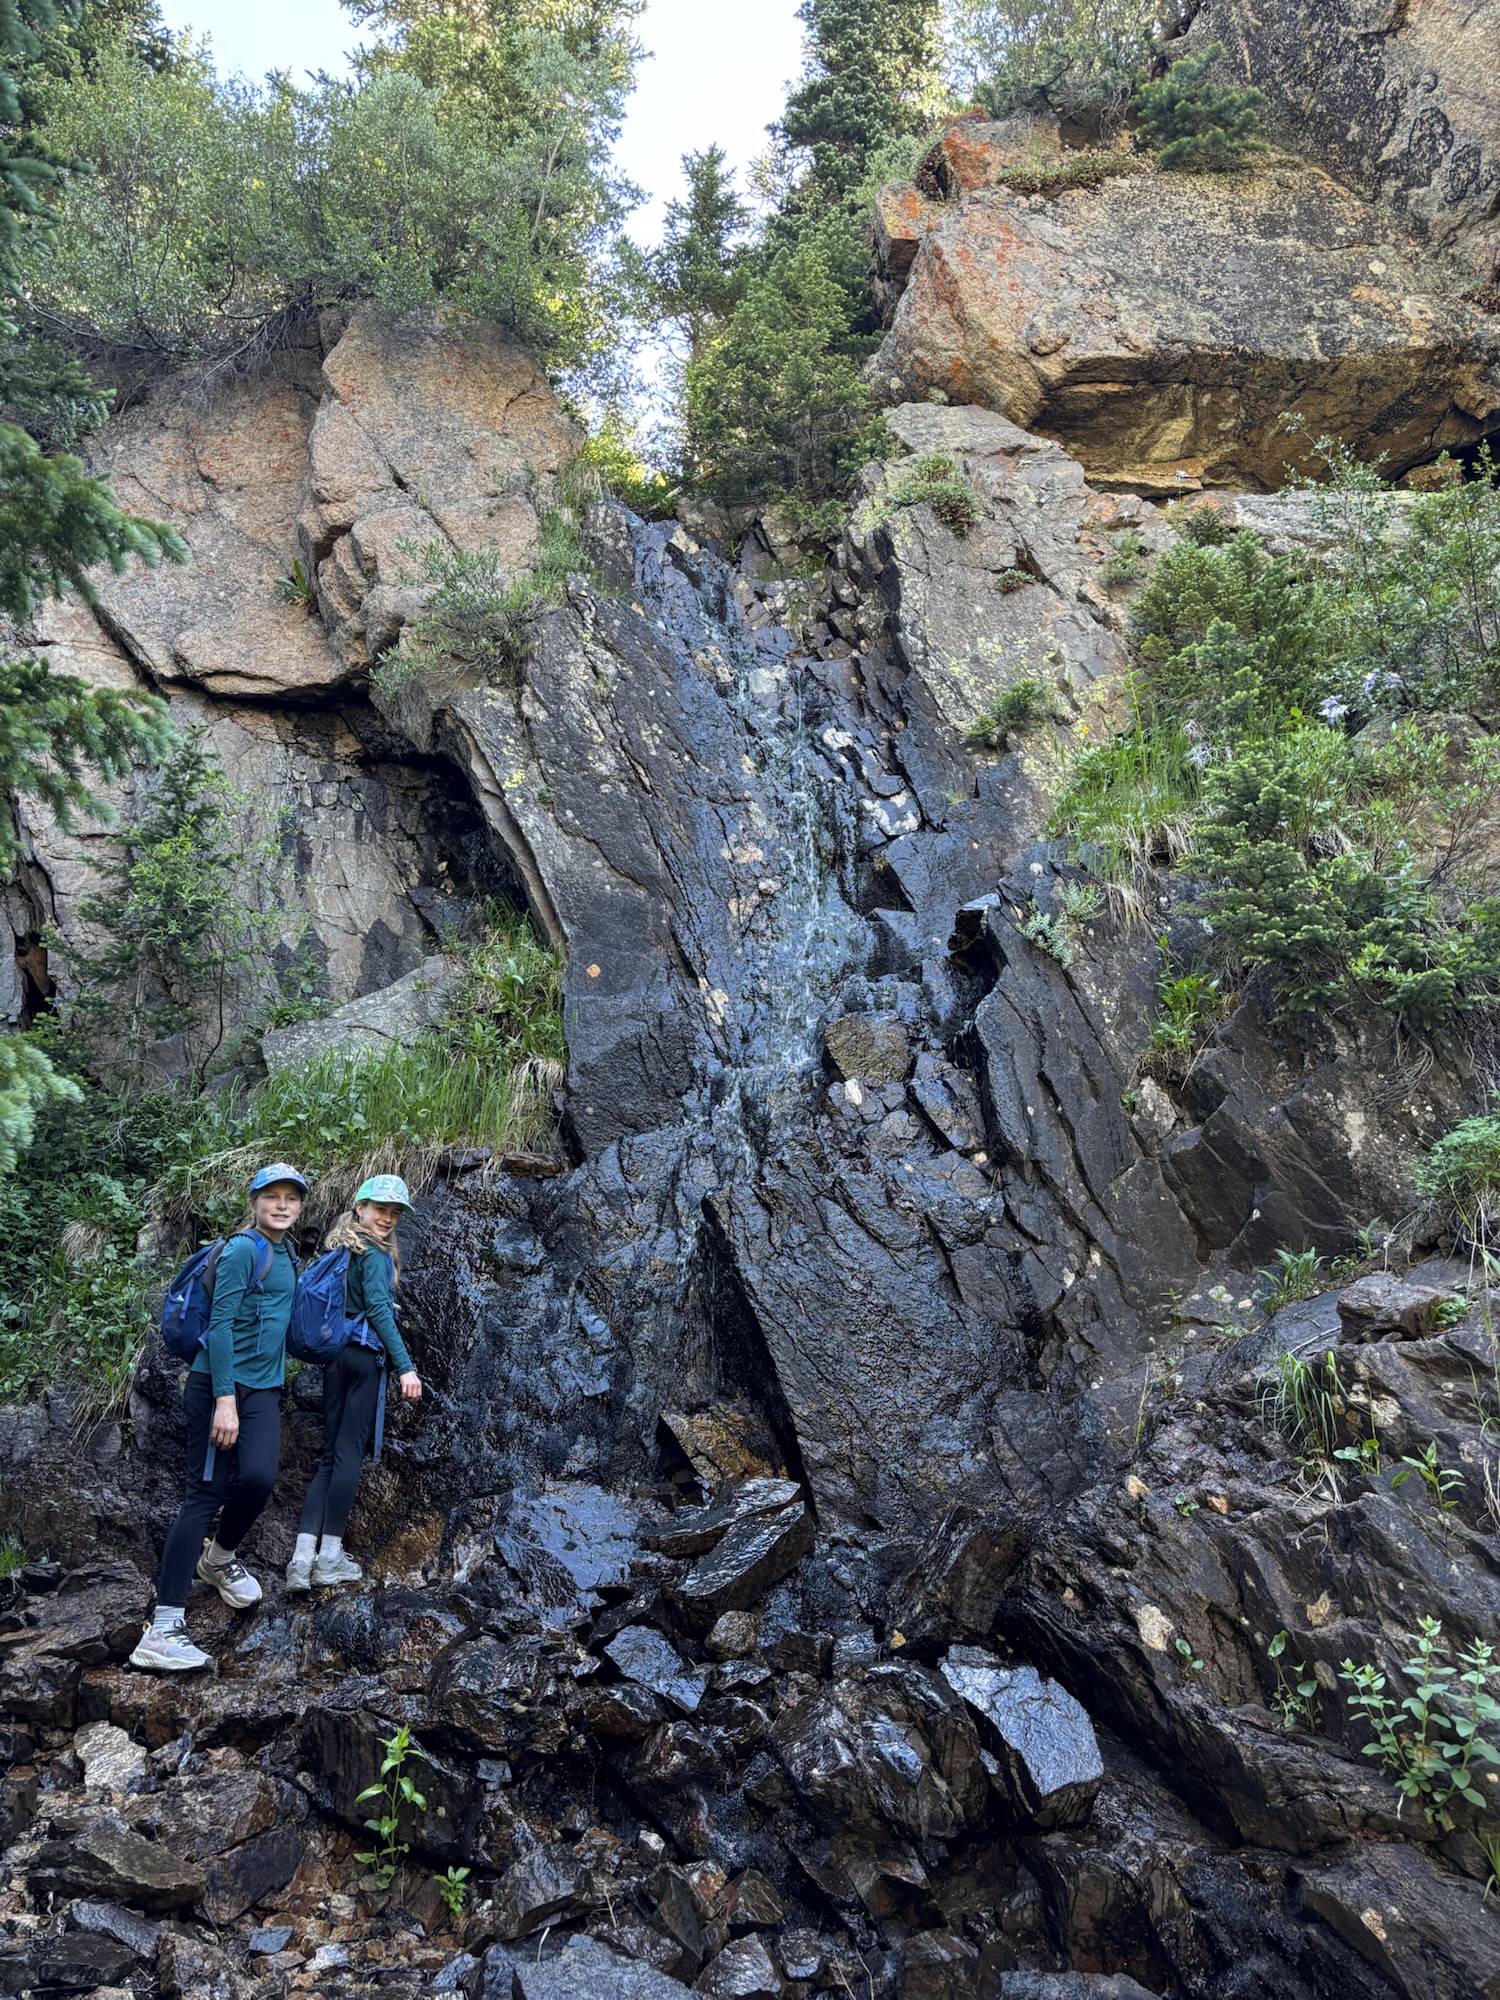
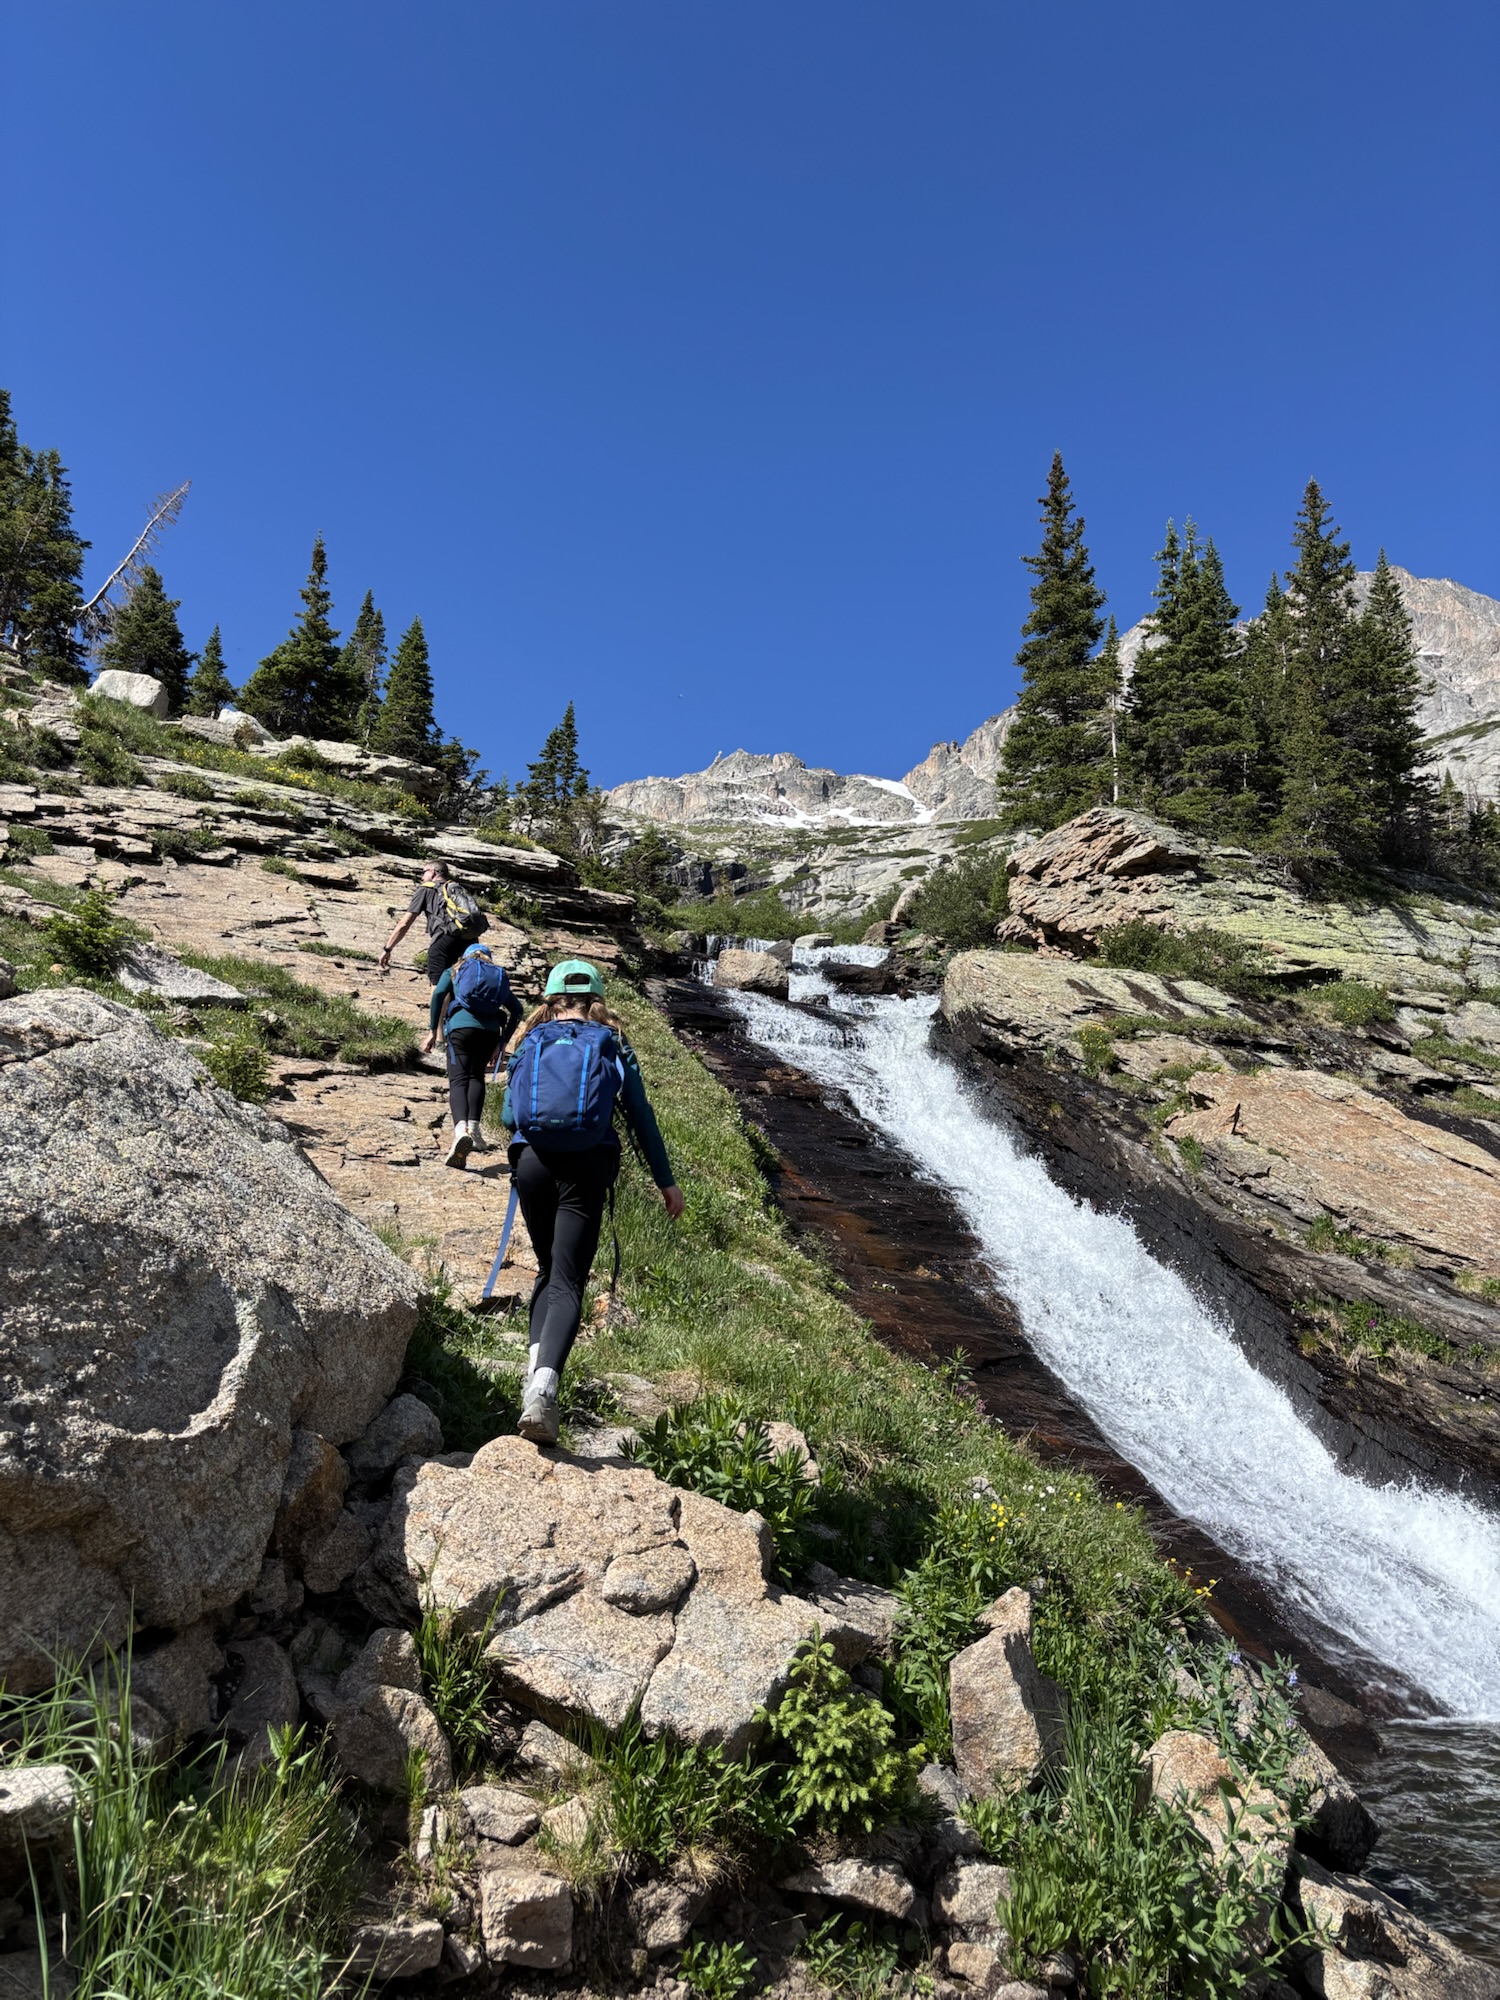
hike up to black lake in rmnp
Hike up to Black Lake in RMNP
Waterfall near Black Lake
Ribbon Falls
Ribbon Falls

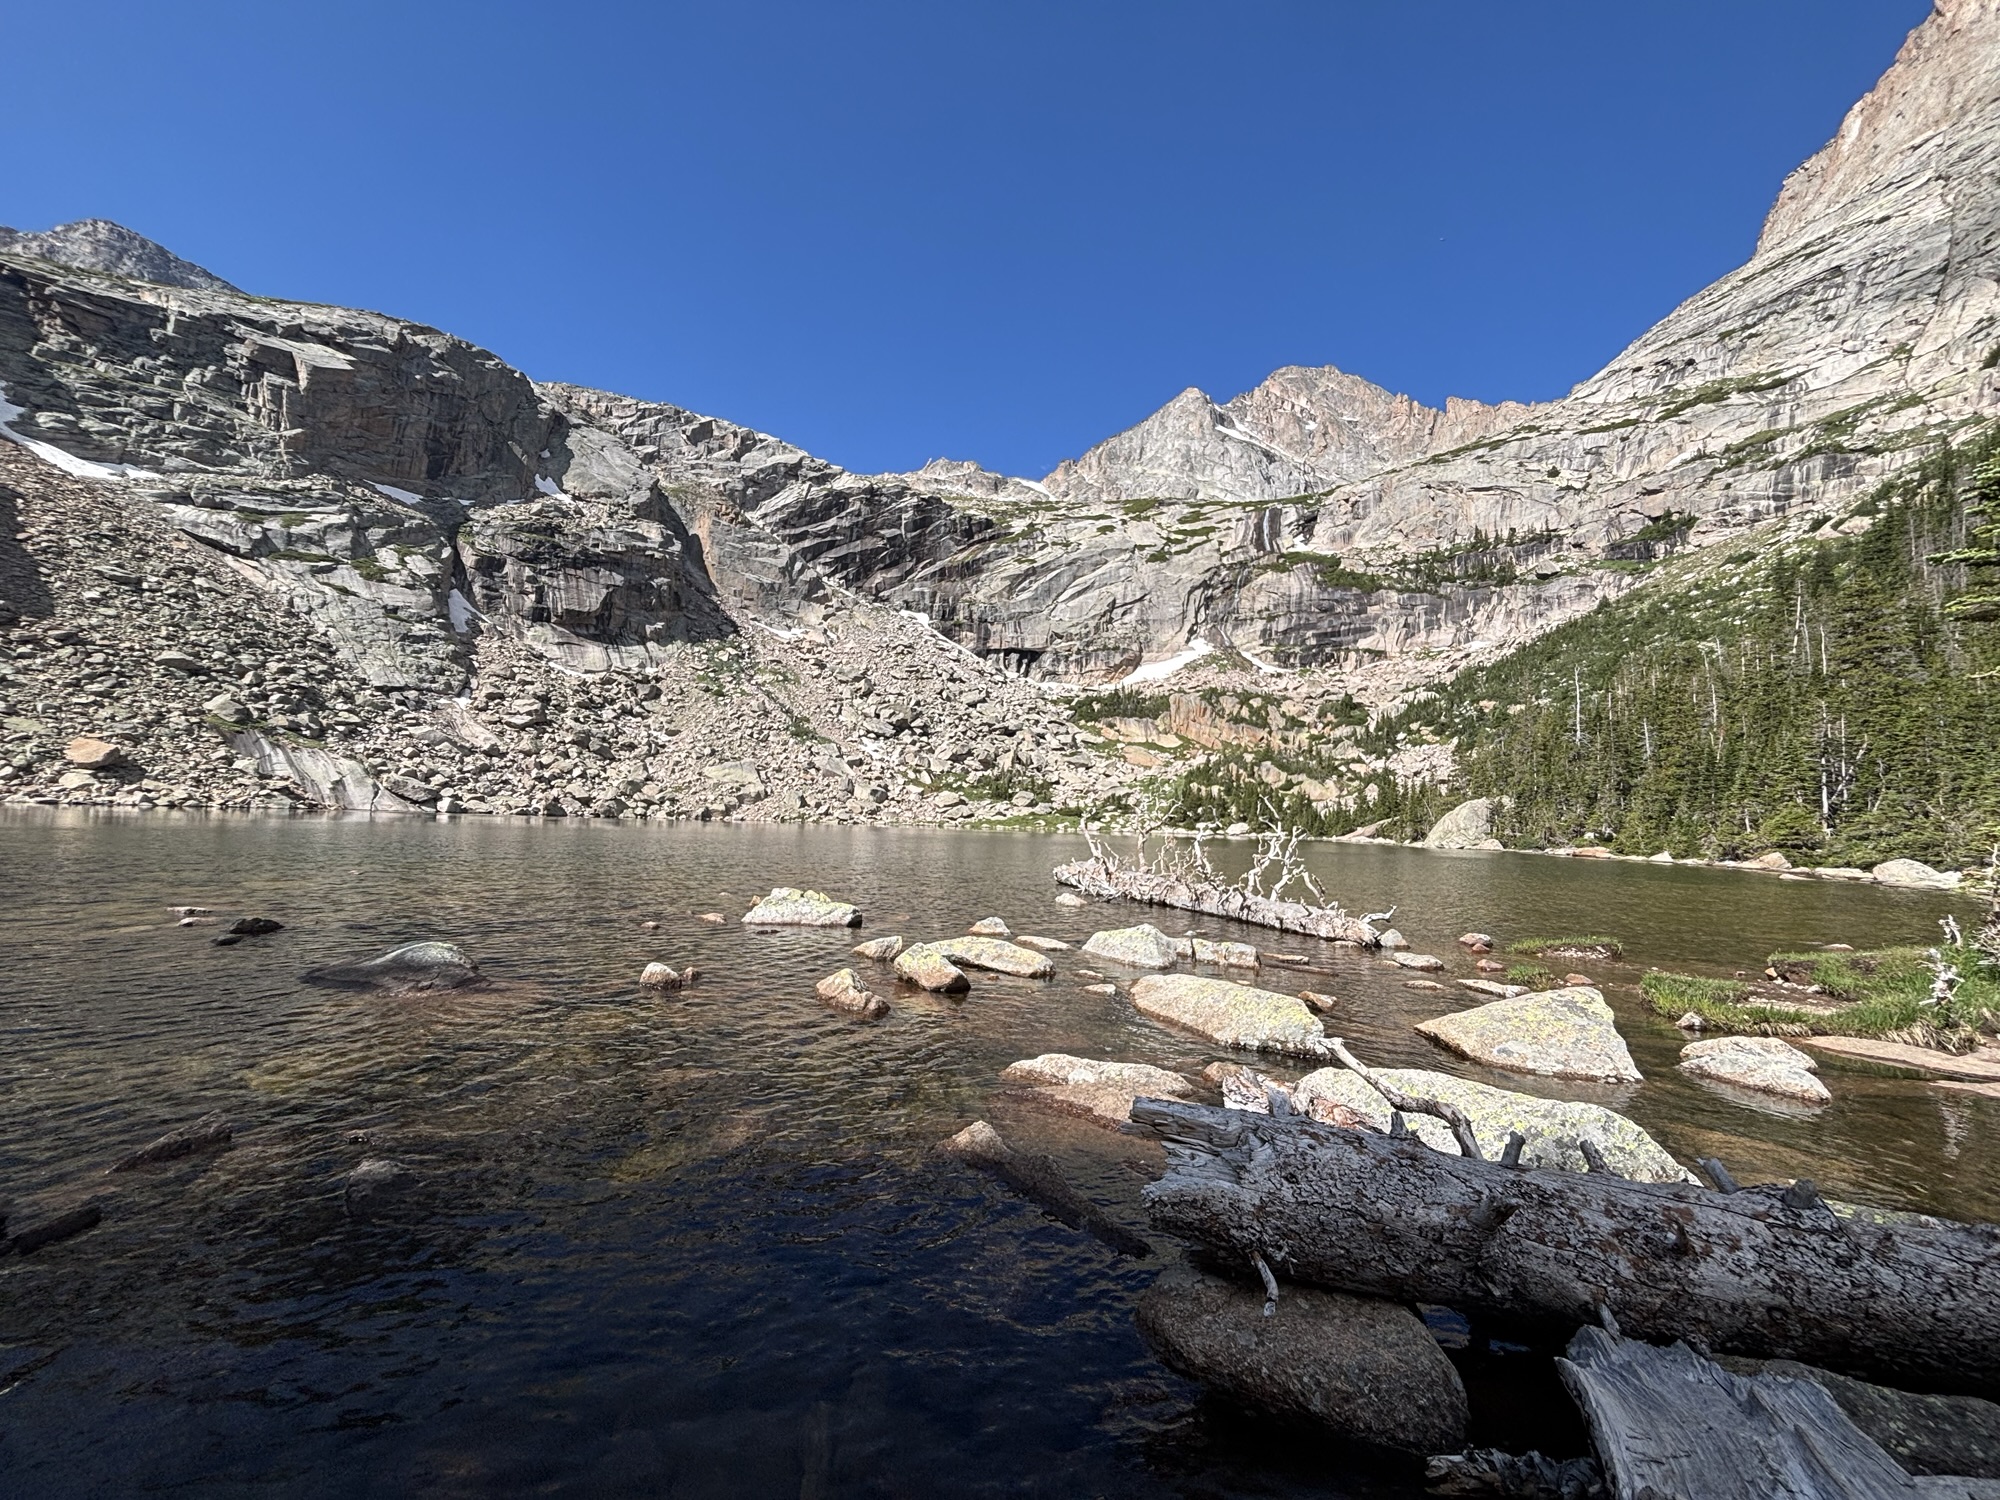
Black Lake

Black Lake
Black Lake

At 10:00AM (after several stops along the way) we reached our destination. We were lucky to arrive on a beautiful, clear morning with few pesky mosquitos due to a crisp, light breeze. The elevation is 10,611 feet.

Return Hike

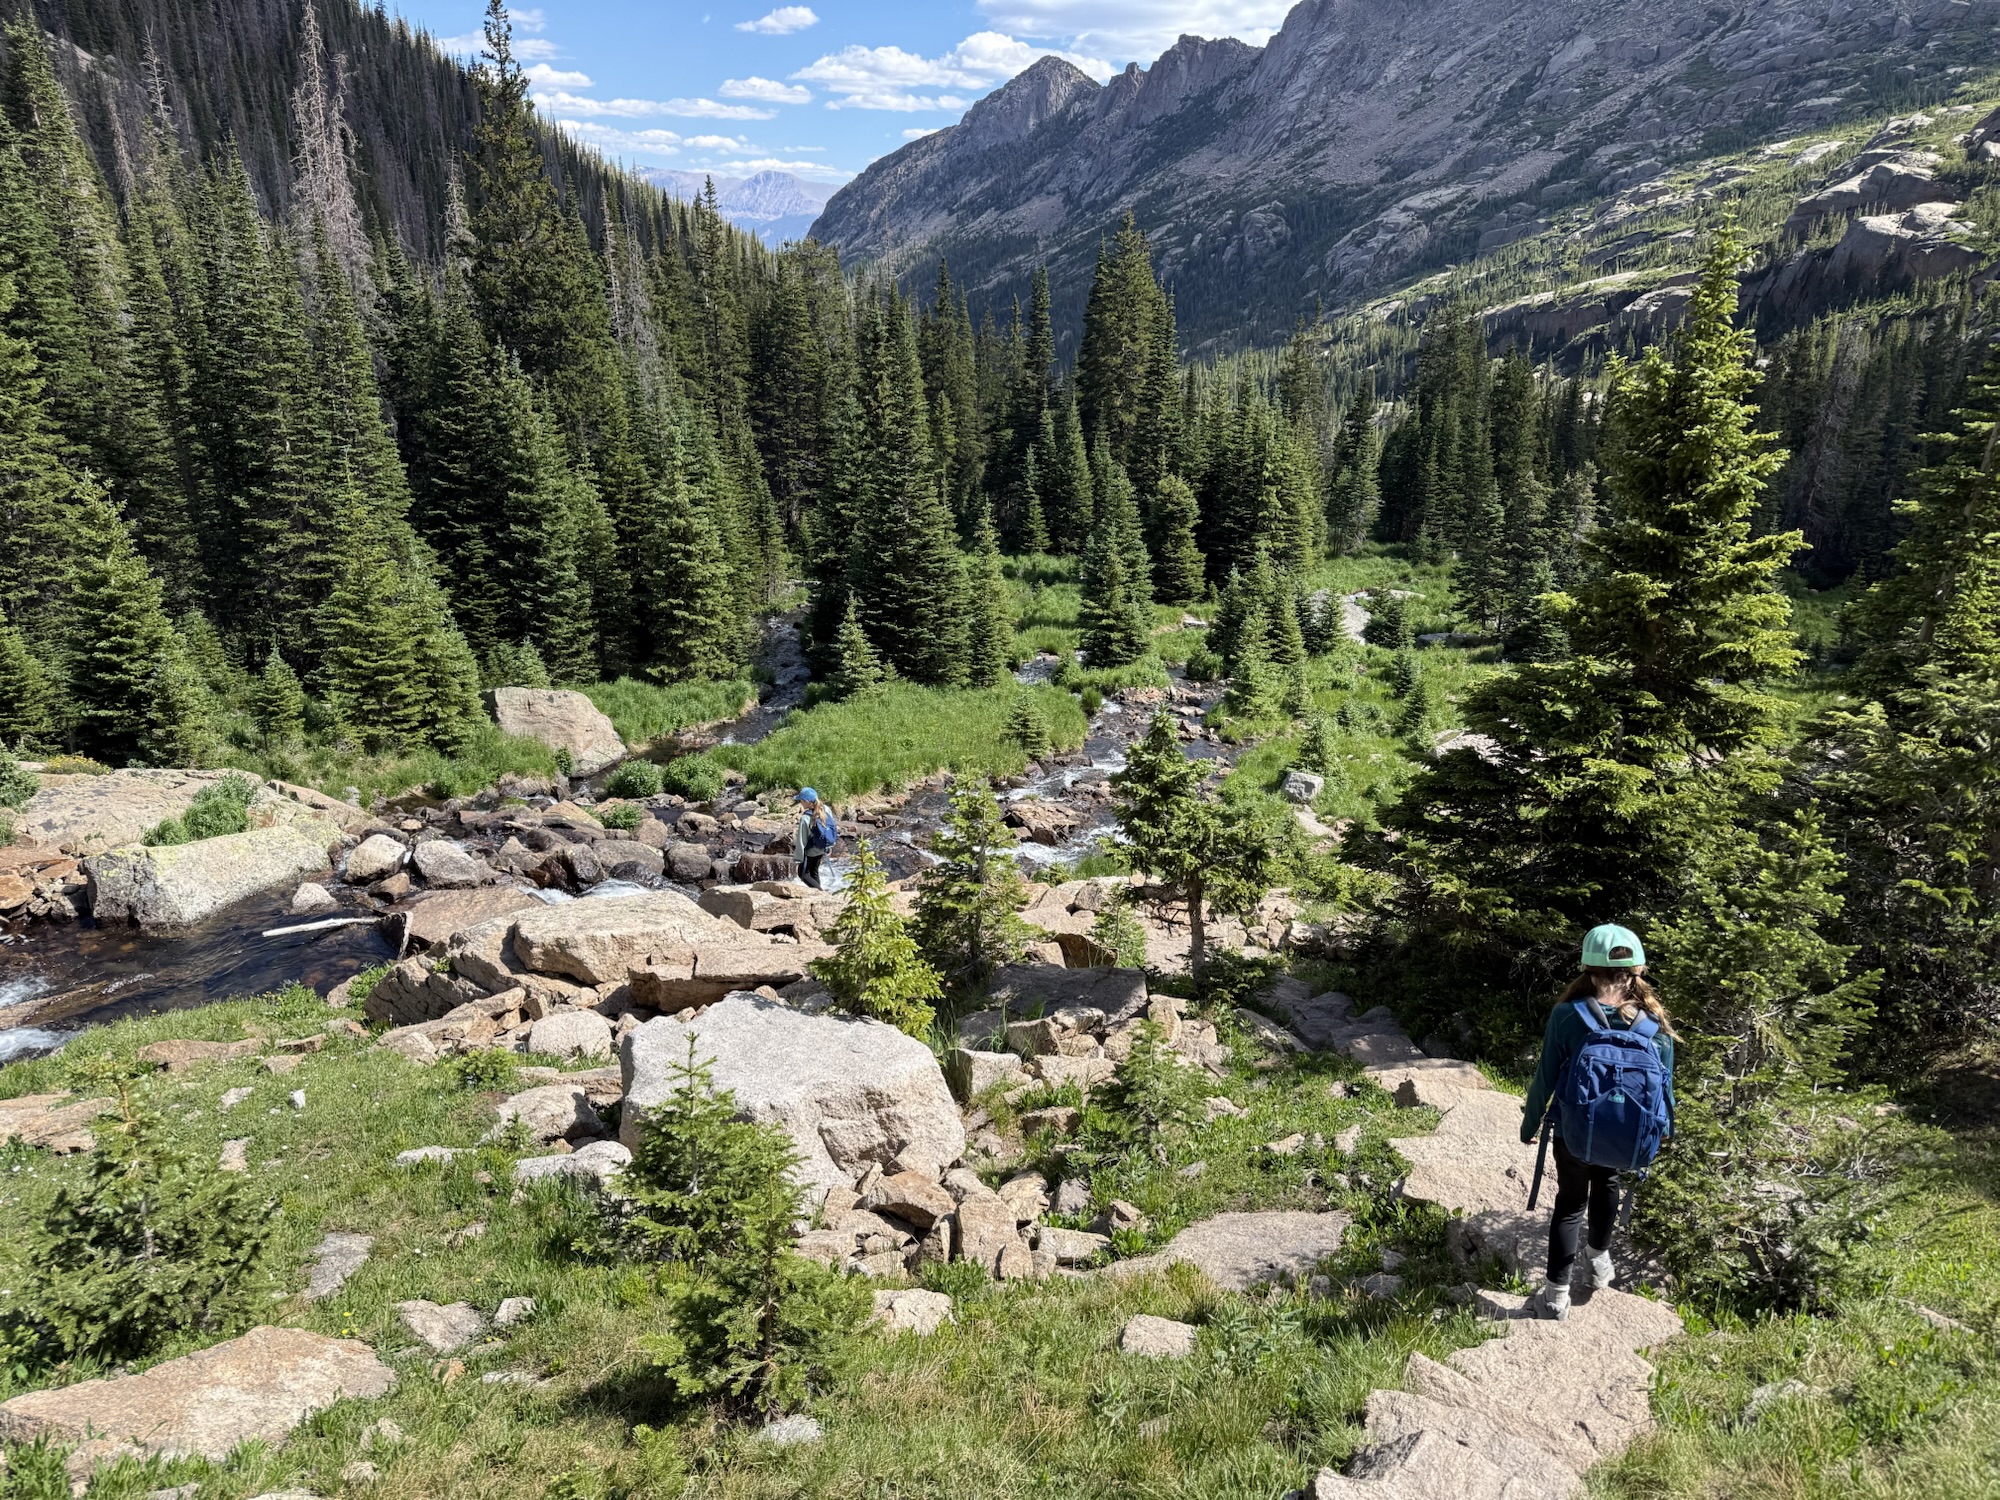
I already mentioned tripping on my way back down the trail, so keep an eye out for rocks and roots as you go down. This can be difficult when surrounded by beautiful scenery. I’m easily distracted by cute chipmunks, wildflowers, and sweeping views.
5 Top Takeaways for Hiking to Black Lake

  1. Get a timed entry permit that includes access to Bear Lake Road. Have this out and ready along with your national park pass and ID when you arrive at the park entrance.
  2. Arrive during your designated window – preferably an early morning window that will allow you time to arrive at Black Lake before afternoon storms which are common.
  3. Wear sunscreen and insect repellant along with comfortable hiking shoes to help with rocky terrain. Bring lots of water and snacks. Wear layers.
  4. Choose this hike after you are acclimated to the high elevation. Even though it is rated at moderate, I was huffing and puffing up the steep hills.
  5. Respect wildlife by keeping your distance. Mama elk can be fierce!

Getting the Kids’ Opinions

Finally, I wanted to share my daughters’ review of this hike. I asked them a few questions and this is what they have to say:

What was your favorite part about the hike to Black Lake?

The waterfall and playing around on rocks near Mills Lake

What was your least favorite part about the hike to Black Lake?

The rocky way back. There were a lot of annoying tree branches and it was busy (on the trail).

Would you say the hike was worth it? Do you mind getting up early or hiking nearly 10 miles?

It was worth it, you just need to know what you are in for.

What hike do you want to do next?

Flattop Mountain or Chasm Lake
Guide to Hiking Mount Ida: What You Need to Know

My puppy, Luna, woke me up before the sun, so this morning as I sip my much-needed coffee, I want to share about our most recent hike up Mount Ida in Rocky Mountain National Park, Colorado with you.

Rocky Mountain National Park

You can skip this section if you are already knowledgeable about RMNP, but for the first-time traveler, or the “I haven’t been here in 10 years” couple, Rocky Mountain National Park is located about an hour and a half from Denver, Colorado. You can expect big mountain views and to see wildlife including elk, deer, and even moose. You can also expect crowds, especially during the peak summer and autumn seasons. National Park passes are required to gain entry into the park. Timed-entry permits are also required for certain times and areas of the park like the popular Bear Lake Road.

Click here for more information about Fees and Passes for Rocky Mountain National Park.

The Best Hike in Rocky Mountain National Park

What is the best hike in Rocky Mountain National Park? My husband informed me that Mt. Ida was rated 4.9 out of 5 stars on the All Trails app, which probably makes this hike one of the best for many people. After our experience yesterday, I can see why. The panoramic views at the top make the nearly 10 mile round-trip trek worth it. We also noticed that the hike was much less crowded than other hikes we’ve enjoyed. There are also real challenges with this hike which would make it less than ideal for some hikers. I’ll explain those challenges in this post too.

The “Great Divide”

When we visit Rocky Mountain National Park, we stay in Estes Park, Colorado. The hike to Mt. Ida begins at Milner Pass, so we drove up and over Trail Ridge Road to get to the trailhead. We left our house right at 7am and drove 50 minutes to the trailhead via the Fall River park entrance. We were lucky to find a spot, (usually we would aim to leave by 6am). With an early start, we didn’t need to procure a timed-entry permit nor did we have a long line at the park entrance.

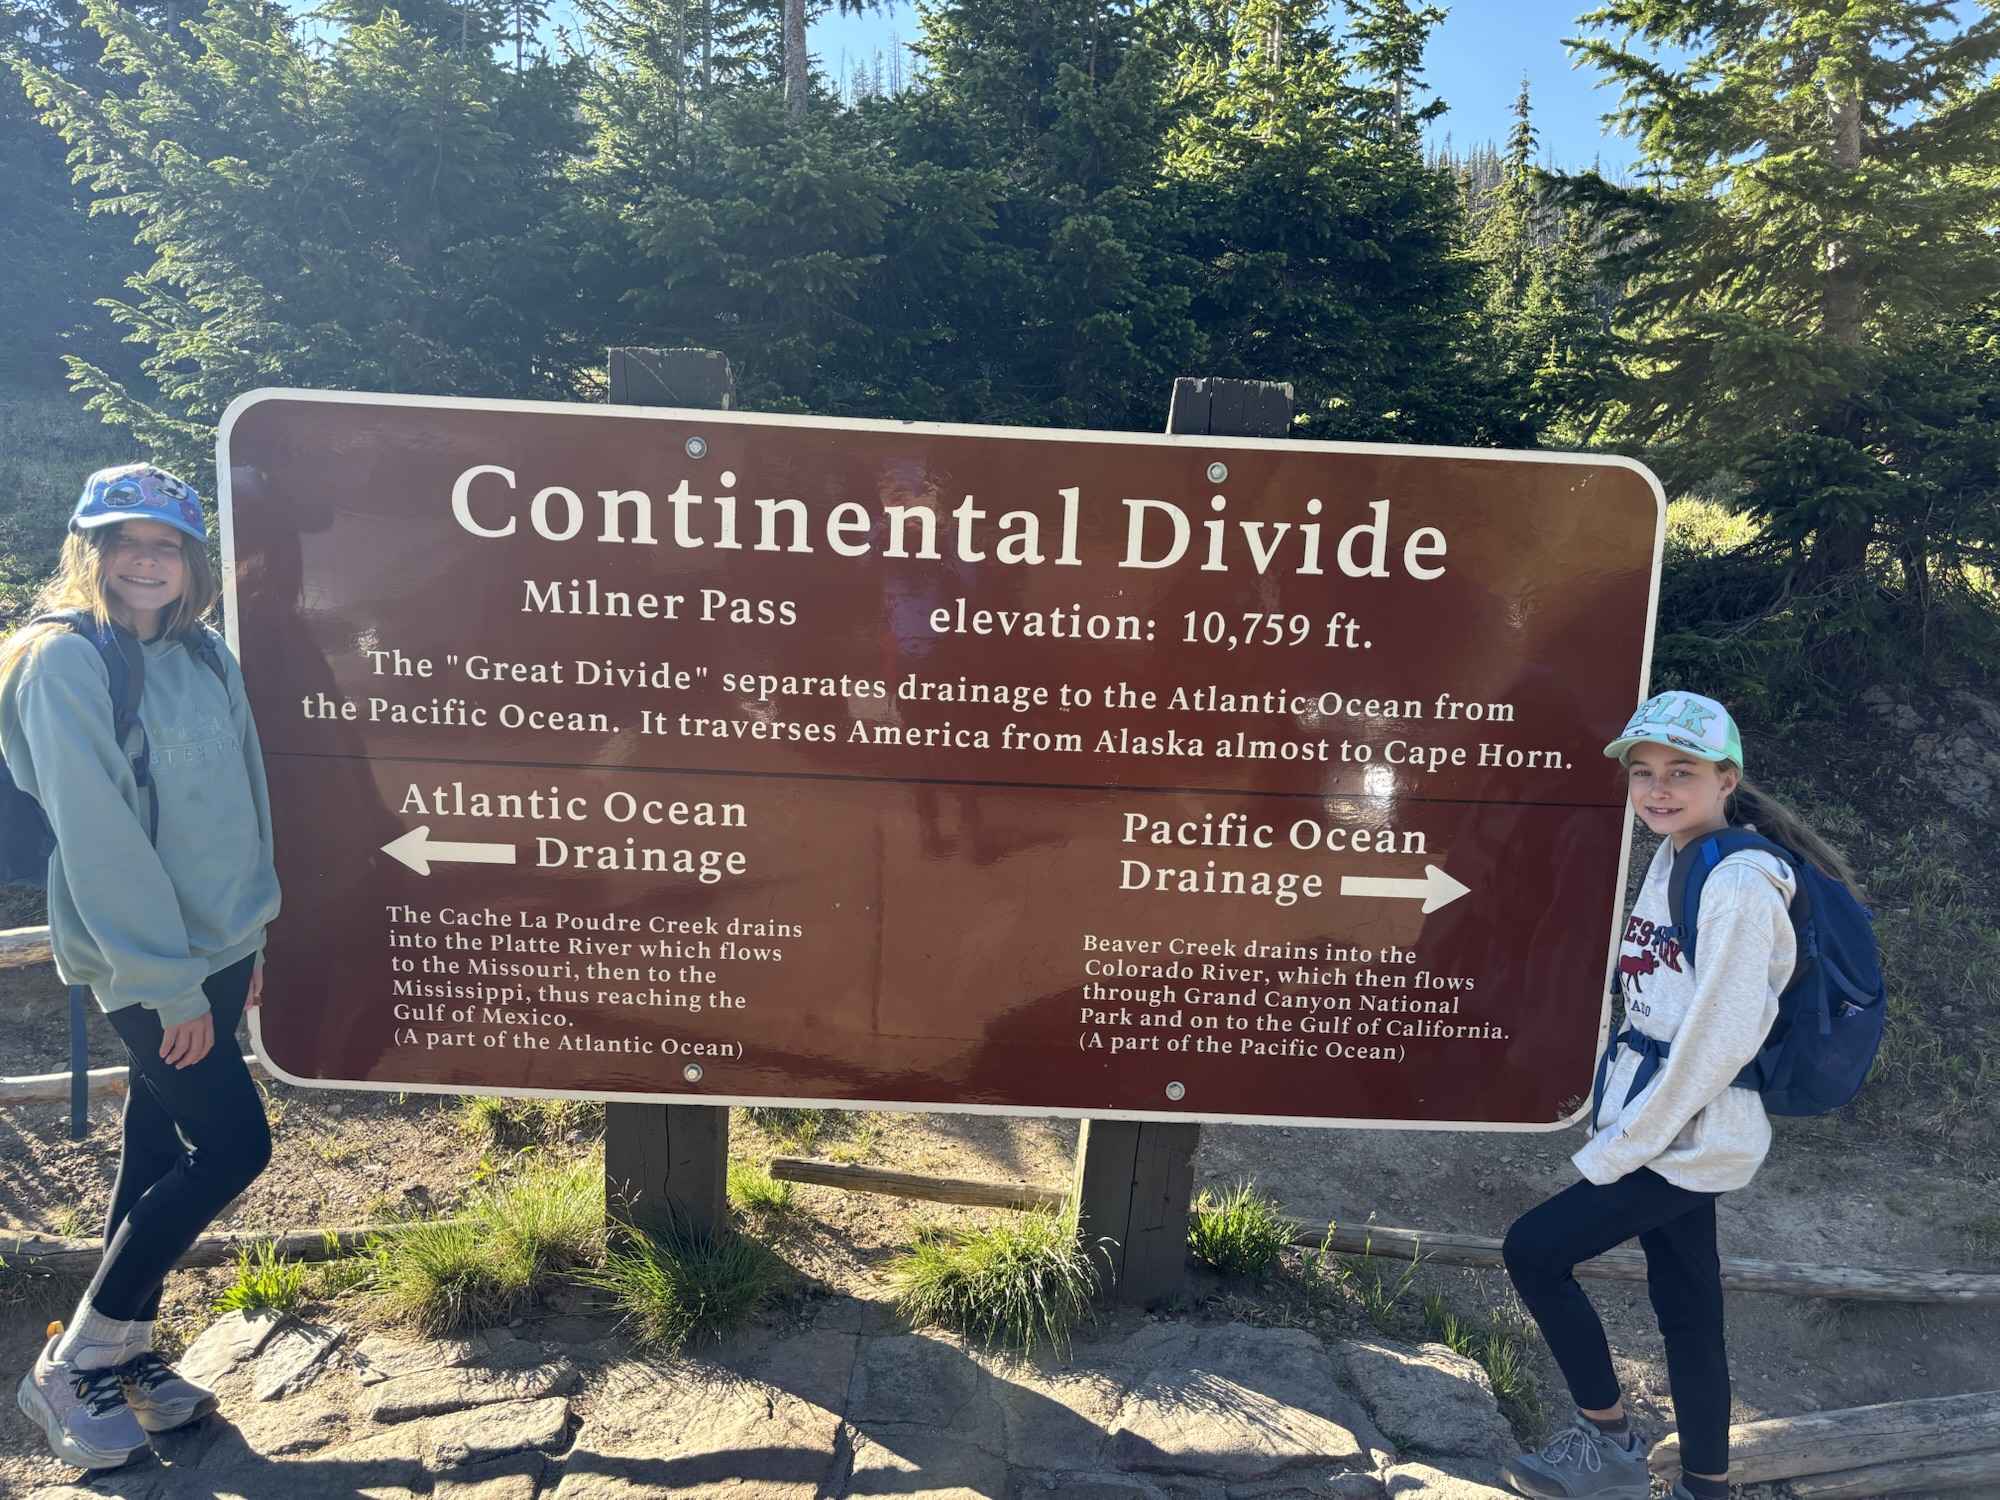
Milner Pass marks the Continental Divide, also known as the “Great Divide”, which according to park signage is the point where water drainage separates to eventually travel to the Atlantic Ocean and the Pacific Ocean.

Tip: Take advantage of the bathrooms near the parking lot before heading up on the tundra.

Continental Divide in Rocky Mountain National Park

Hiking the Ute Trail

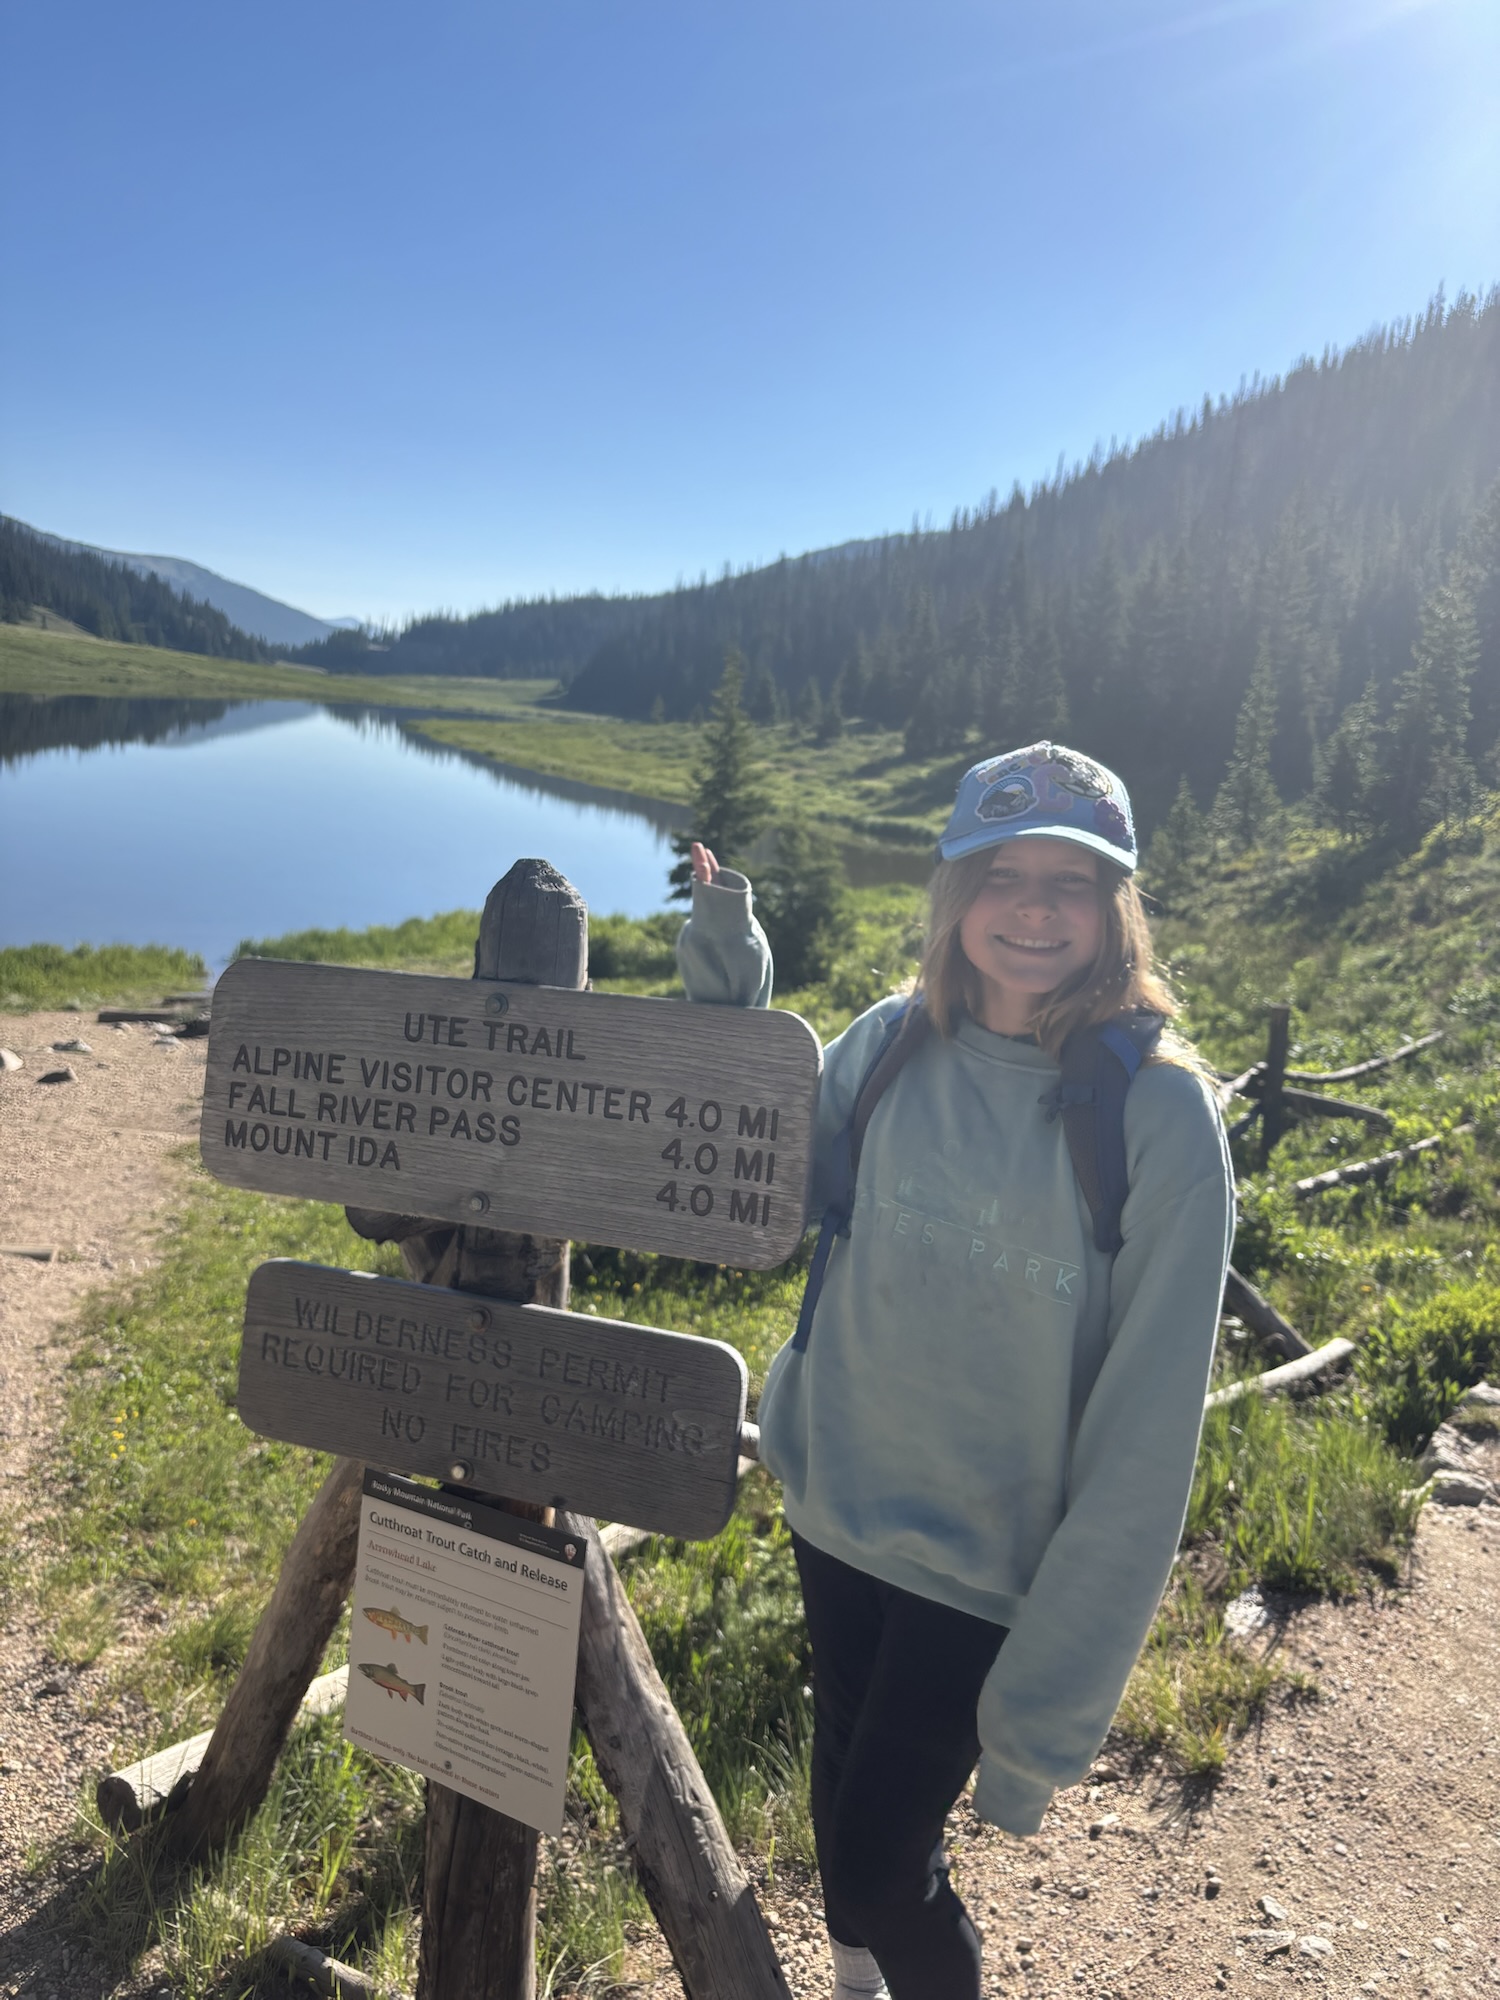
Poudre Lake
Poudre Lake

Next to the parking lot, you will see beautiful Poudre Lake and signage for the Ute Trail. You can follow the Ute Trail up to the Alpine Visitor Center or depart from it to Mount Ida. At Poudre Lake the air feels crisp and thin. This hike begins at 10,755 ft of elevation. Because of the high starting elevation, I would not recommend this hike to anyone as a first-day hike. It’s better to start with shorter, lower elevation hikes to acclimate.

Want recommendations for lower-elevation hikes? Here is a list from a previous post: Lower Elevation Hikes in Rocky Mountain National Park.

Hiking to Mount Ida
Hiking to Mount Ida

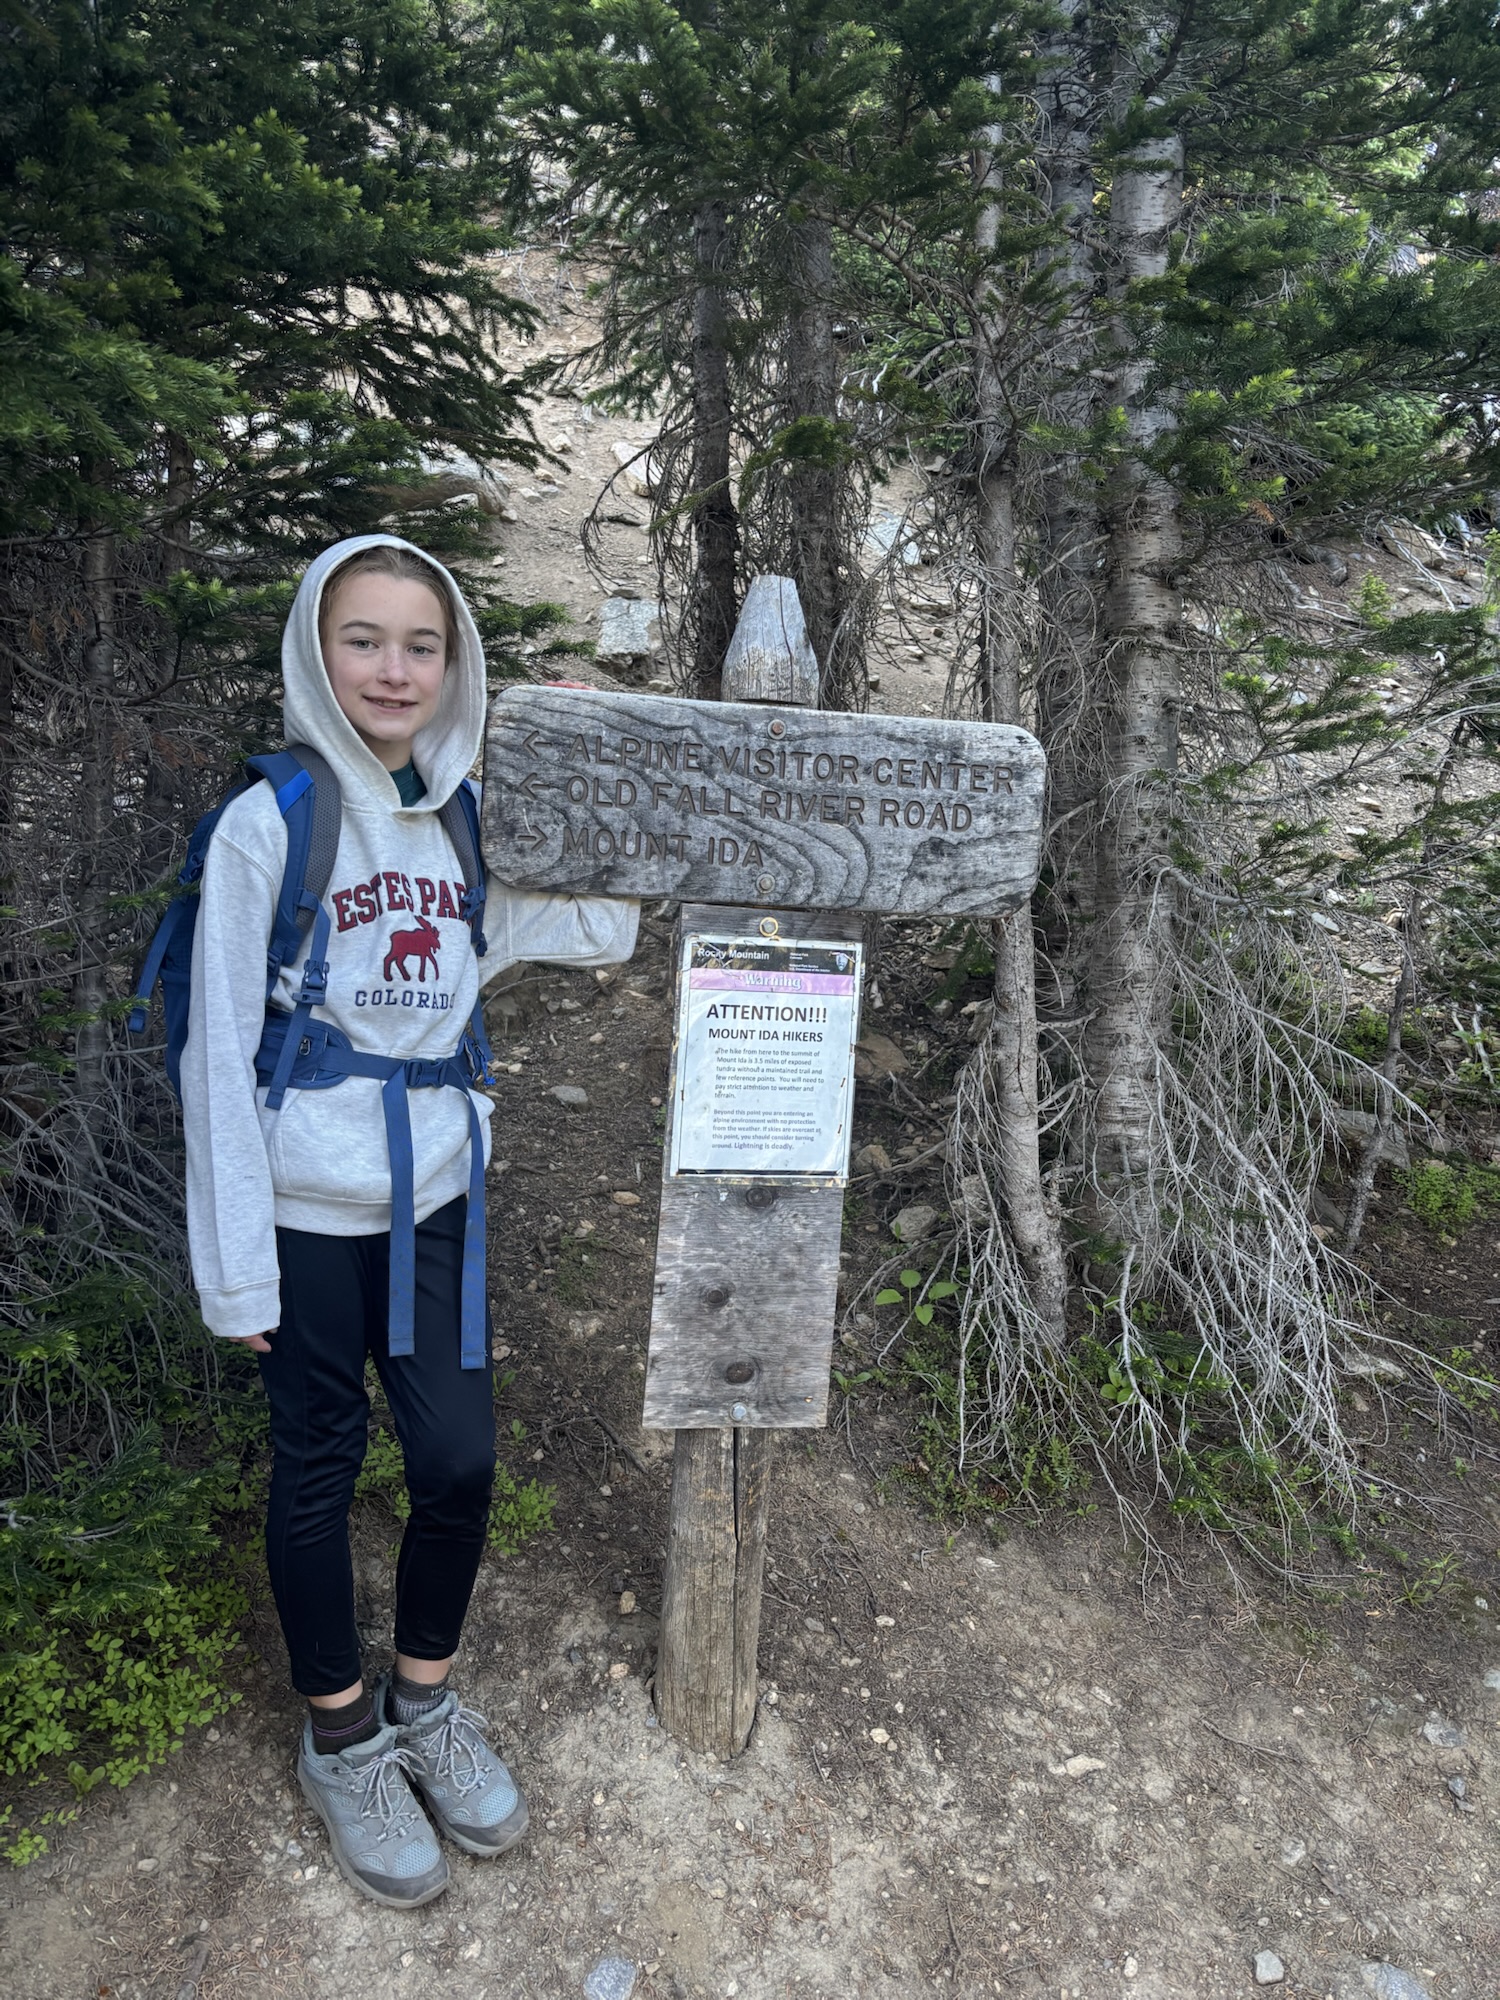
The first mile or so winds steadily up hill through forest before the trail splits. Signage points to the Alpine Visitor Center or Mount Ida. This is the last official National Park sign you will see along the trail. We veered right to follow the trail leading up to Mount Ida after noting the warning that much of the trail is above tree-line. The tundra can be windy, sunny, cold, and dangerous in a lightning storm.

We packed extra gear including rain coats, warm hats, water, and sunscreen to help with the conditions. We also paid attention to the weather. We lucked out with a sunny and mostly clear morning.

Hiking to Mount Ida
Hiking Mount Ida in Rocky Mountain Park

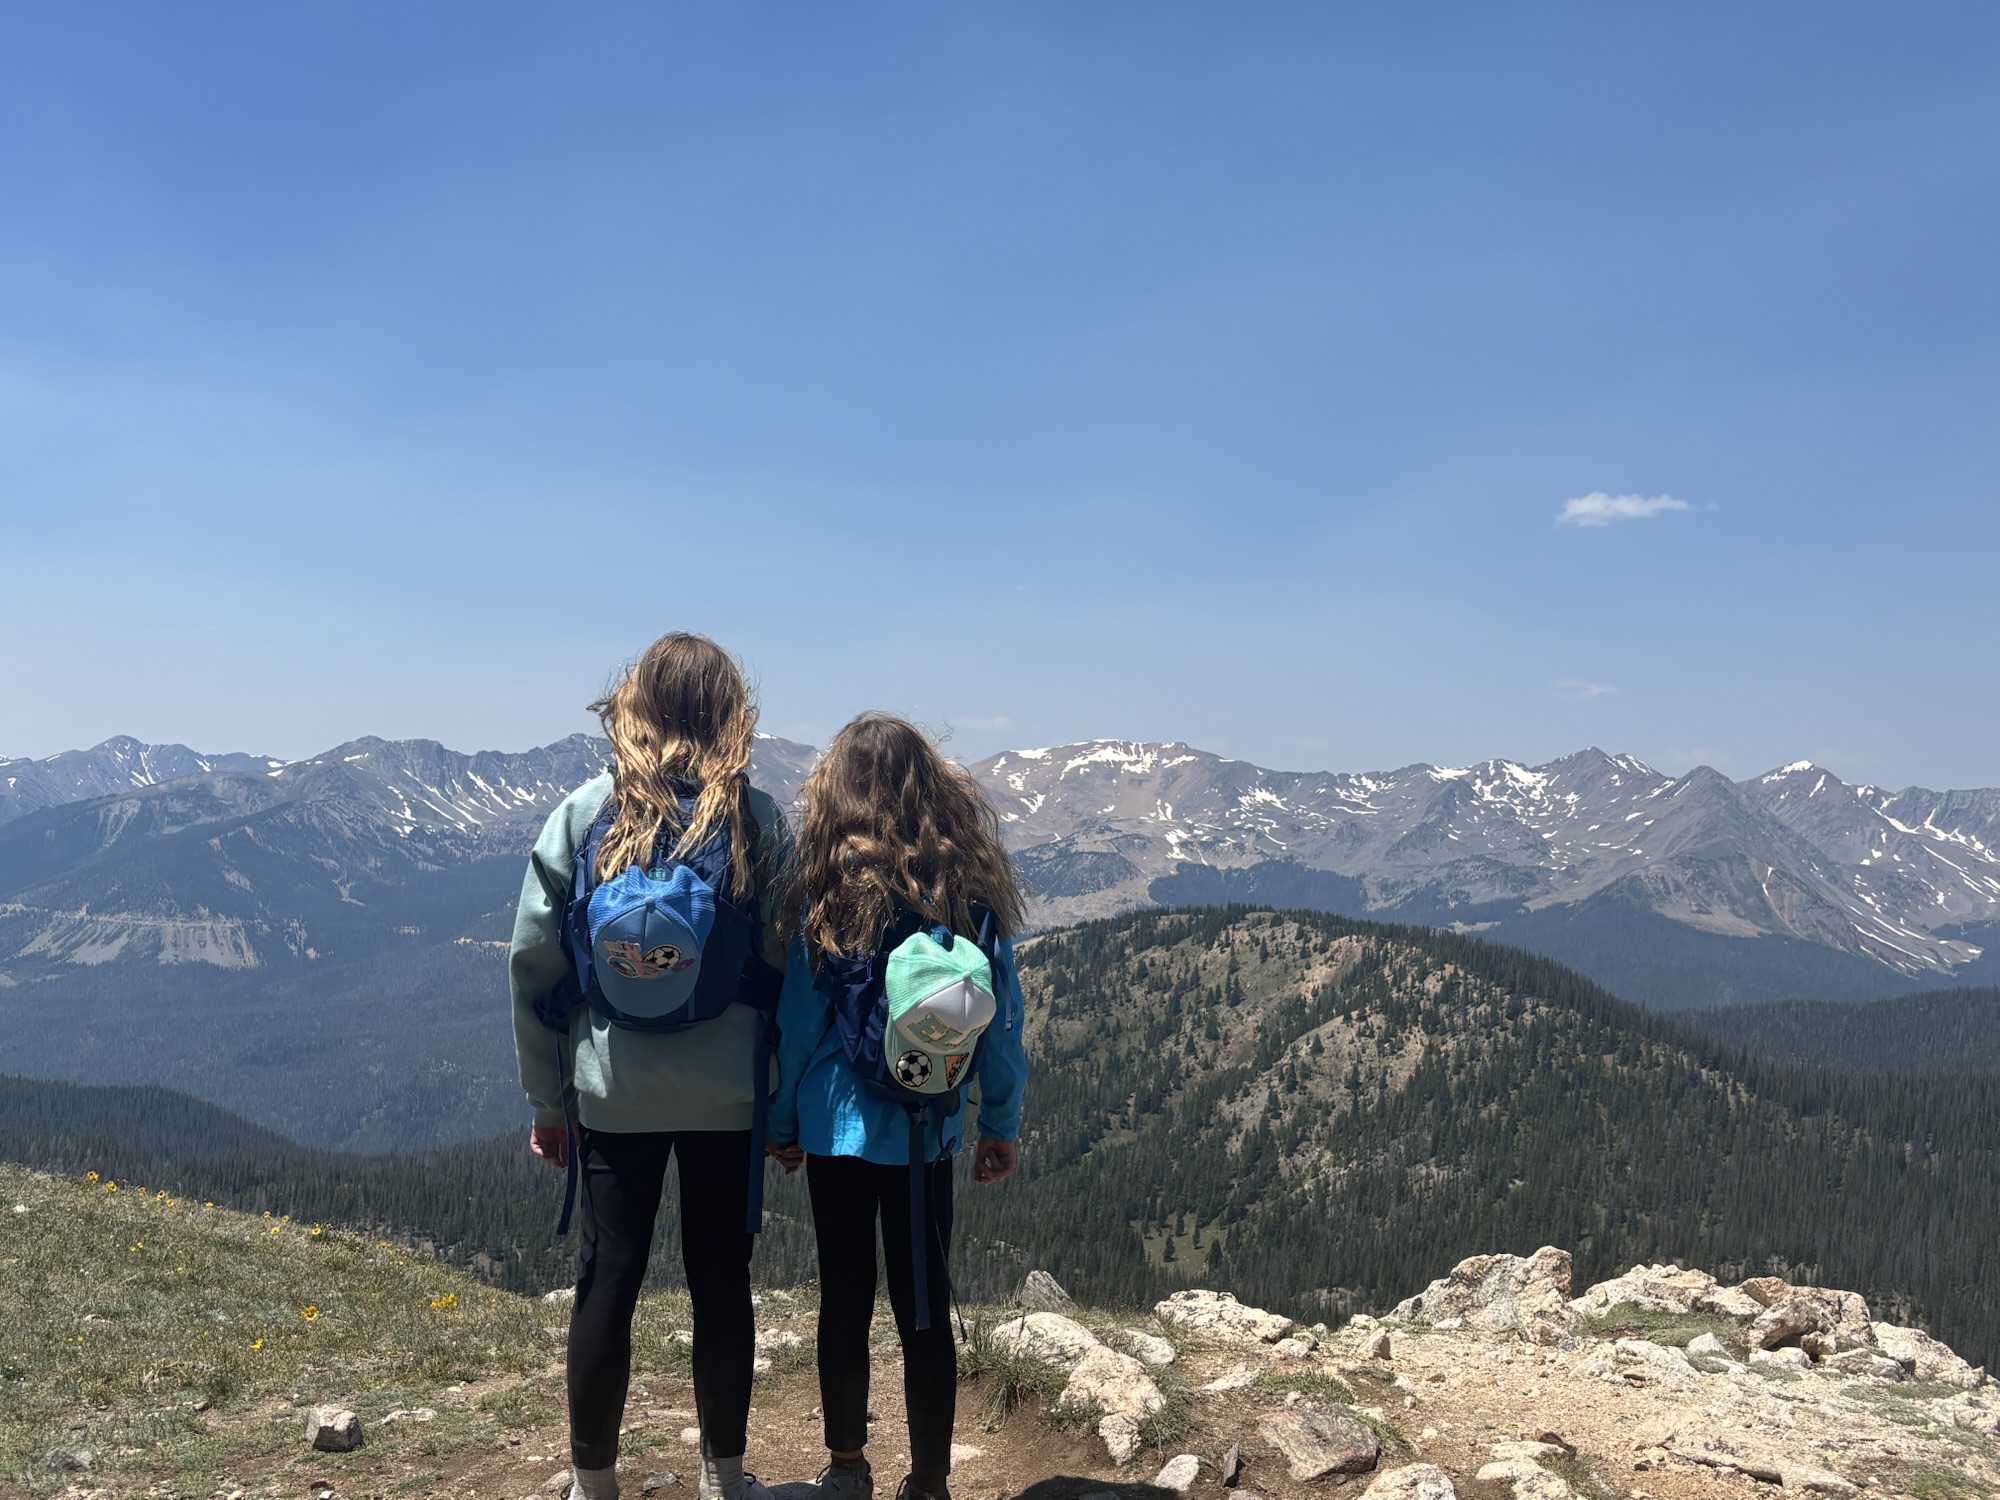
We’ve been taking our girls hiking in the mountains each summer since they were infants. It hasn’t always been easy, but now that they are 11 and 9-years-old, they are leading the way on our hikes with energy and enthusiasm. It’s getting harder for me to keep up!

Mount Ida Rocky Mountain National Park
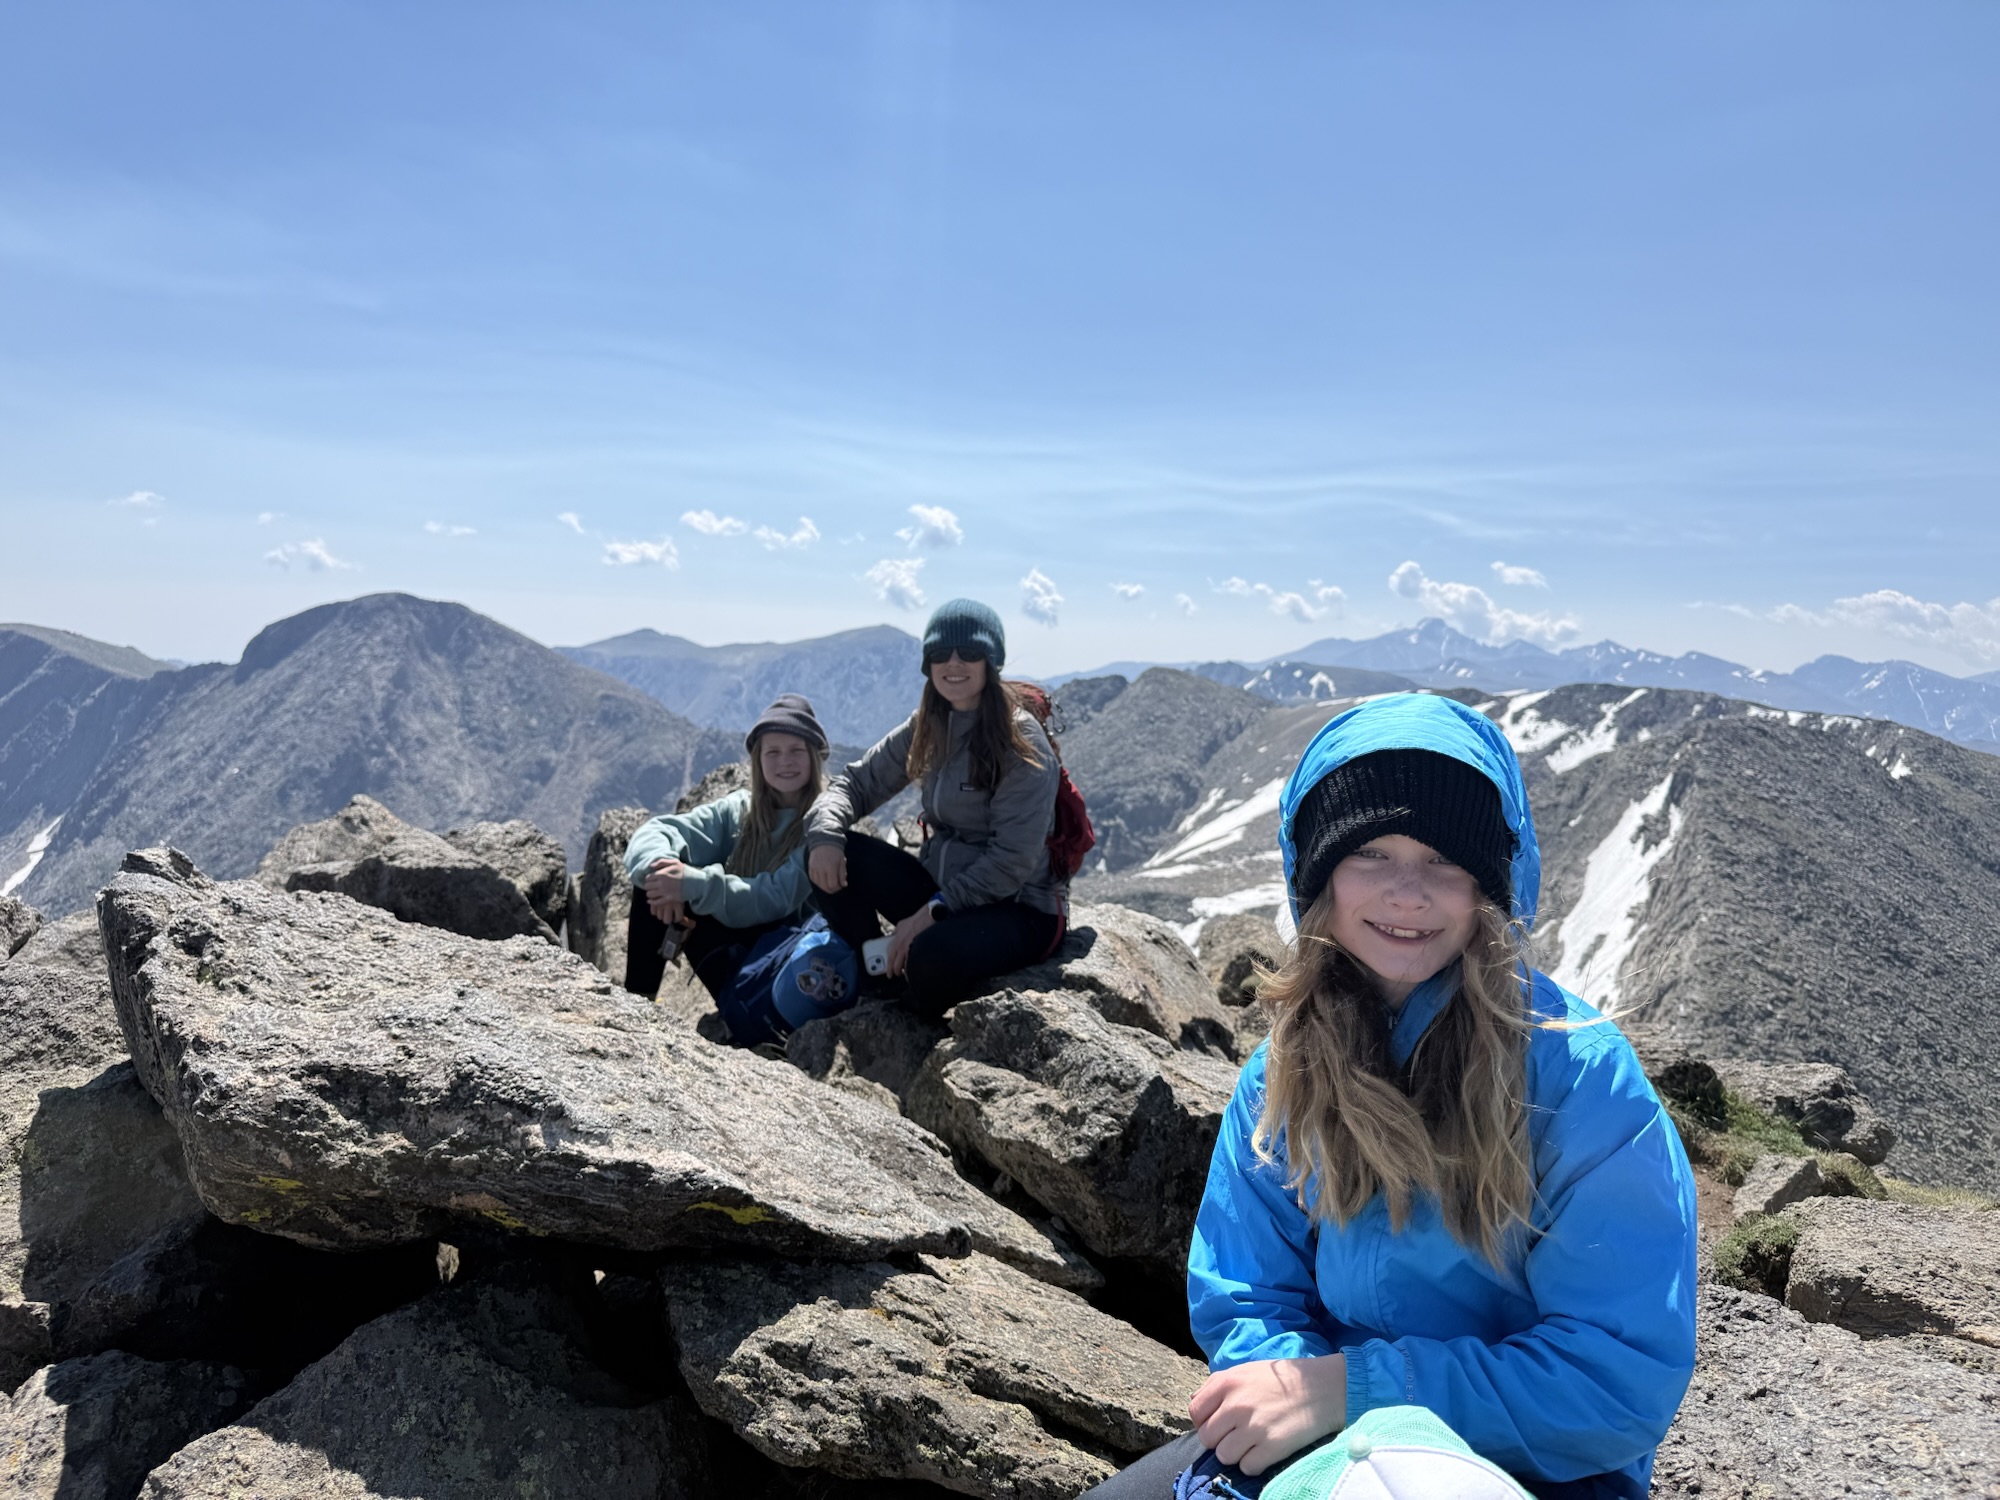
Mount Ida summit

Most of the hike is a distinct, easy to follow trail, but towards the top, there is a bit of a scramble and way-finding. It felt comparable to Twin Sisters Peak which we climbed earlier in the season. This hike gains a total of 2,400 ft in elevation. The summit sits at 12,881 ft.

Want additional details? Check out this helpful post from Colorado Mountain Club or on RockyMountainHikingTrails.com.

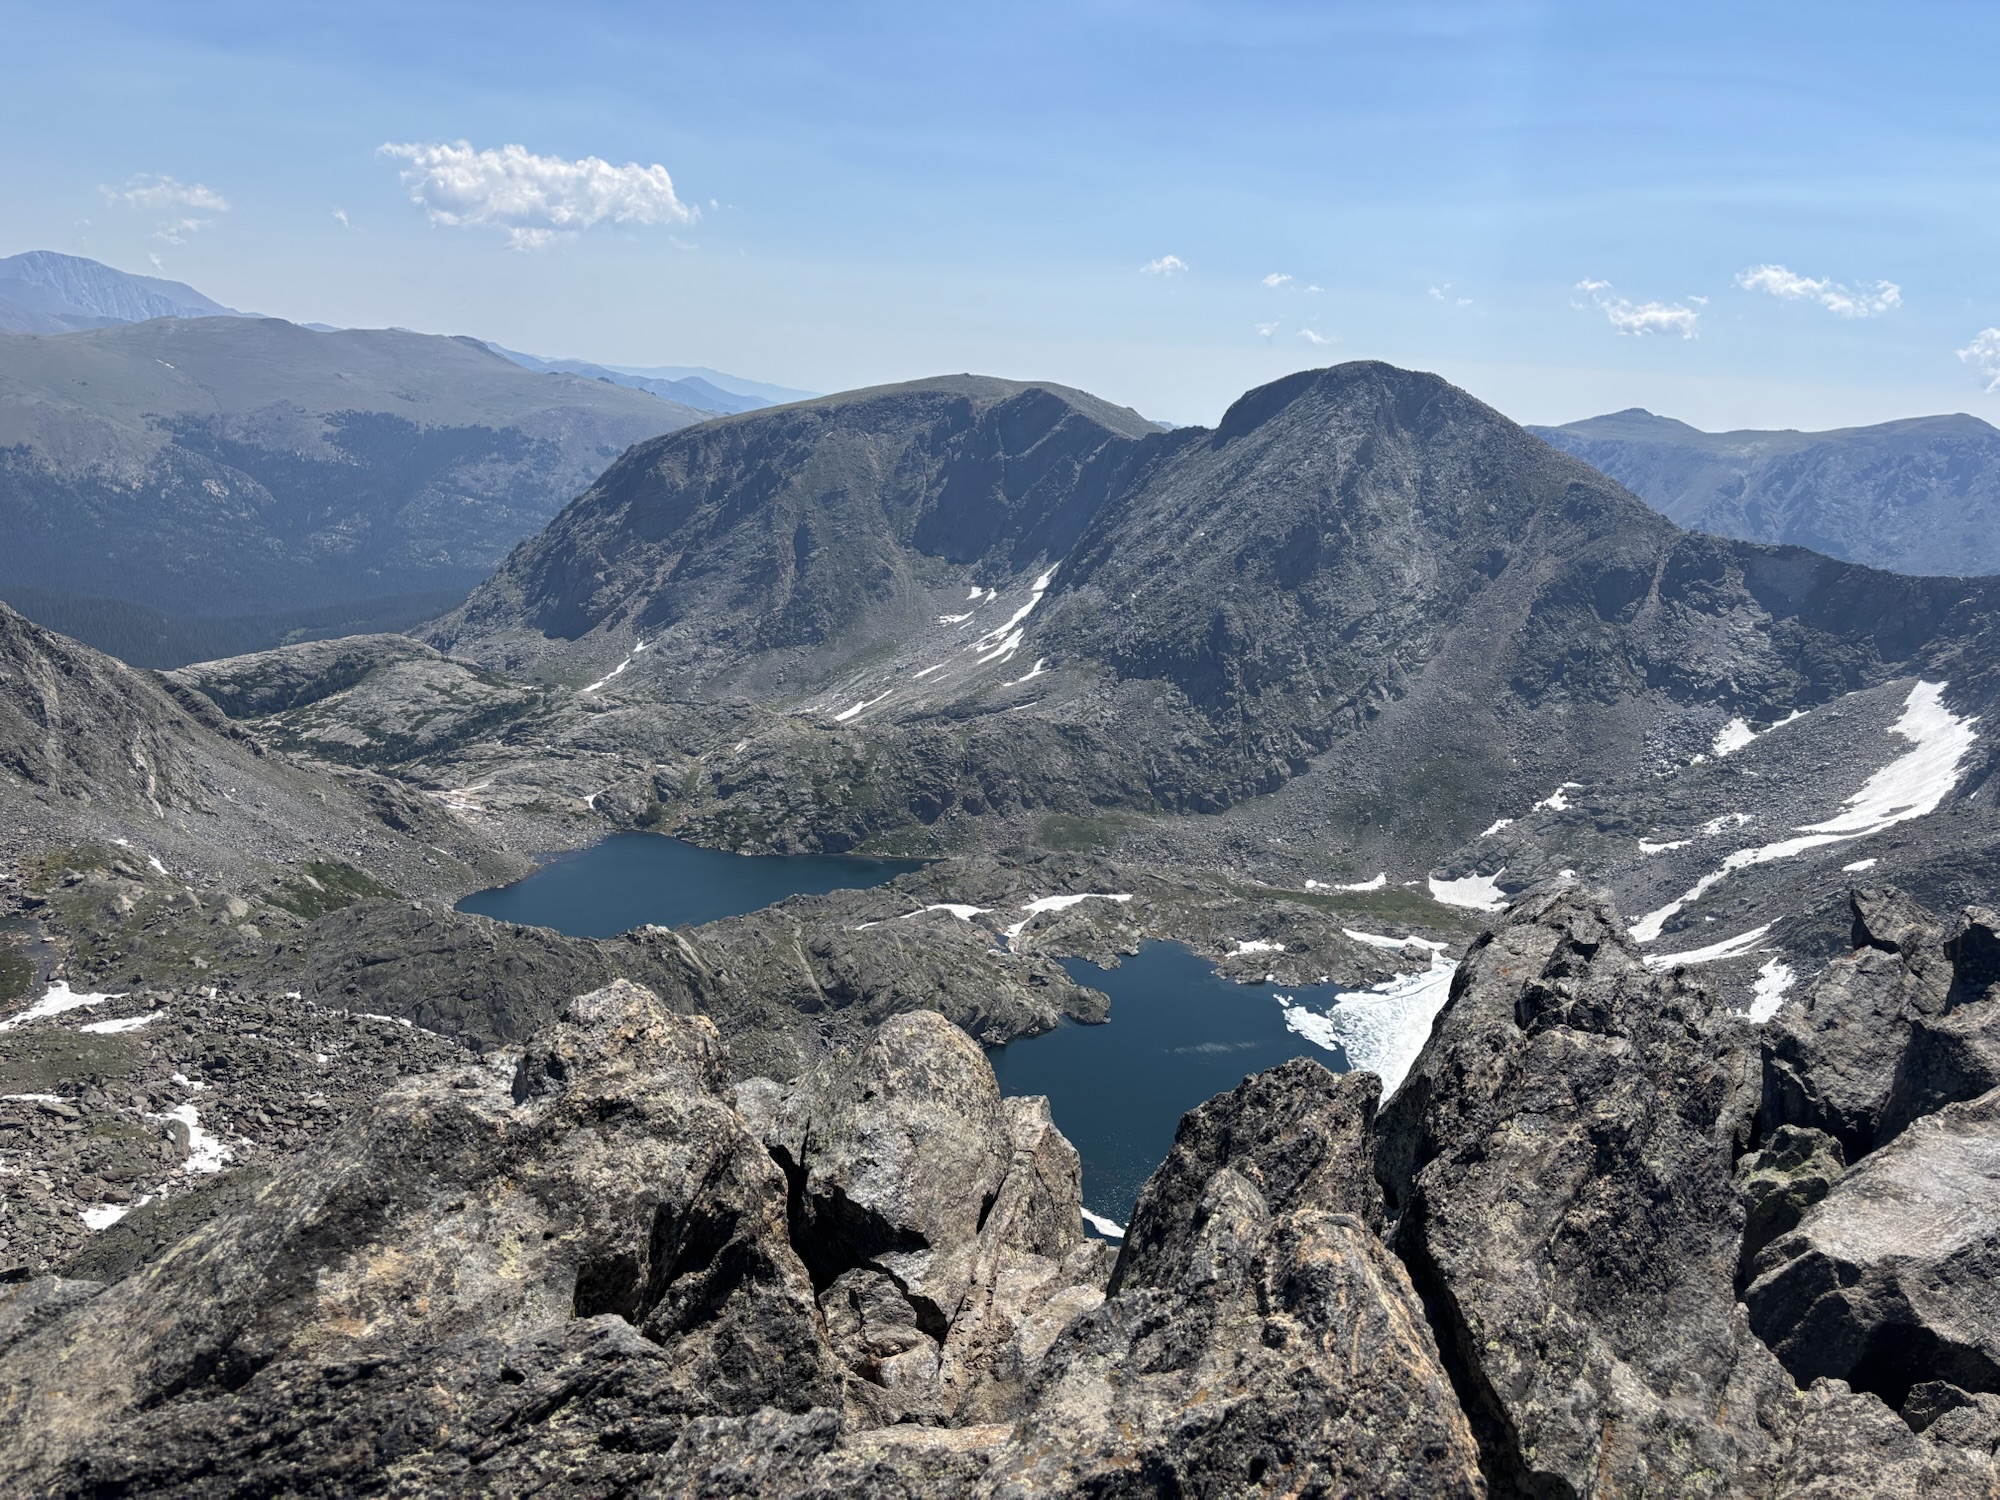
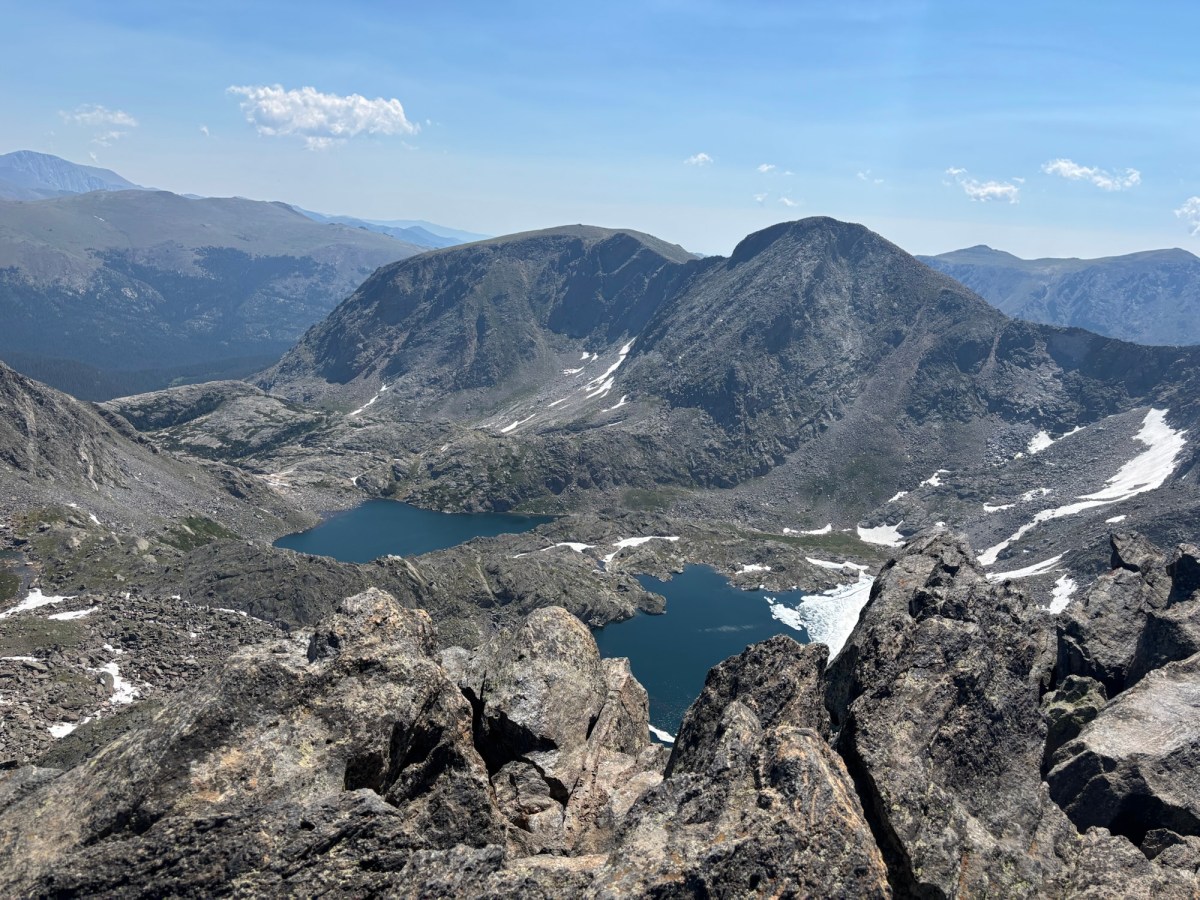
Alpine Lakes from Mount Ida

The 360 degree views of the surrounding mountains were breath-taking, but my favorite view was the emerald lakes and glaciers seen below.

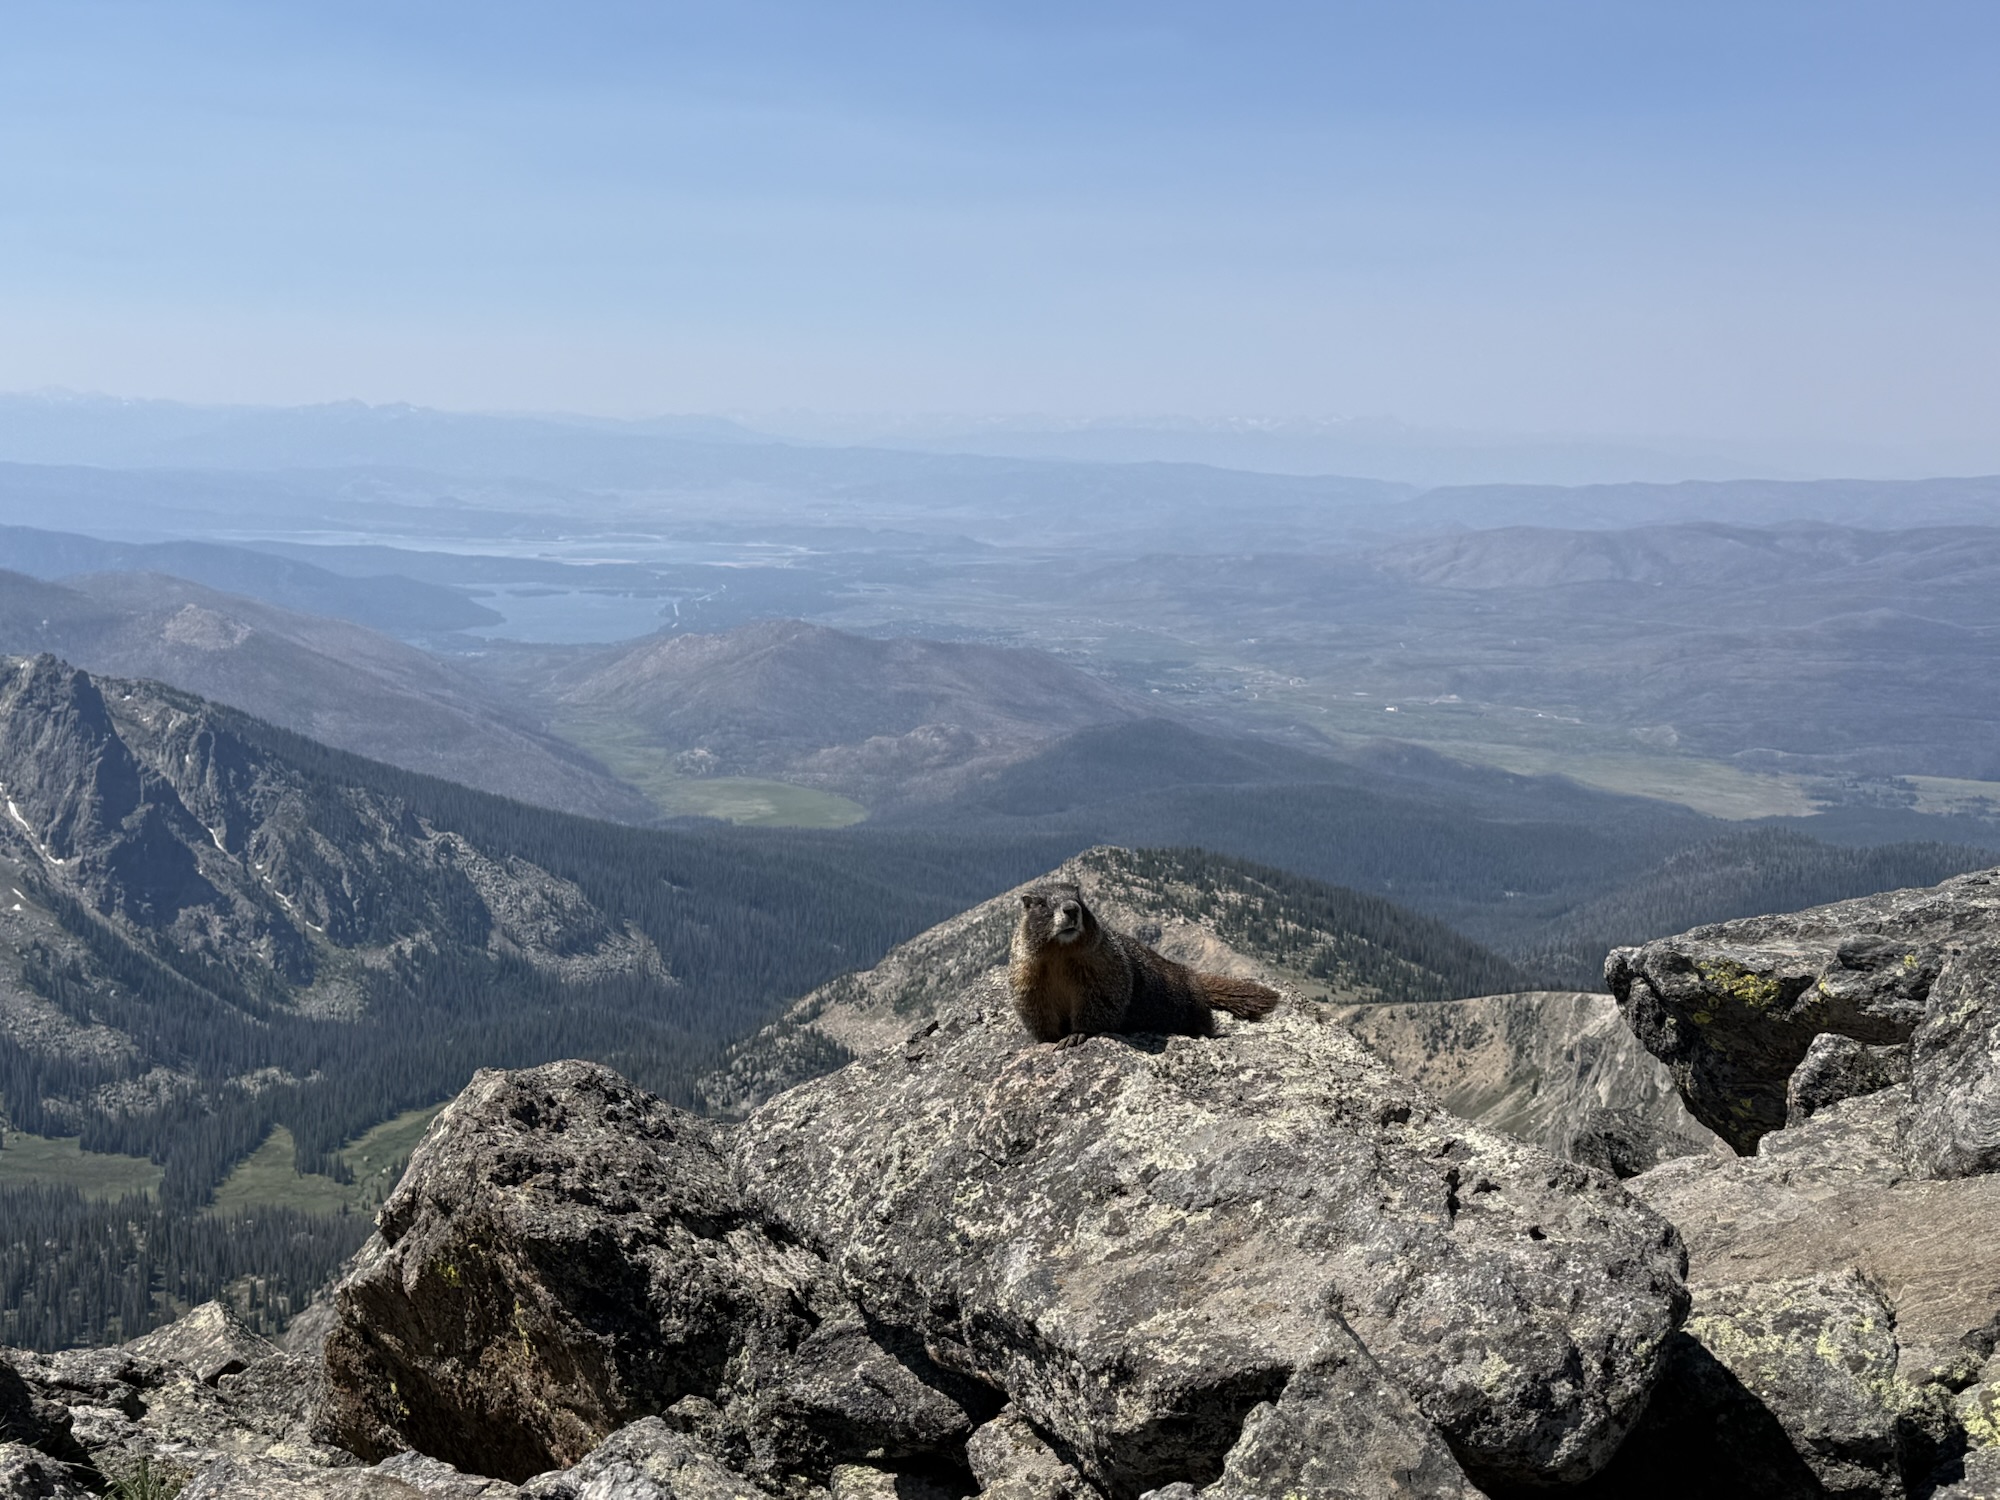
Marmots on Mount Ida
Marmot on Mount Ida

Wildlife on the Tundra

We spotted several elk in the distance and at least twenty marmots on our hike. Other hikers we talked to said they saw a moose on the trail to the Alpine Visitor Center. Beyond animals, I love the delicate wildflowers that live on the tundra.

At the summit, we took pictures and enjoyed a snack before heading back down the mountain. We cruised down the mountain compared to our pace going up. The strong winds made it less desirable to stop along the way. The total distance is close to 10 miles. To reward our effort, we enjoyed Antonio’s Pizza in Estes Park.

Key Takeaways

In summary, this hike is a challenging 10 mile trek that starts above 11,000 ft in elevation and gains over 2,400 feet in elevation. Most of the trail is unprotected in the tundra. Hiking above the tree-line has some risks, but you also enjoy unobstructed views of the surrounding mountains. This well-rated hike could easily become your next favorite.

I hope you enjoyed reading about my first experience hiking Mount Ida. I hope it inspires you to try out a new trail this summer. If you have a suggestion for our next hike in Rocky Mountain National Park (or surrounding area), please leave a note in the comments. We love hiking recommendations!